Homemade Polymer Clay
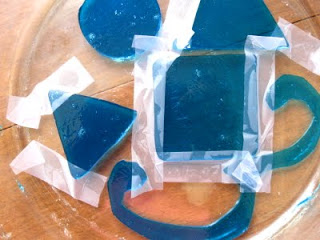
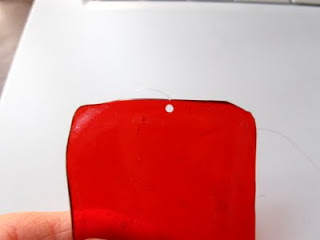
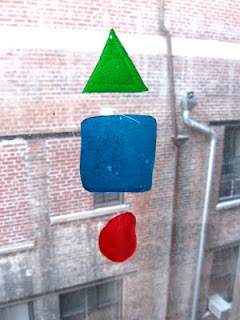
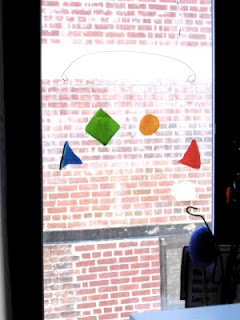
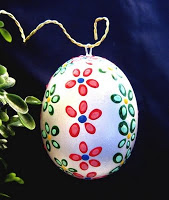
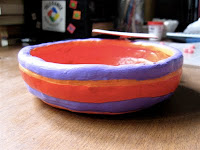
At different points over the last few years I've played around with different kinds of homemade "clay." My favorite is a polymer clay also known as cold porcelain. Its main ingredients are cornstarch and white PVA or Elmer's glue. I like it because it's smooth and a little bit elastic to work with and dries extremely hard. It's also relatively non-porous so it takes paint really well. And it doesn't degrade over time like baker's clay or salt clay does. I've used it to cover blown-out chicken eggs for Christmas ornaments, as well as to make various and sundry bowls, boxes and pendant blanks, among other things.

But it took awhile to get the recipe right. Most of the ones I found online resulted in a compound that was way too sticky to work with. So I experimented with different proportions of glue and cornstarch and the inclusion/exclusion of various secondary ingredients. What follows is the fruit of my experimentation. Lucky you!
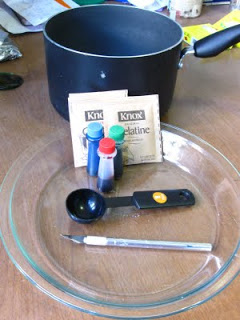
Materials
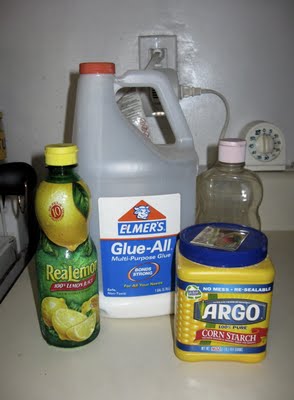
- 3/4 cup white glue
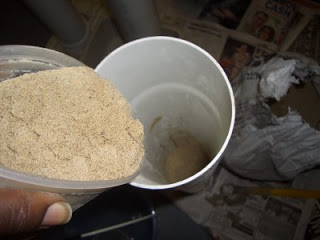
- 1 cup cornstarch
- 2 tablespoons mineral oil (I used baby oil but reportedly even vaseline will work)
- 1 tablespoon lemon juice
- Non-stick pot
- Wooden spoon
Steps
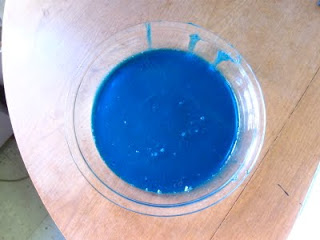
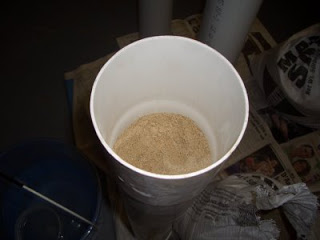
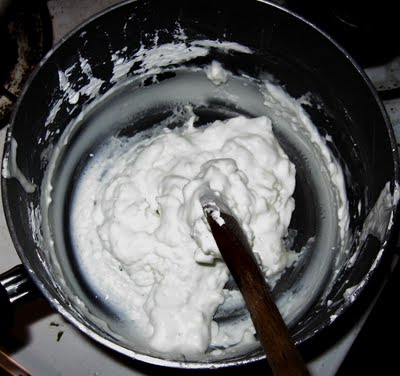
Add cornstarch to glue in a nonstick pot. Mix together and then add mineral oil and lemon juice. Blend well.
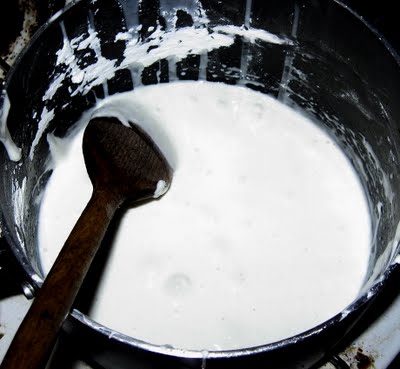
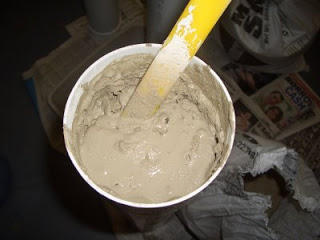
Cook over low flame stirring pretty much constantly (you can take a quick break or two if your arm gets tired, which it will) until the mixture resembles mashed potatoes.
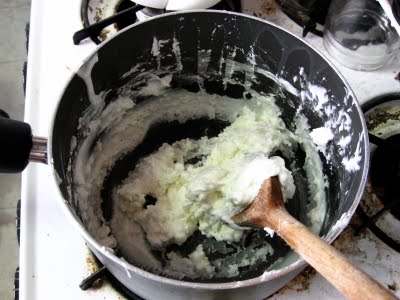
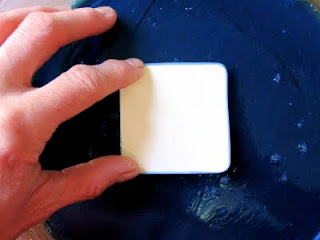
Remove from heat! Squirt a little additional mineral oil around the top of your mashed potato mass and with your hands, remove it from the pot. Knead until smooth. It's best to do this while it's still as hot as you can handle.
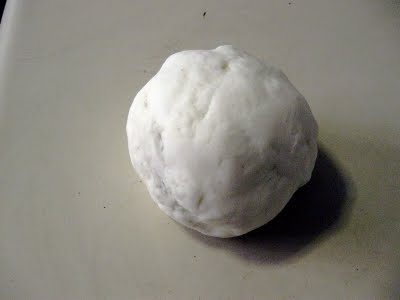
Pull off a bit to work with and put the rest in a re-sealable plastic bag with the top about half-way open until it's cooled down a bit. Then seal the bag (with as little air in it as you can) and store in the fridge.
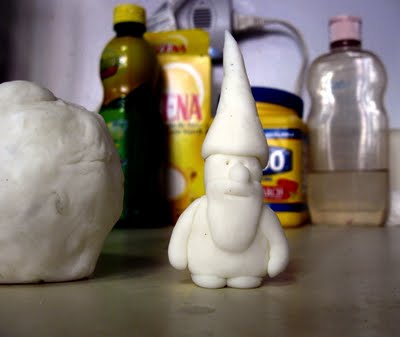
Let dry about 2-3 days, then paint, or not.
Until next time --
Enjoy!

Linda