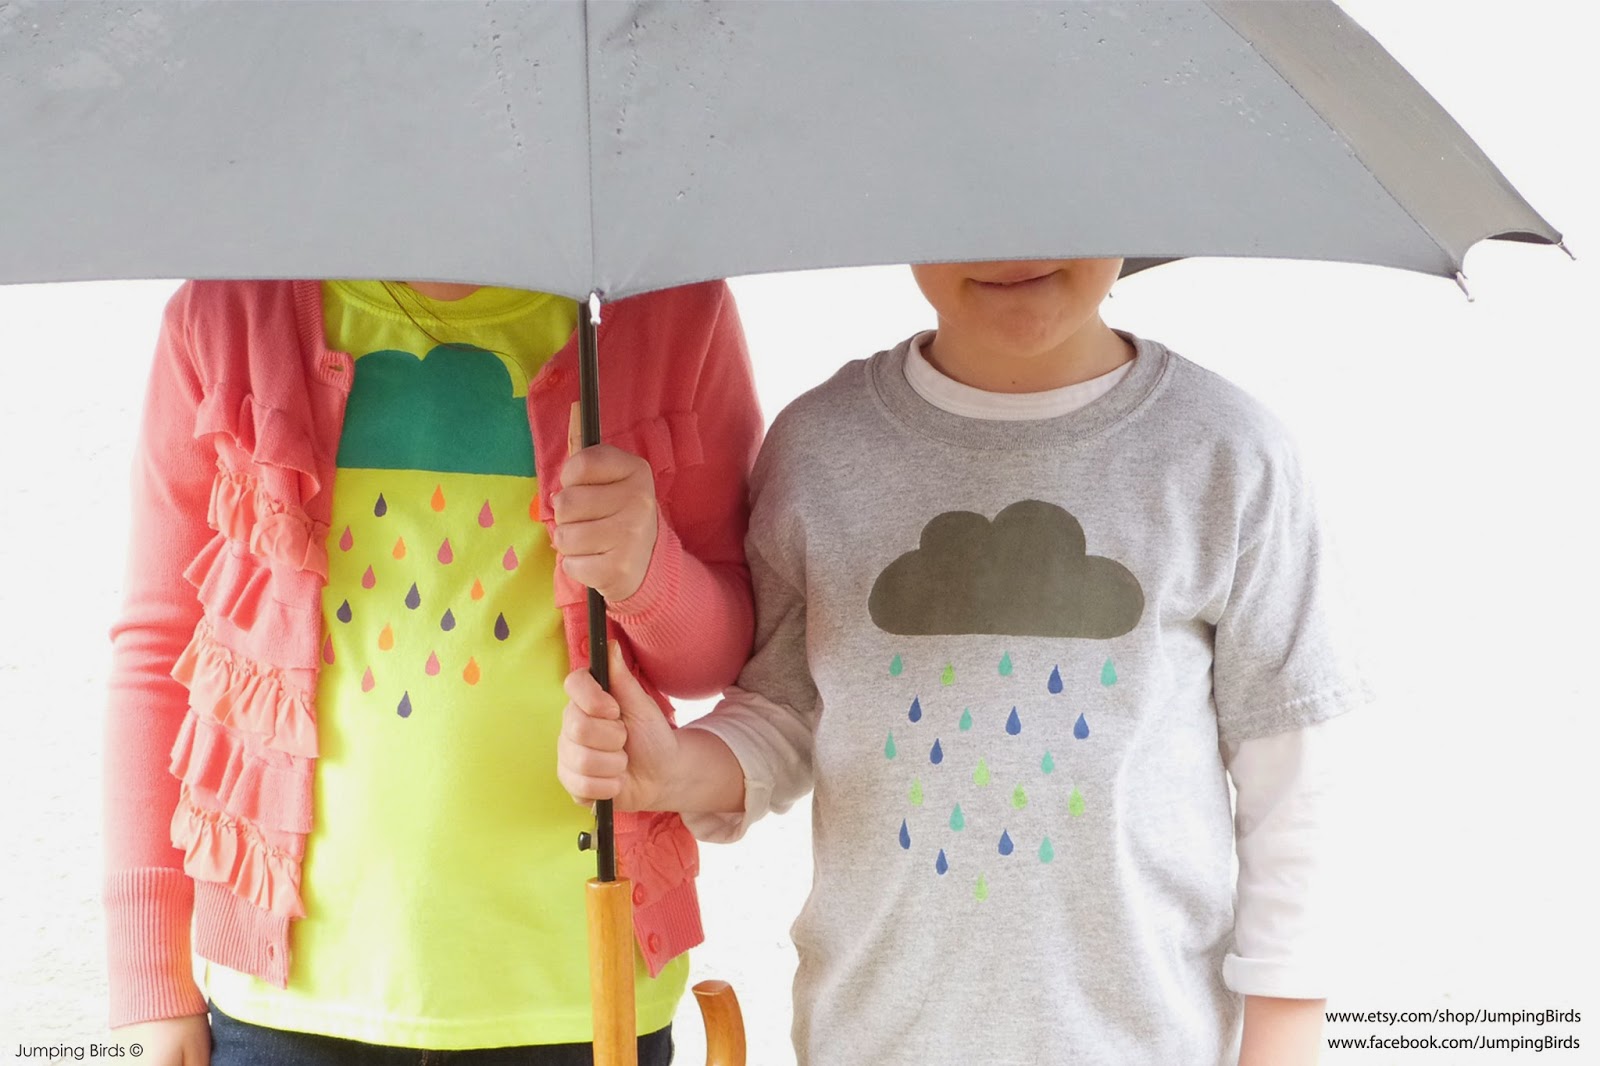
MEET the ARTISAN: Featuring Jumping Birds© + GIVEAWAY

"MEET the ARTISAN" is a blog series that spotlights Etsy New York Team artisans and their craft. In this feature, we learn more about Natasha, the creator of Jumping Birds©

Q: What is Jumping Birds? Can you briefly describe your business for us?

A: Jumping Birds is unique goods for children and babies handcrafted one by one, with love for charming yet minimal details and construction quality. I strive to design and make items that will be enjoyed by little ones for a long time and that will stimulate their imagination.

Q: Some artisans develop their products to meet consumer needs, while others craft products based on things and/or experiences that inspire them. What is the inspiration behind your business?

A: When I design I find inspiration everywhere. Vintage children’s clothes and toys or my own daydreaming, anything sets me going. My mind is always filled with ideas (it’s a bit chaotic at times!) and eventually one of them is realized and becomes a tangible item. Also, the fact that I have shipped all around the world and the dream that one of my goodies might become a family heirloom to someone, is so encouraging! Of course, my children - always “jumping” about - are an endless source of inspiration.

Q: Oftentimes, each artisan has a different strategy and objective for their business. What are the next steps for you and your business?

A: At the moment I’m very happy with the size of my business. It allows me to come up with new designs and develop new ideas, one step at a time. I’m also enjoying doing a few local fairs whenever I can. I love talking to customers and finding out what they like. I’m hoping to be ready for wholesale in the near future and explore that side of business.

Q: As many artisans look to grow and further develop their businesses, do you have some advice that you can share with fellow artisans?

A: Whatever your craft is, make sure you’re passionate about it and that you absolutely love the making process involved. Experiment with other mediums and techniques or take a class, if possible. I think learning new things feeds my creativity and brings new inspiration. This will ultimately keep you relevant and unique.

Special thanks to Natasha for sharing with us. You can find her products showcased on her Etsy shop at www.etsy.com/shop/JumpingBirds. And, details of her special product GIVEAWAY are below. Please enter for your chance to win one of her beautiful plush robots!

Jumping Birds© June GIVEAWAY:

June 1st is Children's Day! And, Jumping Birds© is giving away a handmade, Mini Green Plush Robot! 

A sweet little robot sure to make a statement in any child's room. This cutie can be used as nursery decoration, as a huggable plush,  throw pillow or as a soft stuffed toy (kids really enjoy playing with them!) Backed with a chevron fabric in coordinating colors.

This Giveaway is for one (1) Mini Green Plush Robot. 

APROX. MEASUREMENTS
7.5" high x 6.5" wide

Handmade of cotton/linen fabric and gently stuffed with poly-fil in her smoke-free, pet-free studio.

Like Jumping Birds© on Facebook and enter to WIN here! 

Entry period ends at 11:59pm on Monday, June 16, 2014!


Published by Susan Ng of Naturally Susan's


DIY: Celebrate Earth day by sprouting your own seeds

Around this time of the year, kids get to learn a lot about recycling, planting and trash clean up in celebration of Earth day. I think it’s important to let them know we must do these things all year around and Earth should be celebrated every day.

So, it doesn’t matter if you do this project on Earth day, this week or next month as long

as your kids experience the joys and wonders of watching their own seedlings emerge. Plus, they’ll get a little lesson on recycling and composting on top of it all!

You will need:

* An empty egg carton (the

molded pulp

ones, not plastic or

polystyrene)

* Potting soil

* Seeds

* Plastic wrap or bag

* Pen or pecil

* Tooth picks and paper to make labels

Tip: to make the germination process a breeze, pick seeds that germinate easily such as beans, pees, carrots, squash, cucumber and pumpkins. Hard to start seeds might not even sprout and you’ll end up having a frustrated kid!

Get started:

1. Separate the bottom part from the lid of the egg carton. Take the bottom part and poke holes in each cell using the tip of a pen or pencil.

Those will be the drainage holes. Place the lid of the egg carton under the bottom part, nesting one under the other. Now you have your seedling tray.

2. Place small amounts of soil in each cell and plant the seeds making sure the seeds are lightly covered by soil (follow package directions)

3. Water each cell. Be mindful not to over water the seeds, a spray bottle comes in handy.

4. Use tooth picks and paper to make labels.

You can also use rocks or clothes pins to label the seeds.

5. Cover your tray with plastic wrap or a bag to create greenhouse conditions.

6. Place the tray by the window and watch your seeds grow! Keep soil watered and remove the plastic wrap when the first leaves appear.

7. When your plants have more than two leaves, separate each cell and plant it directly into the ground (or pot). The pulp that the egg carton is made of will decompose and become

compost

.

Doing this project is a great way to teach kids about the importance of planting and re-planting, recycling and composting. Explain to them why we should plant trees, how you are recycling the egg carton and how it becomes plant food. Let them have fun while you guide them.

Make a photo journal, they’ll enjoy comparing the growth of the plants and making observations later on.

 I know I did when I was little and now I pass the experience on to my kids.

Natasha K.

DIY: April showers tees

“April showers bring May flowers” or so they say. Well, I say make April showers fun with a rain inspired D.I.Y project. The weather is slowly warming up and my kids are longing for those special hours of outside play. While the clouds resisted to cooperate, we spent some time creating these great t-shirts. Kids love getting crafty, so take your little ones, nieces, nephews or cousins (or just your inner child!) and gather your supplies!

You will need:

* A pre-washed t-shirt

* Freezer paper

* Acrylic paint in colors of your choice

Textile medium

* A foam or spouncer brush

* Exacto knife

* Cardboard

* Surface for mixing colors (I use the cover of a take out container)

* April Showers stencil

1. Make your stencil. Click on the link to get the April Showers stencil. Cut a piece of freezer paper to  fit the image's 8.5" x 11" size. Feed the piece of freezer paper through the printer manually as you print the image, making sure the artwork gets printed on the dull side of the paper. Carefully cut out the drops and cloud shapes with your exacto knife. You have made your stencil.

2. Iron the stencil onto your t-shirt. Place the stencil shiny-side down on the center of the t-shirt and press with your iron on the hottest setting. Do not use steam.

3. The part the kids love, mixing colors and printing! Mix 2 parts acrylic paint/ 1 part textile medium. Textile medium is great because you can use acrylic paints to paint, stamp or print on fabric without having to spend a big budget on textile inks and your project will be washable. Place the piece of cardboard inside the t-shirt, under the stencil, so that the paint doesn’t transfer to the back. Take your sponge brush and dab it on the cloud area. Make sure you cover the whole thing. If you’re letting kids do this part, let them have fun while guiding them.

4. Move on to printing the drops. Mix different colors and dab your sponge brush. For lighter colors, you may need two coats of paint. Let the first coat dry before doing the second one.

5. Let the paint dry for at least an hour or so. Gently remove the stencil off of the t-shirt. Your stencil can be re-used a few more times so don’t throw it away!

6. Heat set the design on the fabric. Using your iron in the hottest setting, iron over the printed area for 20-30 seconds. Do not use steam. Wear and enjoy!

My kids are very happy with the results and are proudly saying “I made this”. Now they’re thinking to make them as gifts for all their friends but I’m not so sure about that... Remember to supervise children while doing this project, only adults should do steps. 1. 2. and 6.

Have fun and please share pictures of your April showers tees!

Natasha K.

*on Etsy*

*on Facebook*