What to do with Scraps of Felt, Part I: Make a Snazzy Brooch
Materials
You will need:
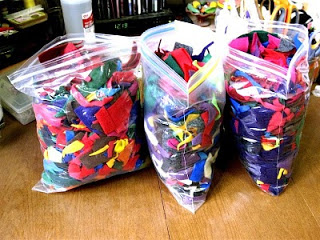
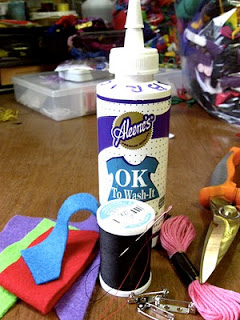
- Scraps of felt
- Needle and thread (or embroidery floss---I've got lots of scraps of that, too)
- Scissors
- Fabric glue
- Pin-backs
Steps
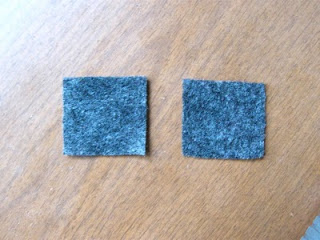
Find a piece of felt big enough to cut into two equal pieces of the size brooch you want. These will serve as the front and back of your brooch. Lay the two pieces out with the "right" (fuzzier-softer) side facing up. Pick one to use as the front side of the brooch.
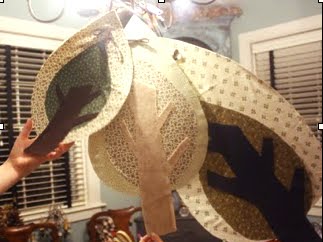
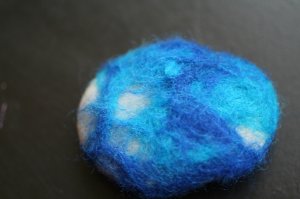
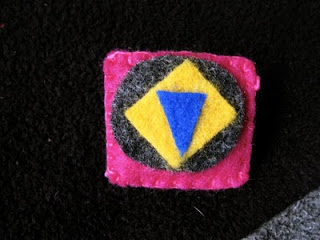
Decorate this base piece of felt with additional pieces of felt. Maybe throw on a few beads is you have them. Have fun! One of the fun things about using felt for this is the ability to layer it to dimensional effect. The more layers of felt (and whatever else you put on), the more dimension your brooch will have.
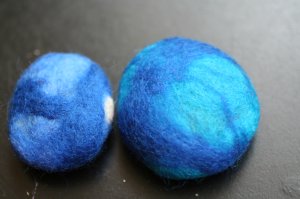
For these first few brooches I just used different sizes, shapes and colors of felt. In the first brooch (below), I glued the shapes on, and in the second one I sewed them.
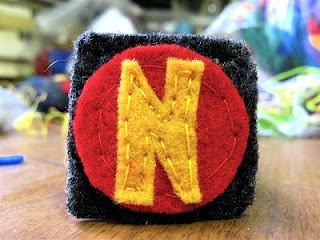
If you're sewing your decorative bits, you might try using contrasting colors of thread or embroidery floss for additional pizzaz.

If you're gluing your decorative bits, be careful not to press them onto the base piece with too much pressure at first. Felt is porous so the wet glue will seep through and dampen the fuzzy-softness of the surface. As the glue dries you can give them another pat or two to ensure they stick well.
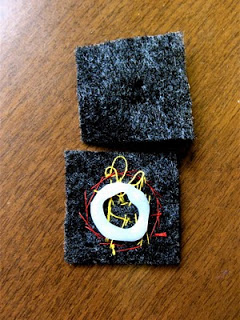
Now for the back side of the brooch. If you're sewing, position an open pin back in the center of the back piece of felt. Hold onto it tightly and sew. The kind of pin-back I used has holes on it like a button, and I sewed it like a button, pulling the thread in-between the holes down the length of the pin-back. I also sewed around each hole on either end of the pin-back. I've found that with this kind of pin-back, you can't sew it on too securely. If it's not firmly affixed to the felt, it's hard to open and close the pin. (If you're gluing, I suggest putting the pin-back on last, after the following step.)
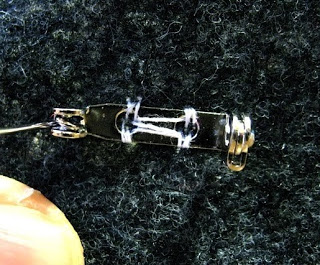
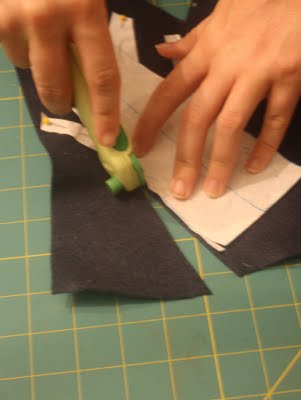
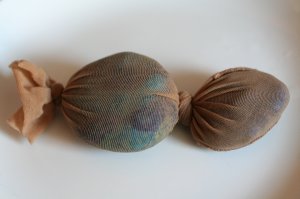
Now, either sew or glue the front and back sides of the brooch together. If you're sewing, you might still want to squirt a bit of glue in-between the sides (first photo below), both to give the brooch some structure, and to keep it together in case your stitches come undone. It would stink to lose the front of your brooch and be left wearing just the back, especially after all that dimensional layering!
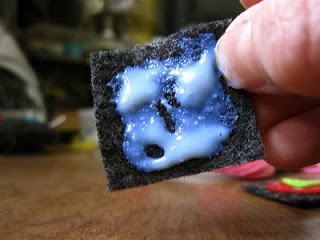
If you're using the "glue" method, now attach the pin-back. Squirt a line of glue onto the back of the brooch and set the pin-back in it.
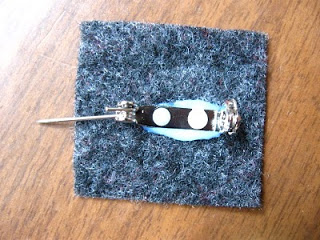
Allow to dry, affix to a sweater, hat, bag, or what-have-you, and ta-da! A neat accessory---and a few pieces of scrap felt used up!
Until next time --

Linda