"do it yourself", "crafty life" NY Handmade Collective 9/6/17 "do it yourself", "crafty life" NY Handmade Collective 9/6/17 DIY: Craft Fair Table Display Read More NY Handmade Collective 6/15/16 NY Handmade Collective 6/15/16 Anatomy of a Market Day Looking at a craft fair from the inside. Read More NY Handmade Collective 4/13/16 NY Handmade Collective 4/13/16 From Side Job to Small Business Read More NY Handmade Collective 6/12/14 NY Handmade Collective 6/12/14 GIVE AWAY! Want to get Crafty with Brooklyn Craft Co? Read More
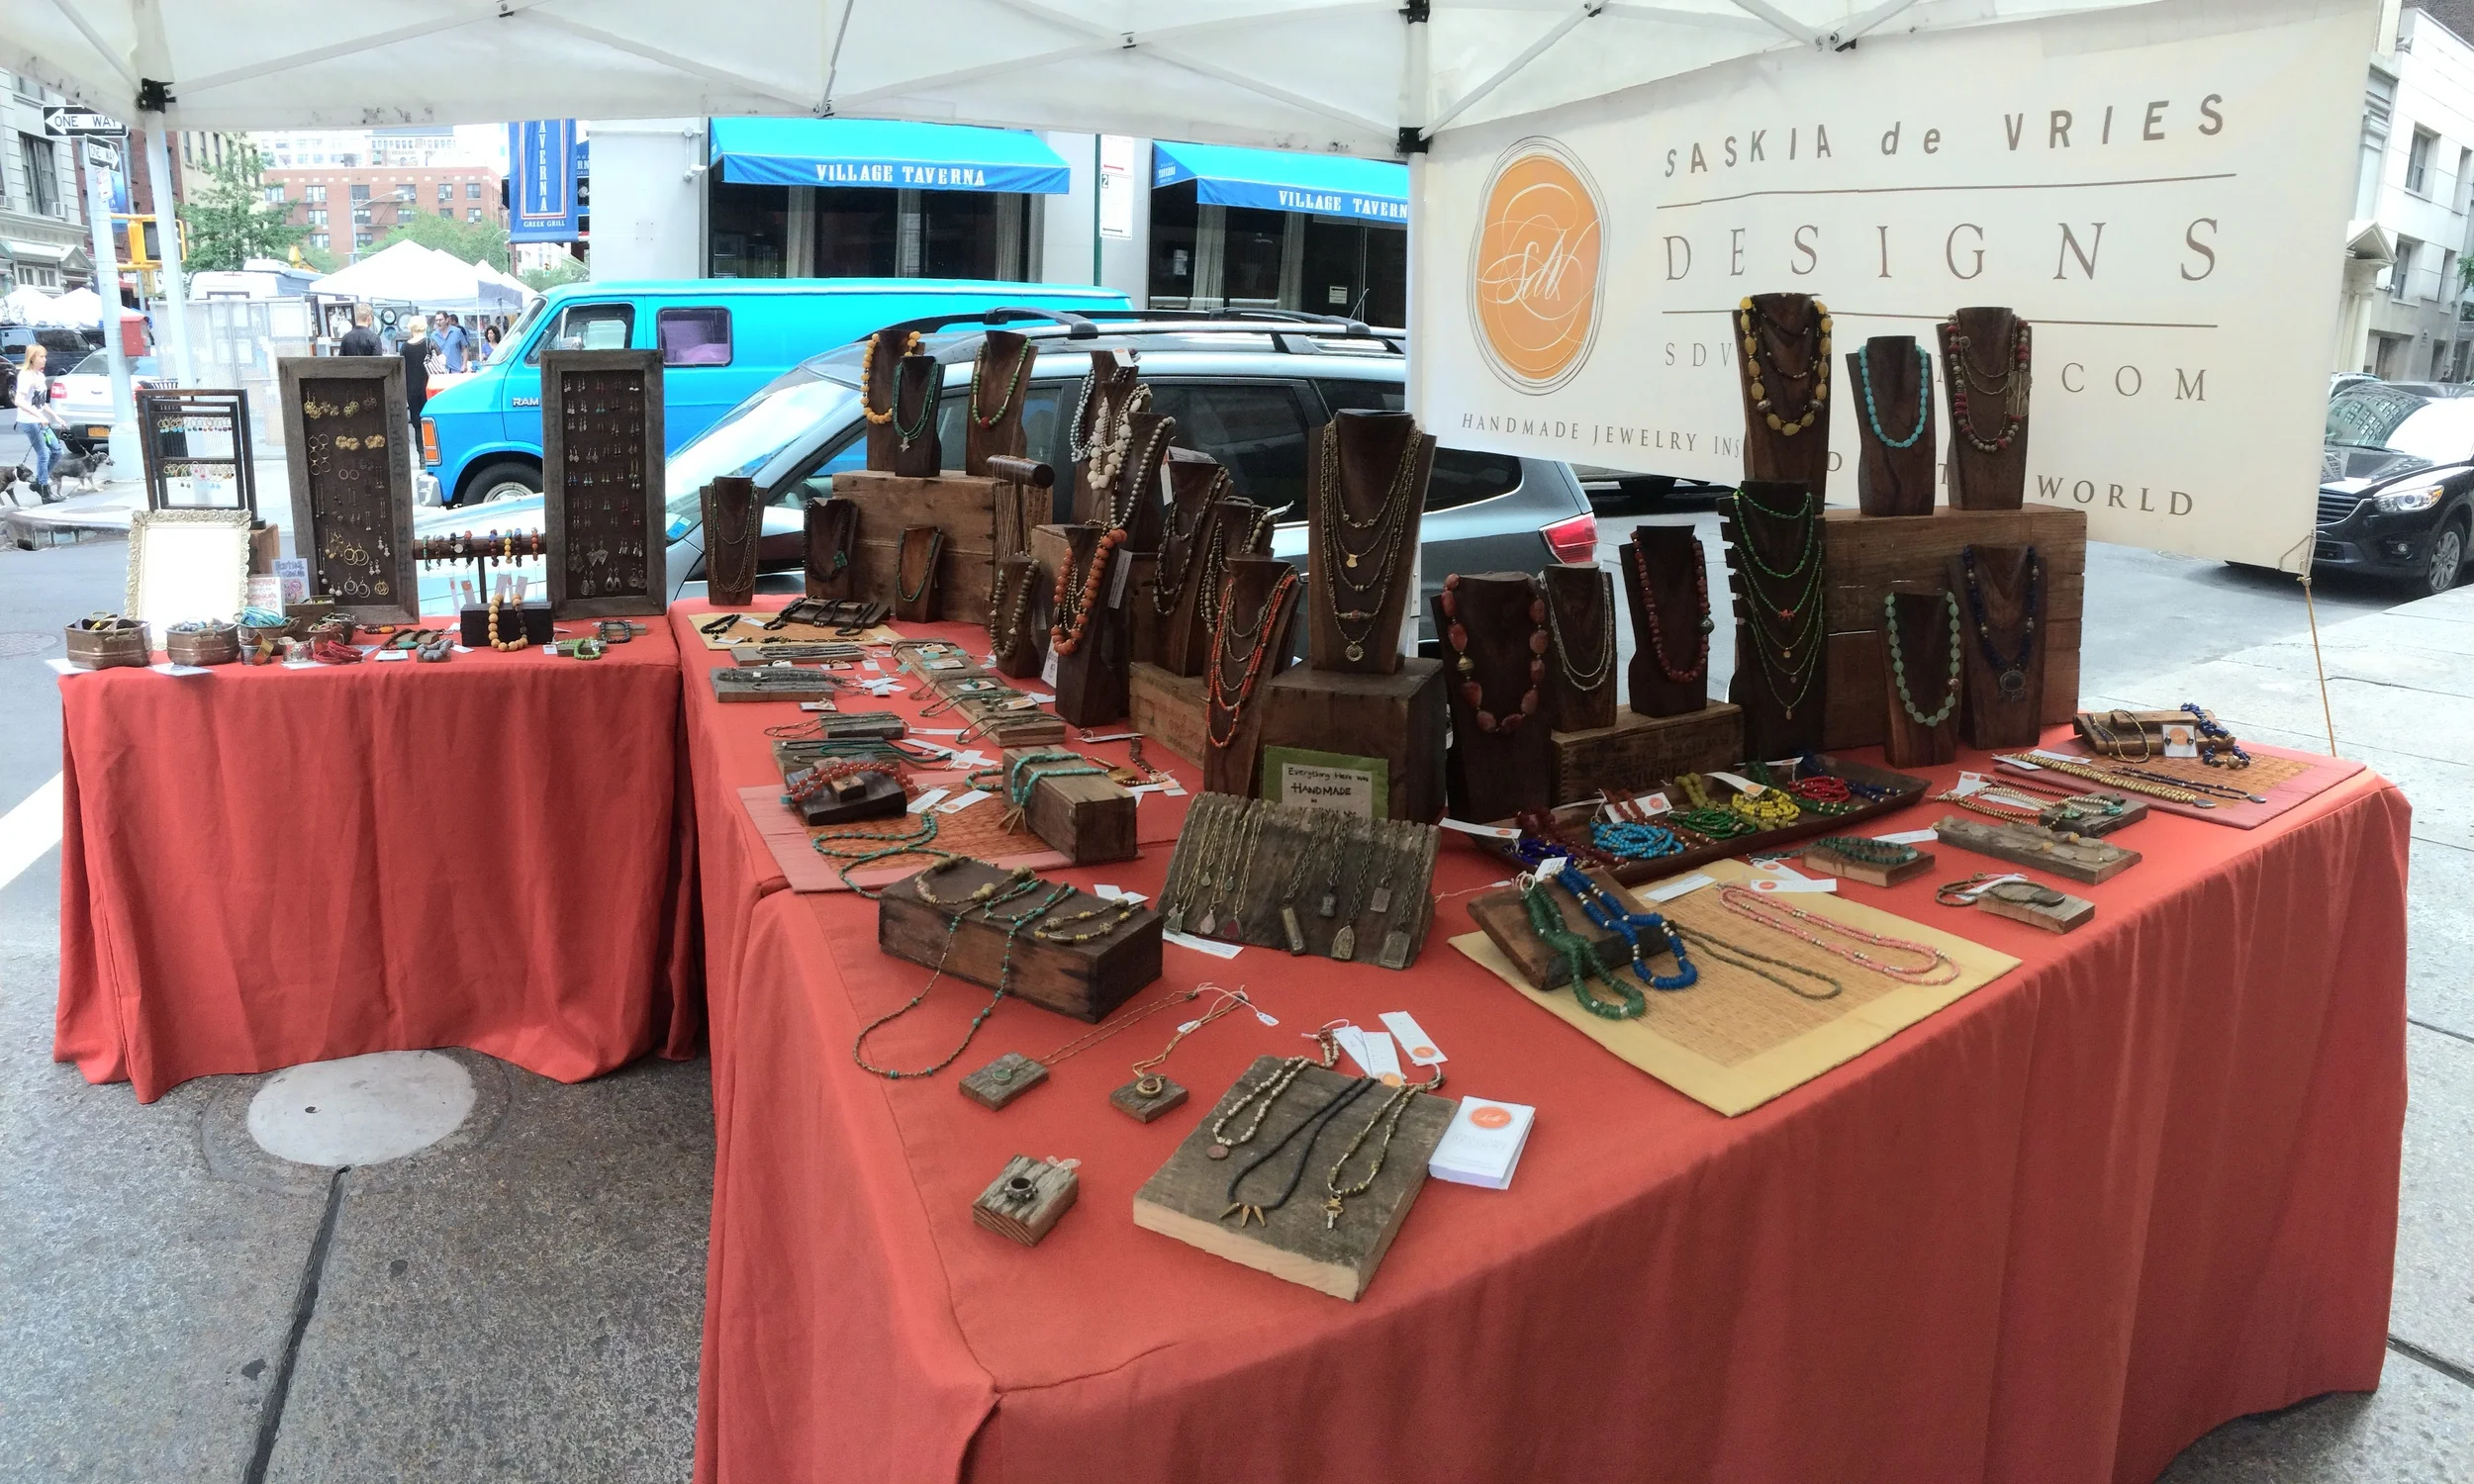
"do it yourself", "crafty life" NY Handmade Collective 9/6/17 "do it yourself", "crafty life" NY Handmade Collective 9/6/17 DIY: Craft Fair Table Display Read More
NY Handmade Collective 6/15/16 NY Handmade Collective 6/15/16 Anatomy of a Market Day Looking at a craft fair from the inside. Read More
NY Handmade Collective 4/13/16 NY Handmade Collective 4/13/16 From Side Job to Small Business Read More
NY Handmade Collective 6/12/14 NY Handmade Collective 6/12/14 GIVE AWAY! Want to get Crafty with Brooklyn Craft Co? Read More