
DIY Setting the Table: Coaster Tutorial
Summer is coming to close, this coming Monday will be the Autumnal Equinox. We only have a few more warm days to enjoy wearing shorts and sandals, grilling outside and enjoying fresh fruits from the farm stand like my favorite, watermelon.
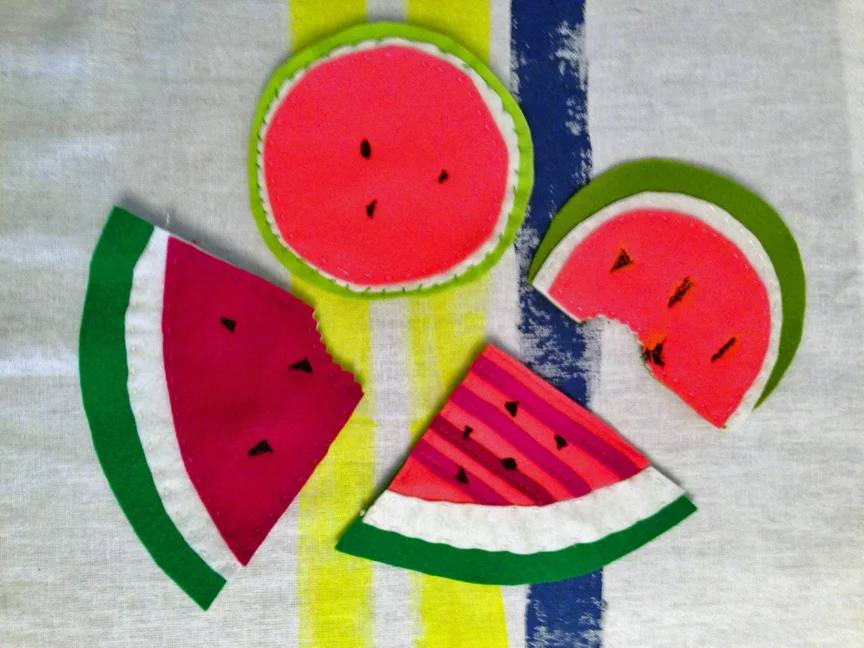
To keep the summer fever going I created these watermelon coasters. There are a few things that I really like about this project: one, the wool felt is lovely and easy to work with, two, you can really mix up the colors. Watermelons range from soft pink, not quite ripe flesh to deep sweet pink, super ripe. Three, you can hand sew or machine sew these coasters. Which means it can be a travel project.
I struggled with the shape in the beginning. My inspiration for this project came from Molly's apple coasters on purlbee.com and this piece of fabric that I fell in love with two summers ago:
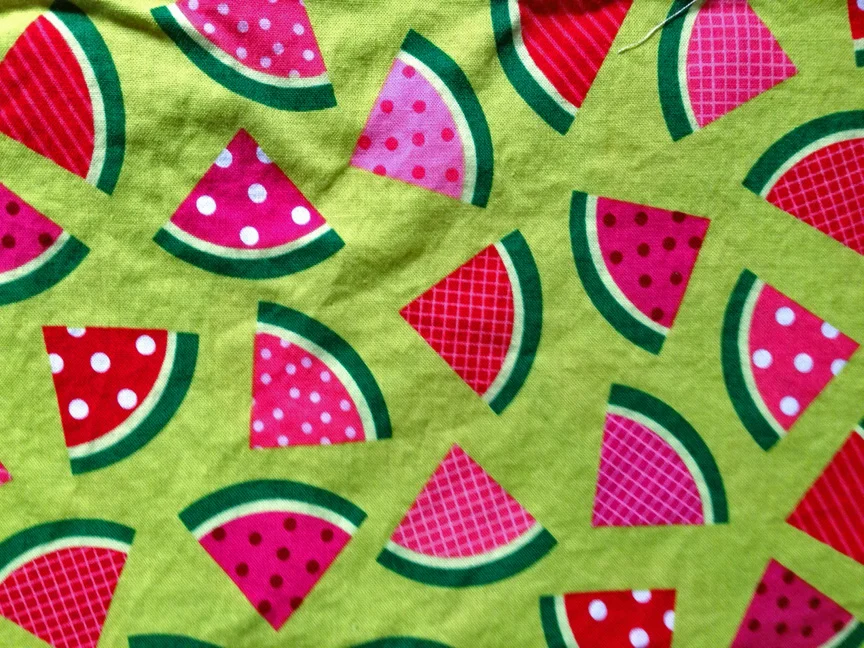
kaufman fabric
I wanted to do watermelon coasters because the shapes can be different and these are a whimsical coaster for a summer BBQ. So I've experimented with a few shapes, colors, threads and techniques. You choose what you want to do. See what you like best. So choose your design and your color palette. Once you choose your palette you will need 1 piece of felt per color.

wool felt and dmc perle
My palette: the greens are lime, kelly, olive
pinks: baby pink, bright pink, pink, fuschia
white: ecru, white
Supplies:
1 18" square felt per color
hand sewing needle- I used an embroidery needle between sizes 5 and 10
dmç cotton perle 8 - greens #700 and #906 (lime green), ecru, deep pink #718, bubble gum pink #603, baby pink #818
For the seeds: I used DMC embroidery floss in black #310, it's a 6 ply but I only used 3 ply.
fabric scissors
pinking shears
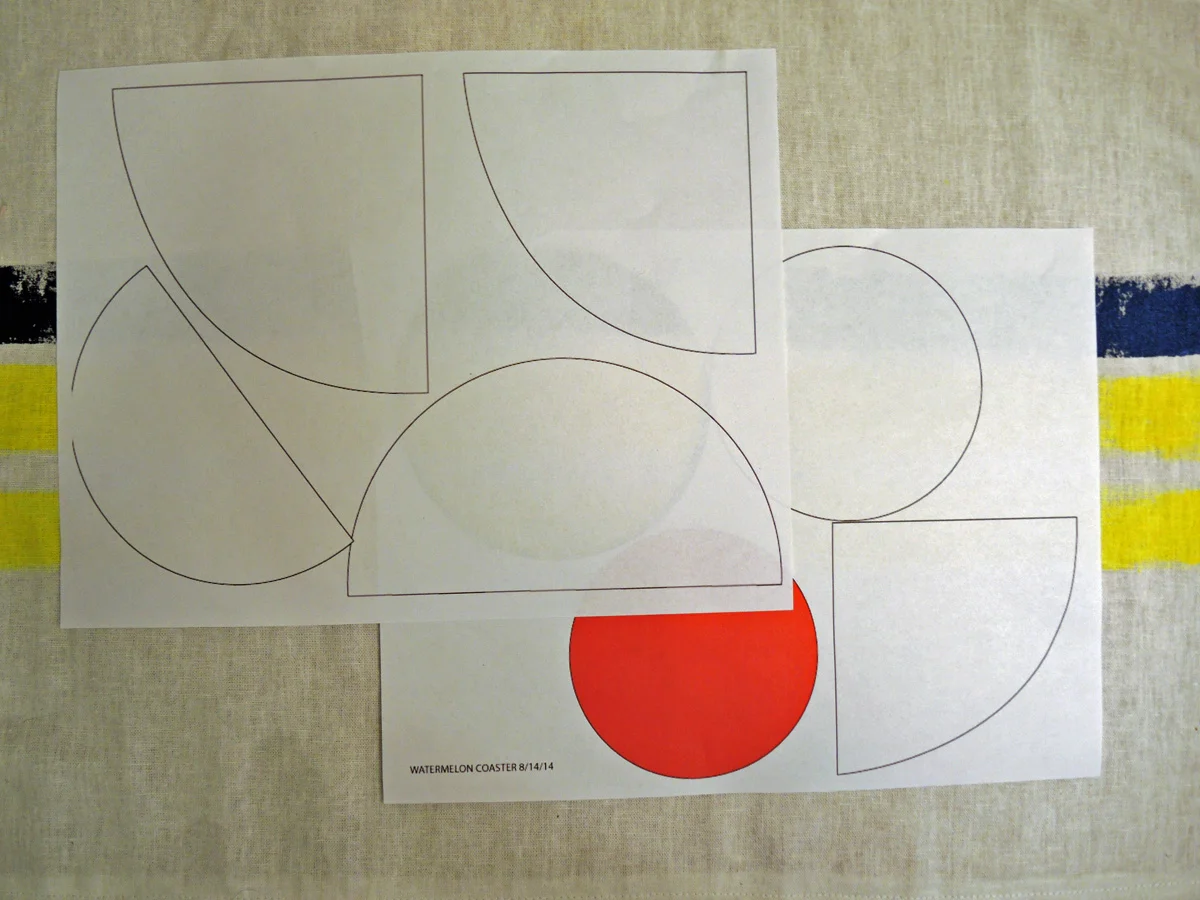
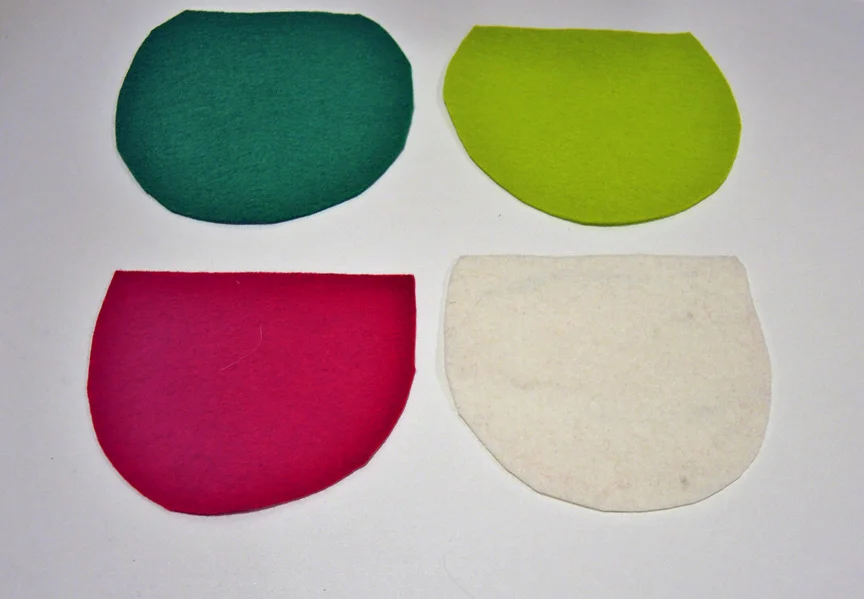
1. Your design is chosen; half circle, full circle, cut slice. Cut out your pieces of felt.
The following directions are for circle and half circle. I used the bottom of a large jar that had a 5" diameter. This was for my green piece and the largest size, from here I sized down about 1/2" for the white then the pink. If you have Adobe Illustrator or a compass, you can make your circles quite easily. I created a template in Illustrator.
I played around with the design of it. In the final photos you will see I experimented with strips of pinks to add some dimension. I also experimented with shades of green thread to add watermelon skin texture. I ultimately settled on the circle and half circle, 3 layers and keeping the flesh a solid piece of pink felt.
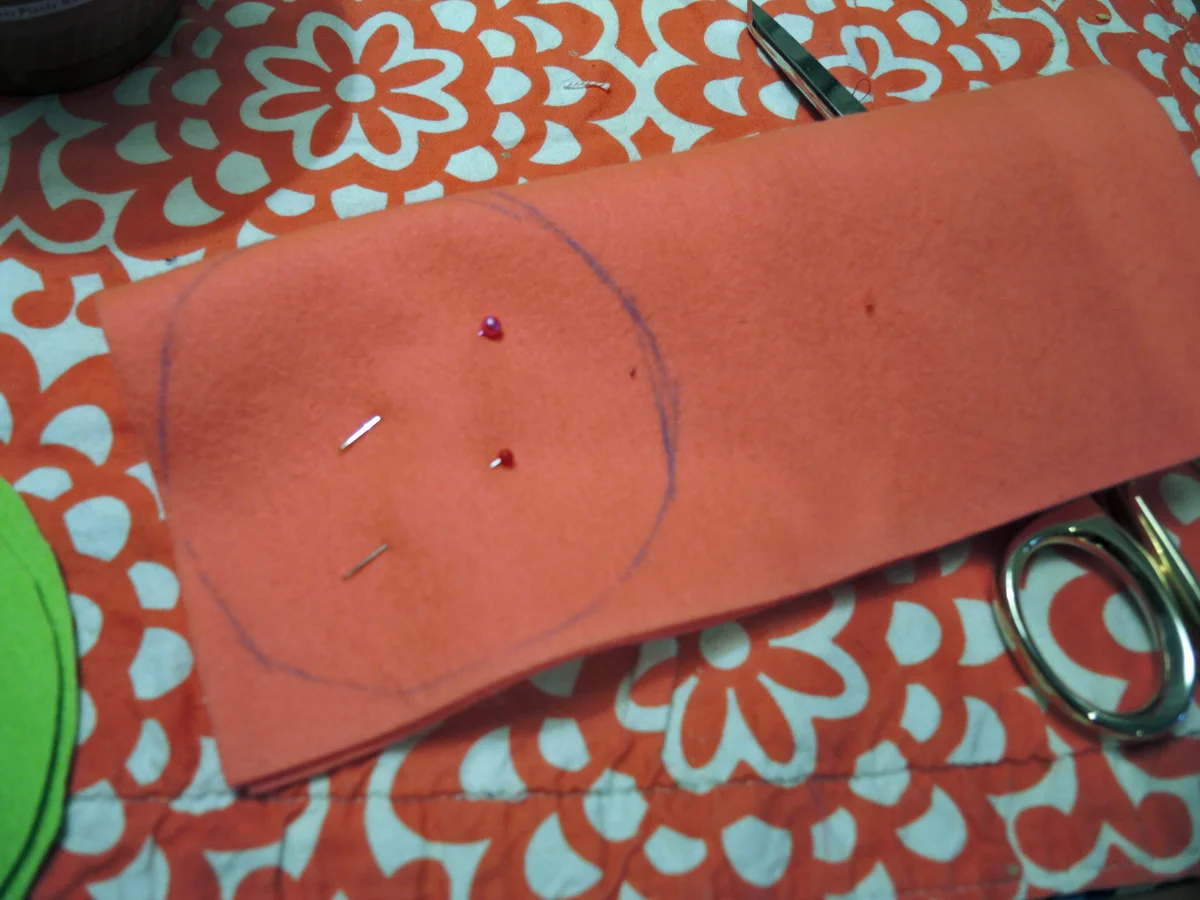
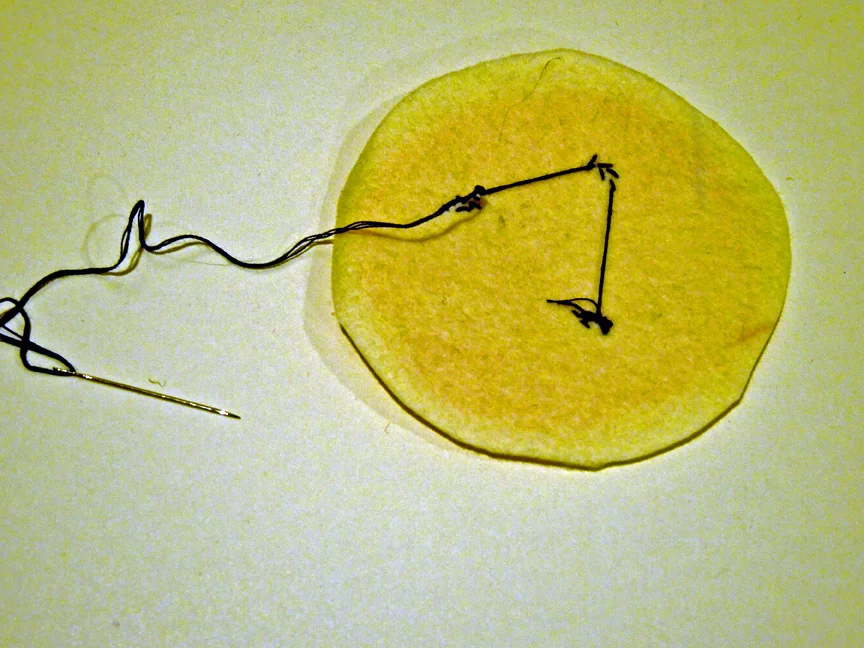
2. Sew the seeds. Place one piece of pink felt on top of white felt and using the black thread, either 3 ply of DMC floss or the perle DMC do a simple running stitch starting at the back side (the white). With a disappearing tracing pen I drew little v's to follow as a shape for the seeds. You can also machine stitch the seeds.
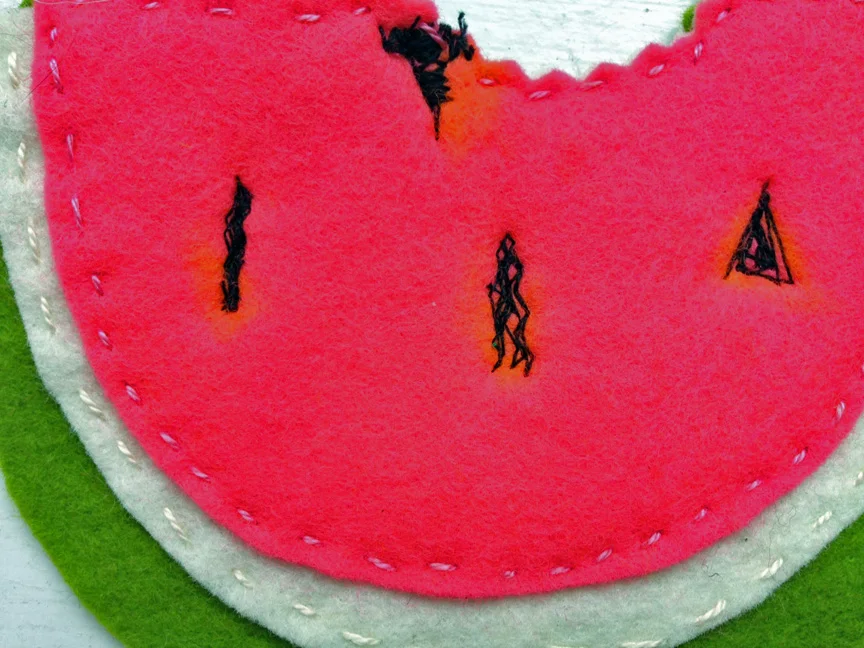
For the machine stitch I used a zig zig in black or chocolate brown on top. Remember to sew the seeds before putting the last layer, green, on. This way you won't see the underside of the seeds.
3. Lay the pink and white section on the green. Do you want a really ripe melon? Then choose your dark green. Pin the layers together and if you want to make a bite into the piece of melon now is the time to bring out the pinking shears.
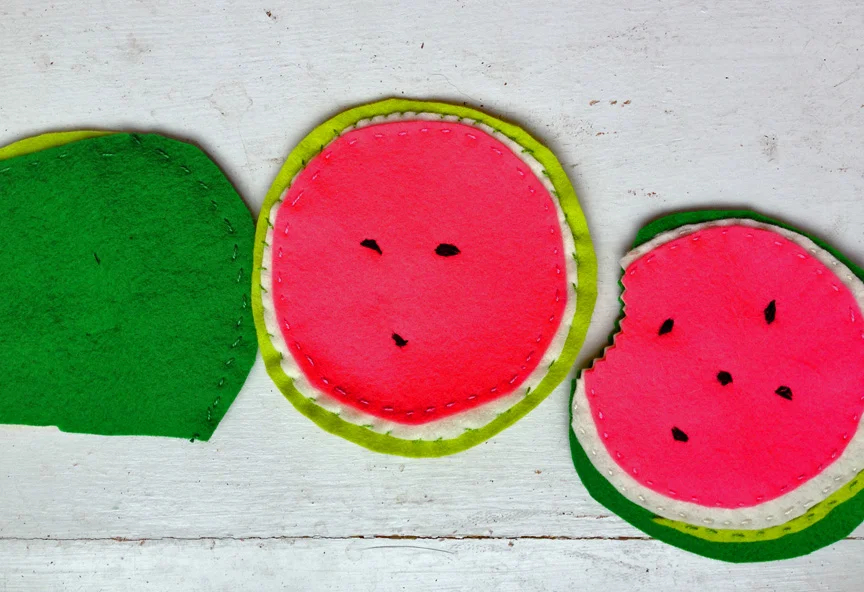
Hand sew pink edges with your choice of pink Perle thread and then do the same with the white. I like using the dmc brand. You can sew a green Perle thread around the edges, this would just be a topstitch.

Time to have a watermelon cocktail!
PS these are machine washable cold, but please line dry.
Enjoy!
Tracey
https://www.etsy.com/shop/traceytoole