What About Love...

Let me just say...I don't really hate Valentine's Day. I just find it slightly annoying. If you love someone, you should let them know all year round....not just on Valentine's day! The day is completely jammed down our throats, I barely had time to take down my Christmas lights. As soon as the new year began...hearts and candy began to choke the aisles of my neighborhood convenience store. And I might just throw up if I see another Jared commercial!

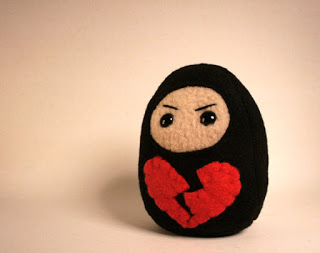
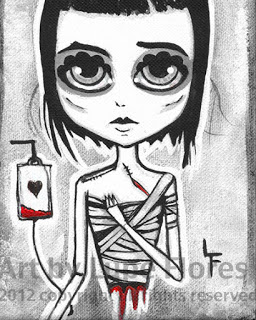
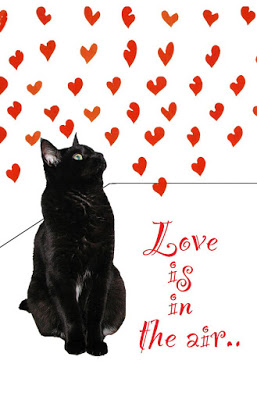
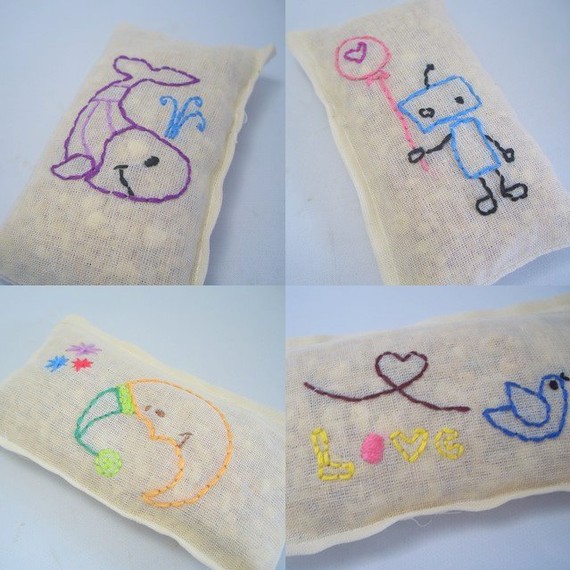
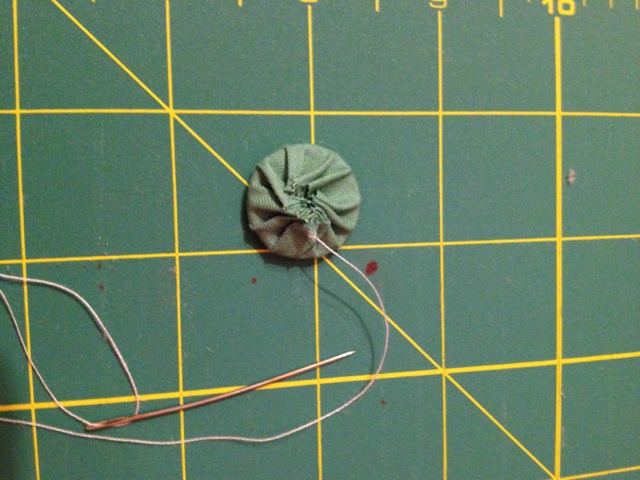
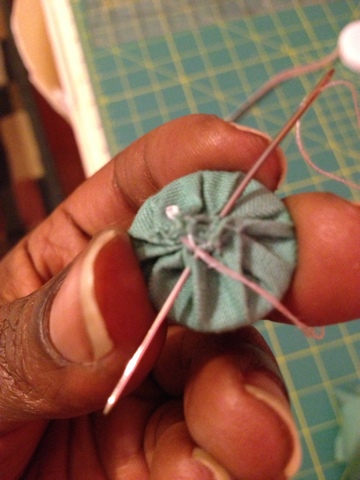
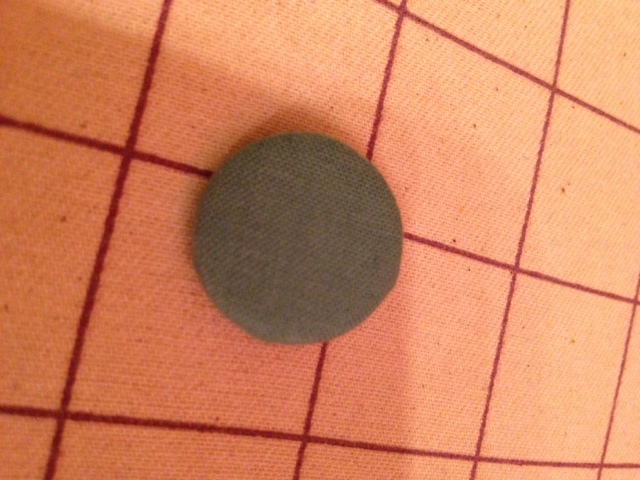
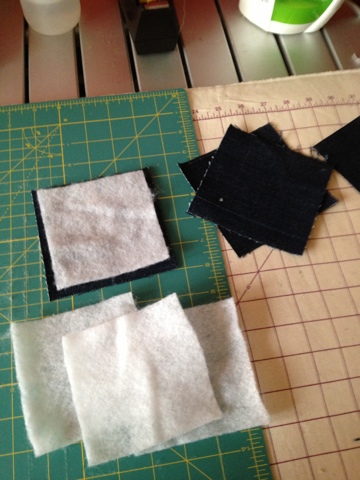
Ok, so my mini rant is over...I feel better getting that off my chest! Anyway, I thought it might be interesting to highlight a few etsy artists that have some "anti-valentine's day" items. The one thing that I love about etsy is that you will probably find something cool, interesting, and definately one of a kind!

ArtByLupeFlores

Until next time....happy crafting!

Nordea nordeasoaperie

Valentine's Day isn't just for lovers....gifts from local Etsians

For the cat lover. Card by DeborahJulian

I never liked Valentine's day as a single person. To me it was just a reminder of how single I was and all those thoughts of why am I alone...boo hoo.  Now that I am married there is pressure to do something on Valentine's Day.  And when we do celebrate I feel as though I am being obnoxious to those who don't have anyone. Ok obviously Valentine's doesn't work for me either way.  However coming from a family of 5 kids, my sisters and my parents would always send Valentine's to us.  As an adult living in the same city as one of my sisters, I would find a Valentine gift at my door that morning. It always made me smile or laugh and feel loved.  Valentines are for everyone, not just lovers.

Here are a few gift ideas for your friend, your sister, your brother, your child, your parent....all from members of Etsy New York.

for the friend who is always late, Vanilla Green Tea clock by Newyorkclocks

There are so many gifts to choose from the Etsy NY Team. Just go to etsy.com and in the search box type etsynyteam.

Get shopping, you have 7 days!

Tracey Toole

http://www.etsy.com/shop/traceytoole

http://traceytoole.blogspot.com/

Fabric Covered Buttons

As you can see, I've got a lot of buttons in my stash. Unfortunately, sometimes none of them will work for a particular crafty project I may be working on. Last September, I decided to finally replace a missing button on a jacket. I headed down to a button store in the garment district and ended up buying a button for $3. Yes, $3 for one button. I found the price to be ridiculous, but I had no choice. A few months later, I came across instructions online to create fabric covered buttons....so I will never pay $3 for a button again!

First, pull out your stash of fabric scraps. It doesn't take a lot of fabric, so there is probably something in the fabric stash that will be useful. I decided to use the greenish-colored fabric (seafoam) because I had no buttons that matched the fabric.

Measure the distance from the edge of the button to the middle of the button. You want the fabric to be able to reach the middle so you can completely cover the button.

I traced a circle on the fabric around the button, making sure that there was at least 1/2 inch extra all around.

Then, I cut the fabric. My measurements were pretty close, but it wasn't necessary to be exact.

Taking a needle and thread, I used a running stitch (I think that's what it's called) and stitched along the perimeter of the fabric circle.

After placing the button in the middle of the fabric circle, pull the thread taut so the fabric gathers around the button and covers it completely.

You can even trim a bit of the fabric around the outside of the stitches to reduce the amount of bulk behind the button. You don't want too much fabric because you want the button to lay as flat as possible when you use it.

Continue to stitch up the fabric until it is taut around the button. Knot off the thread, and you are done! A beautiful button for whatever project you are working on!

Until next time....happy crafting!

Nordea nordeasoaperie

Quick & Easy DIY Fabric Coasters

Now that I have a new obsession in sewing, I am starting to find all sorts of fun projects to work on. I happen to have a weakness for coasters. I have them all over my apartment, and I always have some on my table at craft fairs (so that customers can put down their drinks and pick up my soap!) So, here is a quick and easy tutorial that anyone can do:

First, I cut out four squares of fabric for the top portion (an old pair of jeans!) and another four squares in a coordinating fabric (the same size) for the bottom portion.

Then I cut out four squares of batting slightly smaller for the padding.

Then I cut four strips of colorful ribbon that would fit across the front of the top square. I glue it on to keep it in place before sewing.

Using my trusty machine, I sew the colorful ribbon strip onto the front of each top square.

Then, I glue the batting onto the back of each bottom square.

I place the top and bottom squares (right sides facing each other) together and pin them in place before sewing them up. You want the right sides to face each other because you need to leave a 1.5" section open so you can turn the completed square inside out. If you look closely, you can see where I marked my opening in blue marker near the top of the square.

After you turn the square inside out, the right sides should be facing out, and you simply need to hand stitch the small opening to finish it up.

So there you have it....easy peasy fabric coasters! Great for a quick housewarming gift, or if you are heading to a friend's house for dinner...I always like to show up with a little gift of appreciation!

Until next time....happy crafting!

Nordea / nordeasoaperie

The Art of Soapmaking

I sell my soaps at craft fairs just about every weekend (April-December) and I always get asked who makes the soap and where "you guys" are located. I smile and say there is no "you guys" just me! I make everything on the table. The lip balms, the lotions, and yes...the soap!

The cool thing about making soap, is that I can make something that cannot be found in most stores. Some of my more popular soaps have unusual ingredients like cucumbers, bananas, and beer. The other day, I took some pictures when I made a batch of my cucumber aloe soap. So, I will explain a bit how the magic works!

Making soap is simply following a recipe...just like you would follow a recipe to make a cake or an empanada. An accurate scale is a must. I first puree the cucumbers and measure out the aloe juice to mix with the lye (sodium hydroxide.)

You cannot make soap without lye...no matter what anyone says. No lye....no soap! When handling lye, you should be wearing protective goggles. If you were to get any in your eye, you risk serious injuries!

Then I mix the lye into the aloe juice and cucumber puree. I do this in the sink just in case of any spills...it is contained in the sink. The last thing you want is little bits of lye all over the kitchen.

While I was pureeing cucumbers and measuring out aloe juice, I melted all of my oils and butters. You can make soap with just one oil or twenty oils. It takes a bit of experimentation to come up with a recipe that you like.

Then I mix everything up with my trusty stick blender. You don't need a blender, you can use a spoon, but the stick blender speeds everything up.

I mix until the soap batter reaches trace. This simply means that the soap is mixed until the batter is thick and emulsified. I mix it until it is almost solid in the pot.

Most soapers pour the soap into a mold once they reach trace. I take things a step further and cook the soap in the oven. This is called "hot process." Basically, I am accelerating the chemical reaction by the addition of heat. This means that the soap is fully "saponified" and ready to use asap. Normally, If you don't add heat, the soap needs to sit for at least 4 weeks before use.

While the soap is cooking, I measure out my fragrance/essential oils and my "superfat" shea butter. Because the soap is fully saponified, the shea butter is not involved in the chemical reaction, and in theory, will be left free in the soap. This means that the soap will not overly dry you out!

Then I pour the soap into a mold. You can use just about anything for a mold...tupperware, a shoe box, silicone muffin pans, an empty carton of milk. You just need to properly line the mold, so your soap can be removed. Once the soap is hardened in the mold, you can take it out and slice.

Here is the soap sliced and ready to be labeled and wrapped. I always include all ingredients because some people may have certain allergens. I once met a woman who was allergic to olive oil!

Until next time, happy crafting!

Nordea nordeasoaperie

Holiday Gifts on a Budget

Washington is buzzing with talk about the "fiscal cliff." I am not quite sure what that all means for me, but I do know that I have considerably less money in my bank account compared to ten years ago.

I like giving gifts for the holidays, especially unique, handmade items. Unfortunately, some people in my family, and even some friends do not really appreciate how special handmade can truly be.

I have witnessed friends making lists of all the things they plan to return, and what they plan to get instead....not really embracing the true spirit of gift-giving.

For that reason, I am a fan of giving a bunch of "little" gifts. And by that I mean gifts around $10. I usually pick out 4-5 "little" gifts for each person, hoping that they will like at least a couple of the items. I hate to think of myself plunking down a considerable amount of money for one big gift, that the person may not like.

I often turn to etsy to find those special little items, that cannot be found in target, wal-mart, and other big department stores. Here are some awesome picks from members of the Etsy NY team:

Koto Designs

I hope I have given you a few ideas for some gifts this year, and remember, whatever gifts you may receive this year...be thankful! Until next time, happy crafting (and/or shopping!)

Nordea / nordeasoaperie