The Art of Soapmaking

I sell my soaps at craft fairs just about every weekend (April-December) and I always get asked who makes the soap and where "you guys" are located. I smile and say there is no "you guys" just me! I make everything on the table. The lip balms, the lotions, and yes...the soap!

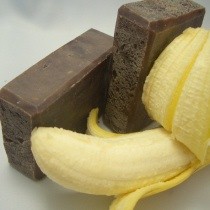
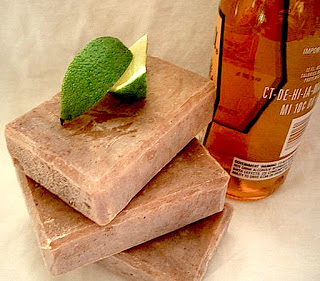
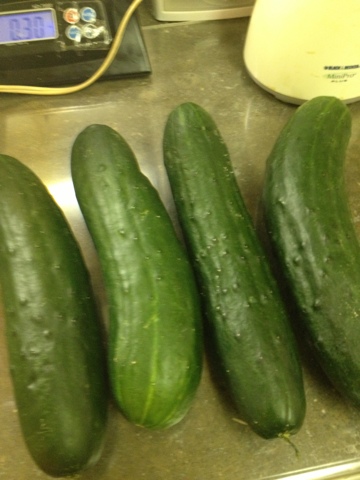
The cool thing about making soap, is that I can make something that cannot be found in most stores. Some of my more popular soaps have unusual ingredients like cucumbers, bananas, and beer. The other day, I took some pictures when I made a batch of my cucumber aloe soap. So, I will explain a bit how the magic works!

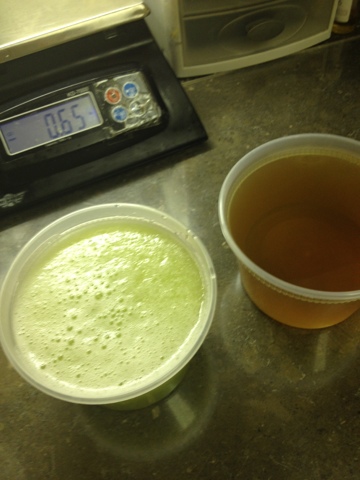
Making soap is simply following a recipe...just like you would follow a recipe to make a cake or an empanada. An accurate scale is a must. I first puree the cucumbers and measure out the aloe juice to mix with the lye (sodium hydroxide.)

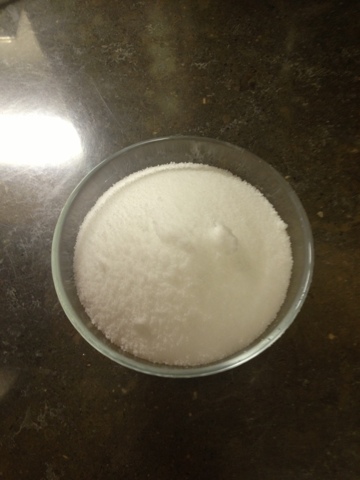
You cannot make soap without lye...no matter what anyone says. No lye....no soap! When handling lye, you should be wearing protective goggles. If you were to get any in your eye, you risk serious injuries!

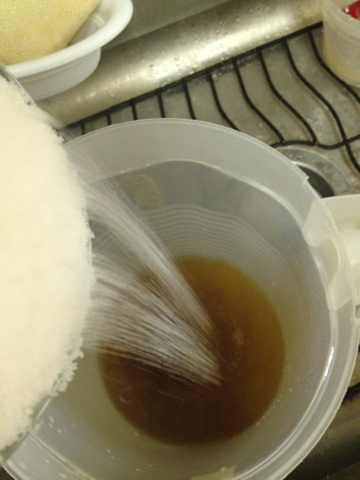
Then I mix the lye into the aloe juice and cucumber puree. I do this in the sink just in case of any spills...it is contained in the sink. The last thing you want is little bits of lye all over the kitchen.

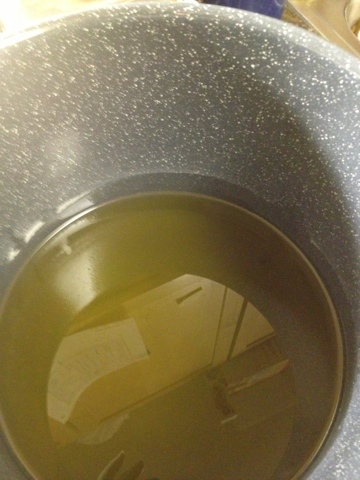
While I was pureeing cucumbers and measuring out aloe juice, I melted all of my oils and butters. You can make soap with just one oil or twenty oils. It takes a bit of experimentation to come up with a recipe that you like.

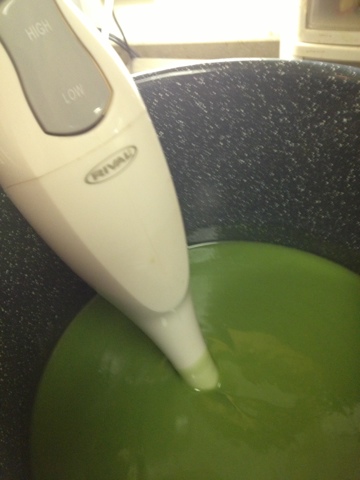
Then I mix everything up with my trusty stick blender. You don't need a blender, you can use a spoon, but the stick blender speeds everything up.

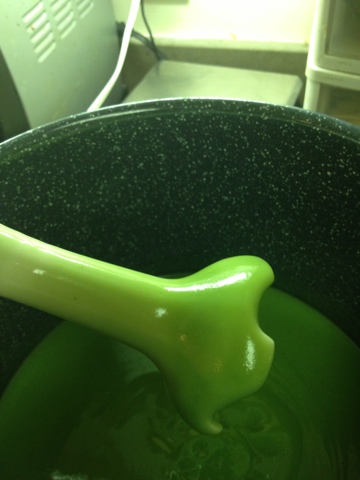
I mix until the soap batter reaches trace. This simply means that the soap is mixed until the batter is thick and emulsified. I mix it until it is almost solid in the pot.

Most soapers pour the soap into a mold once they reach trace. I take things a step further and cook the soap in the oven. This is called "hot process." Basically, I am accelerating the chemical reaction by the addition of heat. This means that the soap is fully "saponified" and ready to use asap. Normally, If you don't add heat, the soap needs to sit for at least 4 weeks before use.

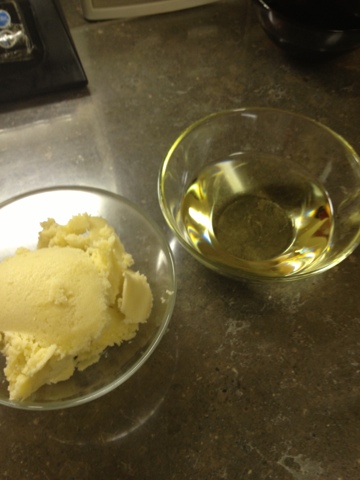
While the soap is cooking, I measure out my fragrance/essential oils and my "superfat" shea butter. Because the soap is fully saponified, the shea butter is not involved in the chemical reaction, and in theory, will be left free in the soap. This means that the soap will not overly dry you out!

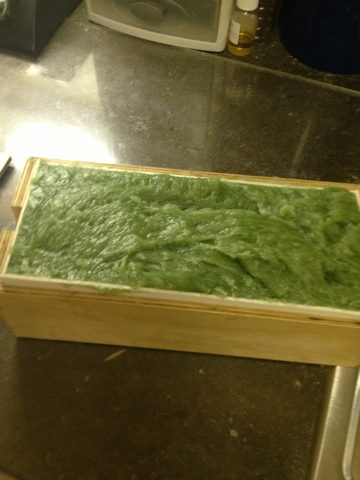
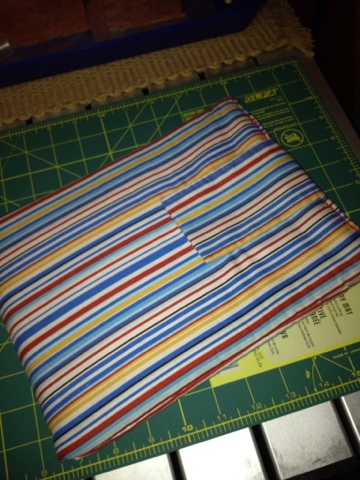
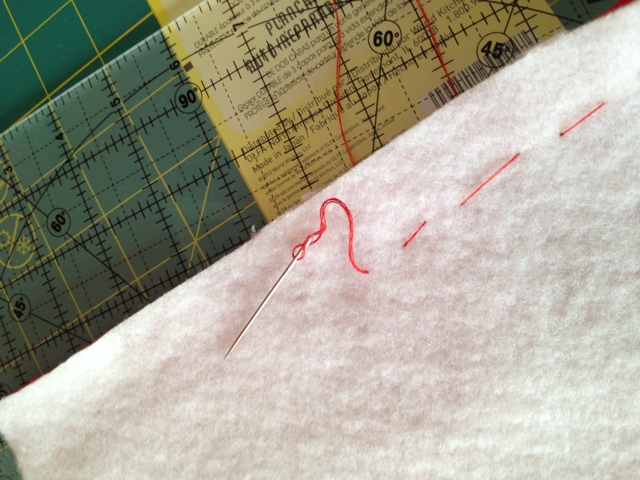
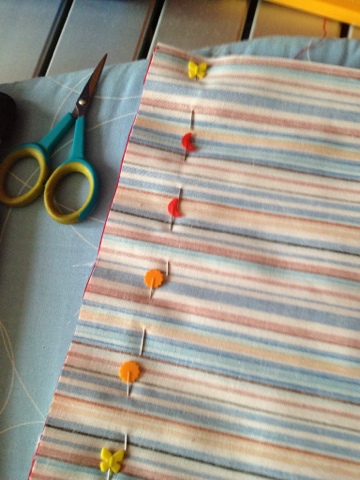
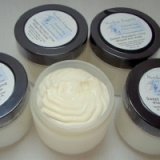
Then I pour the soap into a mold. You can use just about anything for a mold...tupperware, a shoe box, silicone muffin pans, an empty carton of milk. You just need to properly line the mold, so your soap can be removed. Once the soap is hardened in the mold, you can take it out and slice.

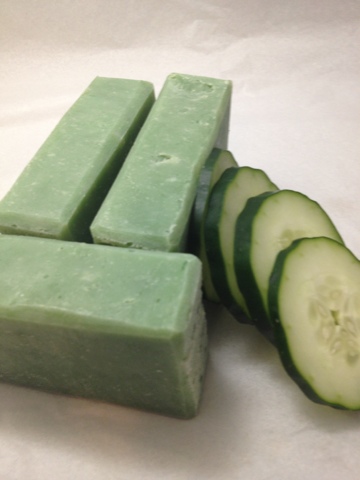
Here is the soap sliced and ready to be labeled and wrapped. I always include all ingredients because some people may have certain allergens. I once met a woman who was allergic to olive oil!

Until next time, happy crafting!

Nordea nordeasoaperie

Crafty Inspirations

Before I started crafting, I frequently visited craft shows to marvel at things that I thought I could never create. Fast forward years later, I am actually making and selling handmade soaps in my etsy shop Nordea Soaperie!

I always wonder what drives a person to choose their craft, and what inspires them to create on a daily basis. I know that I am inspired by my love of food...as strange as that sounds. I LOVE food, and I love to cook. Making soap is simply following a recipe, and I am always thinking of different ways to incorporate food and beverages into my soaping projects. Many of my more popular soaps include fruit purees or liquids like aloe juice and beer.

I asked another member of the EtsyNY team what inspired their crafty creations, and Alison from Koto Designs gave me the following answer:

"I would say that I'm inspired by what I encounter in my day-to-day life. I always have an eye out for anything with a simple geometry that would translate well into embroidery. For example, my brother is a huge bike fanatic and for his birthday I made him a card featuring his super customized bike. I made another (more generic) version for my etsy shop for all the bike lovers out there."

To see the beautiful work from many more members of the EtsyNY team, make sure you come to the annual Holiday Handmade Cavalcade which will be a two-day event kicking off the Holiday shopping season! This show will feature artisans from all over the tri-state area. Don't forget to mark your calendars, December 1 & 2 in Brooklyn, NY....Hope to see you there!

-Nordea

nordeasoaperie

Look Ma, I Can Sew!


This blog post is not so much a tutorial, but more of an inspirational story. I often have big ideas, but sometimes I don't follow through for fear of failure. This time around...I did it!

I purchased an iPad for my birthday last month. I was a bit nervous spending so much money, but it was my birthday after all! While I was checking out, the cashier asked me if I wanted additional screen protection insurance (or whatever it's called). I thanked her, but declined. She shook her head and clearly expressed her disapproval at my decision. I couldn't shake that feeling of dread as I walked back to the subway.

I immediately went online and purchased a hard magnetic cover, but my iPad still felt "exposed" as I carried it around in my purse, so I decided to make a padded sleeve for additional protection. I did a lot of research and found a tutorial that didn't seem too difficult. I have a sewing machine, but never really made something like an iPad sleeve.


I ordered some fabric, batting, a rotary cutter, a cutting mat, a clear acrylic ruler, and got to work!

I cut out my fabric carefully, measuring everything with precision. I learned about tacking, squaring up fabric, pinning my hems...lots of things!


I did have a few issues with finishing the hem, but worked it out. The velcro tabs didn't stick, so I ended up stitching them by hand. I showed the cover to a friend (an experienced seamstress,) and she was impressed with the work I had done. I won't lie and say it was easy. It took me about 5 hours to do, and there were times of frustration, but I didn't give up!


Now, I take my iPad everywhere! Of course, this doesn't guarantee that an accident won't happen, but I feel a bit more relaxed about taking my iPad on the go. My mom just bought an iPad, and I had her pick out fabric so I can make her a sleeve too!

So, I hope you are inspired to attempt a project of your own....happy crafting!

Nordea
nordeasoaperie

2011 Holiday Handmade Cavalcade Gift Guide for Him

Here it is, the second in our series of gift guides featuring the work of artisans participating in this year's Holiday Handmade Cavalcade (December 3 at Public Assembly in Williamsburg).

First things first:

Cerveza Con Lima Body Bar by NordeaSoaperie.


Next:

Sterling Molar Cufflinks by SaruStar.

And for outer-wear (although I suppose not necessarily exclusively):

Black Knit Cap for Men or Women by EllisDesign.

Accompanied by a few essential accouterments (one a bit saucy):

Set of Two Neon Green Hand Screened Handkerchiefs by ApertureAgog

Little Black Book, Mini, Hand Woven in Satin Ribbon by PriaVanda

Don't forget his abode! It may benefit from some styling too. A great manly choice for the wall: 

Rusty Hammer 8x10 print by AstrOdub

Come to the Holiday Handmade Cavalcade for more special gifts for the men on your list!

Until next time --


Linda


Video How-To: Melt & Pour Wedding Favors


With the economy the way it is, it's important to be thrifty when planning your wedding. Melt and pour soap making is a great idea for wedding favors-- it's very easy to work with, while also cost effective, and easy to get creative with!

The great thing about melt and pour soap making is that it's just that..you melt and pour the soap base and end up with some cute little soaps! Because it is so easy to work with, you can pretty much do anything with it.. make it any color(s), fragrance, put any additives in it (you can stick just about anything in this soap base!), use an assortment of molds (things you may have lying around the house, to a soap/candy mold)and lastly, package it so that it goes with the theme of your wedding.

c&s 024

c&s 036

The following is the first NewNew video How-to, by Ilana of YoursTrulyxoxo and Michelle of Dirty Loves Clean. To make the favors pictured in the video you will need:

-Soap Base (We used a natural shea butter base, and natural clear base)
-A Mold (we used a few different things including a cookie tray and silicone cupcake mold)
-Something to heat the soap in (glass measuring cup works great)
-Something to stir the soap with (we used a chopstick)
-Additives such as fragrance, color, dried flowers (we used dried calendula)
-A Knife to cut the soap (we also used heart shaped cookie cutters)


More Ideas:

Soapmaking: Try not to move the soap as it's drying or you'll end up with a wrinkled texture (as seen on our tray soaps). For air bubbles-- try putting some rubbing alcohol in a spray bottle and spray on the soap before it dries. You can also use this between layers of soap to help it adhere better. And as we mention in the video, putting the soap in a freezer will help to harden it quicker- but don't leave it in too long or it will be quite wet when it comes out and starts to dry. Leave the soap out to air dry in a non humid environment.

Additives: Think.. dried herbs/flowers/tea, oatmeal, soap inside of soap, toys, anything plastic/waterproof.. even a note(laminated).

Molds/Soap Character: You can use anything laying around your home as a mold, just add wax paper and it will easily peel off. You can also find molds (soap or candy) in just about any shape so that it fits your wedding theme. If you want an elegant, polished soap, you can use a beveled mold. If you want something cute and simple, try a flower or heart mold. If you want to save money, line a pizza box with wax paper, and when it dries, use a ruler and make scores with a knife before cutting so that all soaps are even. Or if you want a more raw, organic look, you can cut the soap with a knife and not worry if it’s uneven.

Packaging: The simplest thing to use with melt and pour soap is a plastic bag because melt and pour has a high glycerin content and will "sweat" in humid conditions. You can decorate the bag with an assortment of ribbons and even make a simple label. You can also try using small jewelry boxes for packaging which you can buy online in bulk, or wrapping/tissue/scrap booking paper (best for non humid conditions)

Labels: Consider attaching labels to your soaps with your names and wedding date. You can buy scrapbook paper and print on this or even hand write to give your labels more character. You may also want to consider including the ingredients incase one of your guests is allergic.

Even Simpler: You can buy soap making kits specific to occasion such as wedding- if you want to buy everything together, a simple google search will bring up a few different options.

Where to Find The {NewNew} on March 7 + 8

DUMBO Winter Pop-Up Market

Make your way to the DUMBO Winter Pop-Up Market and check out members of the {NewNew} Team this Saturday and Sunday. Location: 81 Front Street, Brooklyn (Map)


Saturday, March 7th Line-Up (left to right): Yaniamor, Wish By Felicity, & MellowBeing


Sunday, March 8th Line-Up (left to right): KnitKnit, Jantar, and Nordea's Soaperie


Artists and Fleas Indoor Market

Karen's Monsters will be at the Artists and Fleas Indoor Market both Saturday the 7th and Sunday the 8th. Location: 129 North 6th Street, Brooklyn. (Map)


Happy Handmade Shopping!


Karina
WindowsOfAgate