I am not the most graceful of people. My movements are not smooth and clean but rather hurkey and jerky. Put a glass in my hand and whatever inside will inevitably end up on my shirt, skirt, or pants. I have not been blessed with any skills or helpful techniques for stain removal. When I try, the material gets all gross and fuzzy and I shove the garment to the back of the closet and then eventually throw it away. Conveniently, however, I am a screen printer. I find it's easiest just to hide that stupid stain. It's very gratifying to print right over that nasty mess, creating a whole new piece of clothing that is completely original. Nobody will know that you can't drink out of a cup or that you refuse to wear a frilly apron when you fry your food.
Here is a simple way to screen print without investing in the whole studio.
What you'll need:-contact paper (preferably clear)
-a screen (pick a simple one up at your local art store)
-fabric printing ink (also at art store)
-squeegee (art store)
-duct tape
-masking tape or t-pins
-sharp x-acto knife
-marker
-spoon or spatula
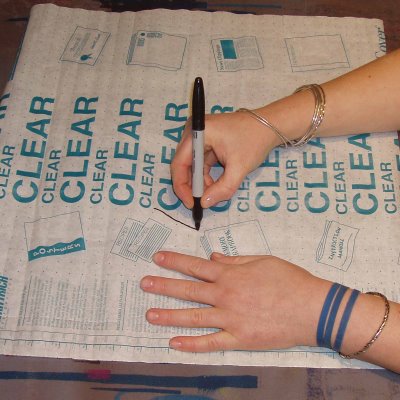
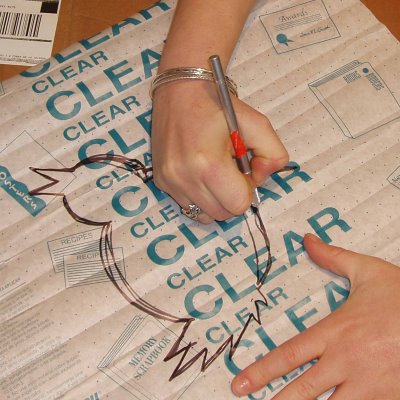
1. Your Image
Decide what image you want to use. Make sure that it is something without too much detail. Cut a piece of contact paper the size of the inner dimensions of your screen. Either trace or freehand-draw your image onto the paper-side of the contact paper. On a safe surface, cut that image out with your x-acto knife . Set aside the part you cut out. You will be printing your image using the negative space within the rectangular field of the contact paper.
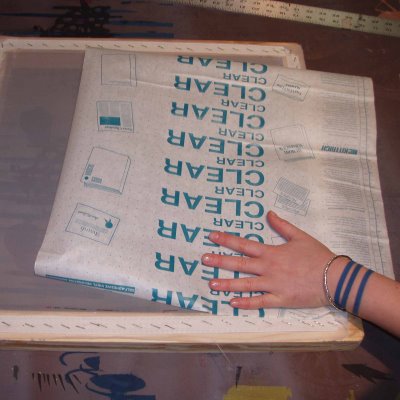

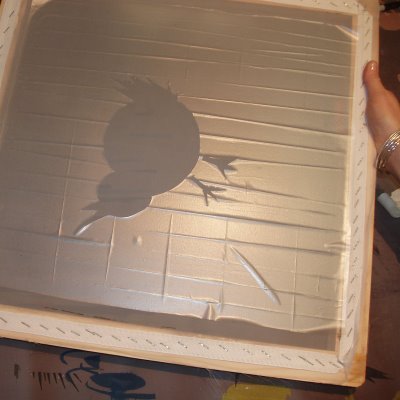
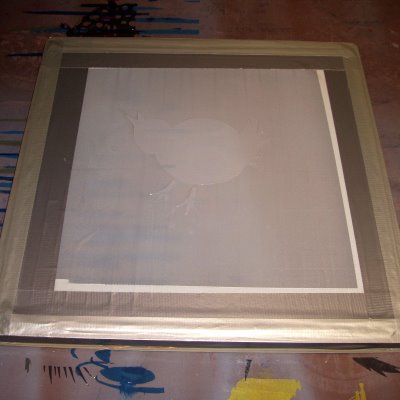
2. Your Screen
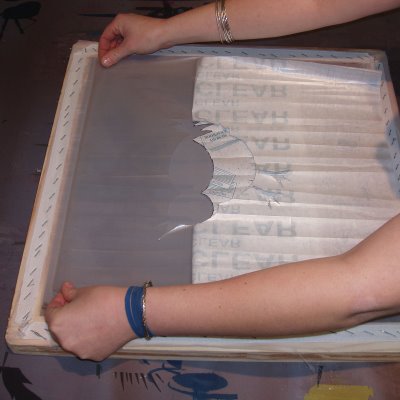
Sometimes when a screen is new, there is a coating on the mesh, like with many fabrics. It's best to wash your screen with soap and water and let it dry (speed it along with a fan). Place your dry screen on a flat service, mesh side up. Peel back half of the paper backing on the contact paper and carefully smooth it onto the corners of the screen. Flatten it down lightly and then press harder from the middle of the screen towards the corners, making sure there are no bubbles. Pull off the rest of the paper backing and repeat for the lower half of the screen. Take your duct tape and tape along the outside of the contact paper and along the edges on the underside of the mesh. This will help prevent the ink from "bleeding".

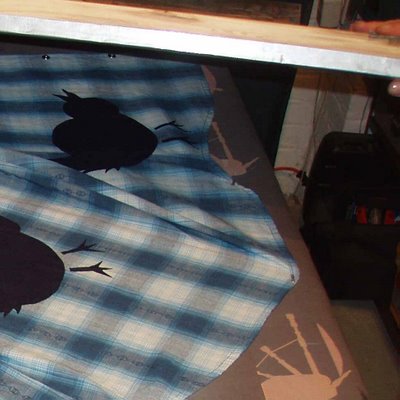
3. Printing Area
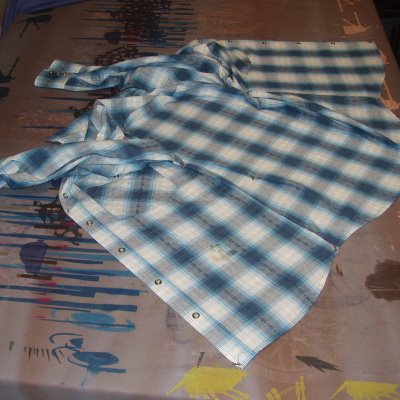
Make sure your printing area is as flat and clean as possible. The textile printing surface is preferably a felt covered table with canvas stretch over it (similar to an ironing board), but one can make it work for any situation. Kitchen floors and diner tables also do the trick. Tape or t-pin your garment down so that the stain is right in the middle and as flat as can be. Depending on the garment, you will probably need to place a piece of card stock or paper in between, so that the ink doesn't transfer to the other side. You may want to get a few more things out to be printed. It's also a good idea to test out your screen before you dive right into the garment you are trying save from death.
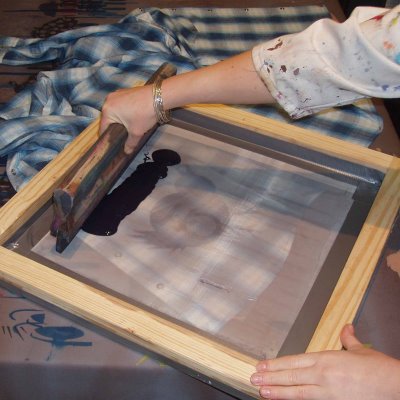
4. Printing
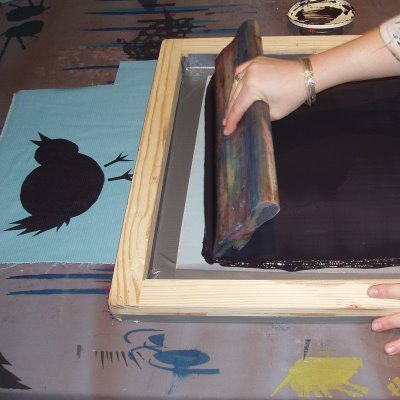
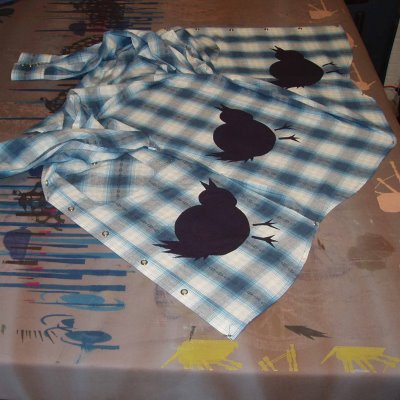
Place your screen on the item to be printed. Then put a good amount of ink at the head of the screen above the image. I would say 3 tablespoons for an 8"x10" image, but it relates to the density of your ink, size and detail or your image, and the weather. That's why it's best to do a sample print first to help you see if you need to add more ink.
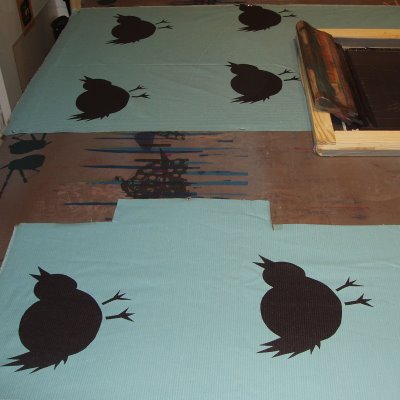
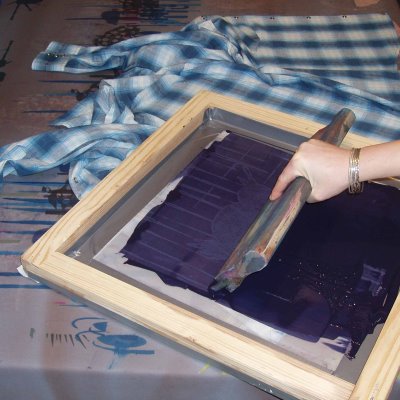
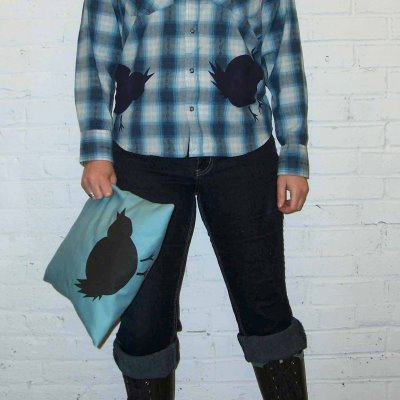
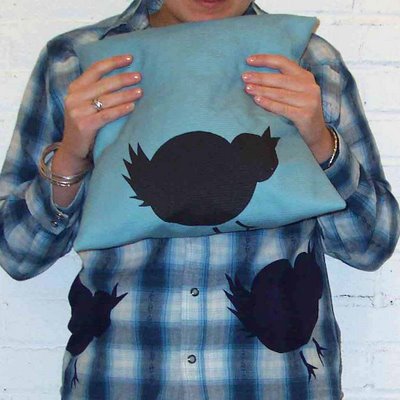
Hold the screen securely with one hand and with the other drag your squeegee through the ink and over the image, lightly at first ("flooding" the image), harder the second time. Then push the ink back over the image, and pull the squeegee down a third time for good measure. If the fabric is fairly thick, you might want to do a fourth pull. No need to wash the screen between prints, go right on to the next item. You can use this technique to print fabric to make pillows and amaze your friends as you camouflage yourself into the furniture!
5. Finishing Up
Depending on the "variables and elements," you could probably print ten times (probably more) before the ink drys up in your screen. But don't wait for that to happen, wash that screen out. Remove any excess ink from the screen using a spoon or spatula, returning the ink to the container to be used again. Rinse your screen off in the sink or tub with cool water. You can also use the garden hose outside or attach one to your shower head or kitchen sink. Now clean up the mess you just made.
The final step is to heat set your garment after the ink is fully dry. Iron it or throw it in the dryer on high for up to an hour.
Now go on and show it off.


-Karin of
Better Than Jam

 And while you're at it, don't forget to follow the {newnew} at twitter.com/thenewnewny