
A DIY Wedding Story
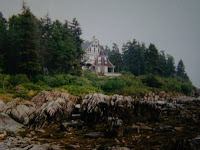 Finding the perfect spot to be married is no easy task. My husband and I were lucky enough to be invited to host our wedding at a beautiful old summer house in Maine, where my husband had spent his childhood summers. Who could pass up this house, with a breathtaking view over the Atlantic?
With a limited budget, lots of energy and no wedding planners on this tiny island, DIY was the only way to go. The end result was a fabulous, fairy tale weekend that is still talked about amongst family, friends, and locals from the island.
Here's a few ideas that we learned from experience:
1. Get help! Don't be afraid to ask family and friends to help. Don't try to do it all yourself!
2. Seek out good people to do the things you can't. If you don't know the first thing about paper, find a creative paper person and trust them with the whole thing from save-the-date cards to thank you's.
3. Handmade gives you exactly what YOU want. There are amazingly creative talents out there. Seek them out! For example, talk to a dressmaker. You can get the exact dress you want, with the perfect fit, and usually at a much more reasonable price than rack and designer dresses.
4. Think outside the box. For example, we hired a professional photographer, not a wedding photographer. He was an amazing artist with the most incredible eye. We received the film (pre-digital days) which we had to develop but we have THE most amazing photos.
5. Use local talent. We hired a local gardening guru (not a florist) for the flowers. She cut all of our flowers locally the morning of the wedding, both from fields and cutting gardens. They were magnificent - and fresh!
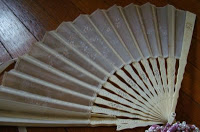
6. Look at what you already have that you can use. I carried an antique fan from my grandmother in lieu of flowers. Also, our tables were decorated with items from our home. We added some candles and flowers to make it cohesive. The tables were beautiful and much more interesting.
7. Consider a weekend wedding. I mean the whole weekend. For our wedding, people came up early, helped put up tents, decorated tables, ran errands and generally helped out. Each evening, when the work was done, everyone gathered on the deck for wine, ocean views, and conversations. My husband and I received loads of help and everyone has four days of incredible memories!
Some {NewNew} shops to help with your wedding:
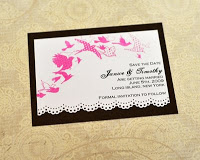
 Both Waisze (top) and Fubabee (bottom) have beautiful designs for all your wedding stationary needs.
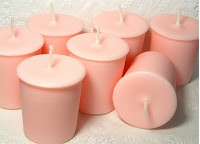 DewonaPetalHome carries fabulous candles that burn for hours of dancing and general wedding fun!
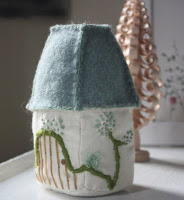
Winsomehollow has fabulous creations for centerpieces.

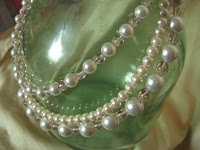 Both Wishbyfelicity (top) and NatureManipulated (bottom) have gorgeous handmade jewelry for your wedding day.
Both Wishbyfelicity (top) and NatureManipulated (bottom) have gorgeous handmade jewelry for your wedding day.Search on newnewteam for more handmade goodies for your DIY wedding day!
Beth

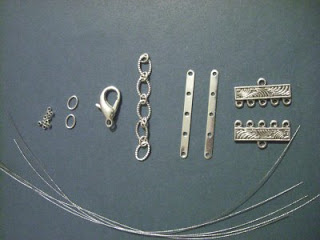
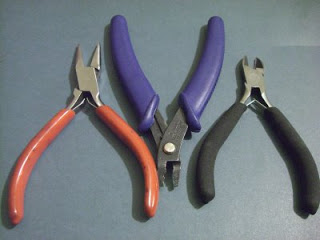 You will also need these tools:
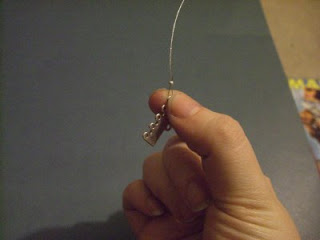
 Step 2
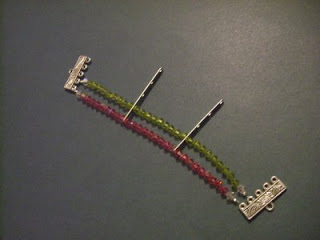
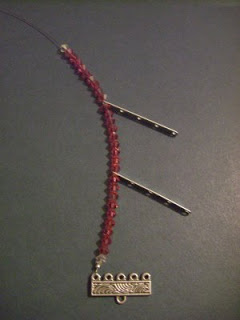 Step 3:Repeat step 1a) to finish the strand. Make sure that your 5-hole links are both facing the same direction. This crimp will be harder. You may want to leave just a bit more slack. Here is the finished strand:
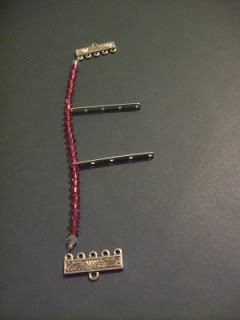
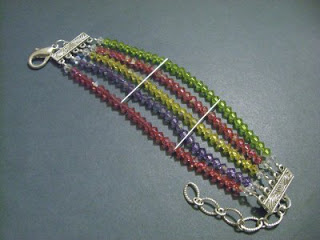
 Here it is with all of the strands:
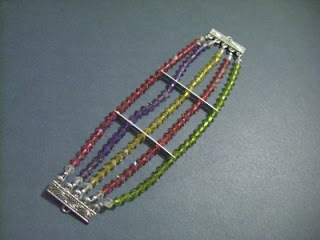 You can use your imagination to envision it with all one color, but I wanted to make sure I was very clear. Don't be discouraged if you need to redo a strand or two. If you notice, I redid the green strand and put it on the end because I liked it better that way. Remember, relax and have fun!
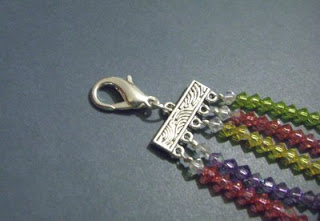 Step 6:On the other side, attach a jump ring and the extender chain to the other 5-loop link so it looks like this:
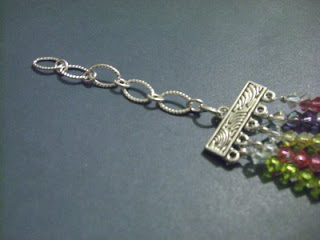
 Now imagine it in white sparkly crystals coming down an aisle. Beautiful!
 Please feel free to visit me on