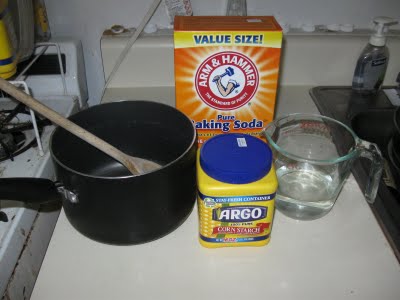
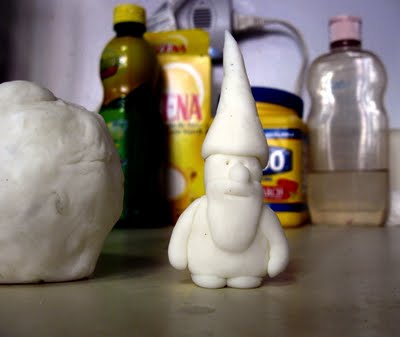
Homemade Polymer Clay* Questions and Answers

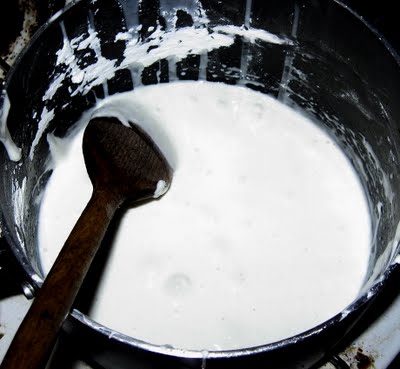
Awhile back I posted a recipe for polymer clay. I recently viewed the post and saw all the questions that readers had asked in their comments. Rather than answer each individually, I thought I'd post a follow-up that answers the most frequently asked among them. So, here goes:

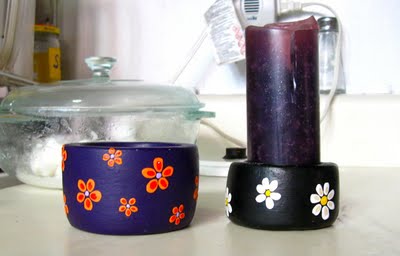
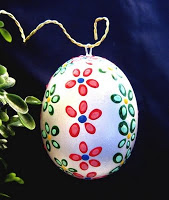
Can you add color while the clay is wet?

Yes, you can add acrylic paint or even food coloring, but for even tinting throughout, you'll want to do it while the mixture is still liquid. If you want a swirly effect, then add it to the dough. Be prepared for color-stained fingers. And also note that adding a lot of colorant will alter the recipe and affect how the clay performs.

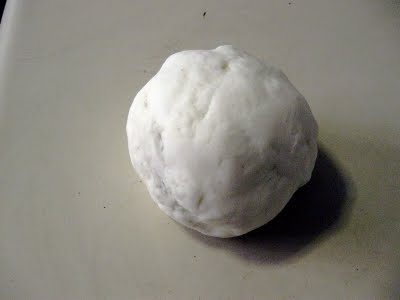
Does the clay shrink as it dries and how much?

It does, about 15-20%.

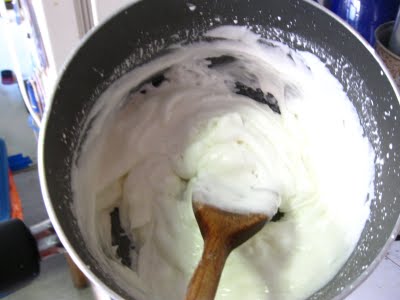
Can you bake the clay to speed drying?

Absolutely! I usually dry my items in the oven at about 150°F. How long to keep them in depends on their thickness. Also, if you’re making flat shapes, watch them for curling. Periodically flip them over to keep that to a minimum.

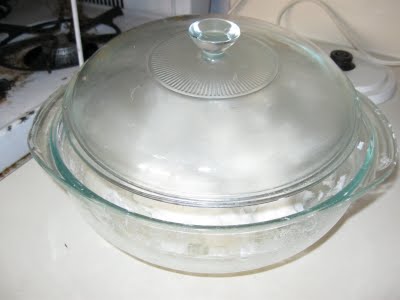
Will dried items stand up to water?

Dried items are water resistant but not waterproof, so if they get a little wet it’s OK, but don’t submerge them in water or even subject them to wet environments. They’ll certainly do better if they’re sealed with polyurethane or acrylic or the like.

Can dried items be used outdoors?

I haven’t tried but wouldn’t risk it. Dried items are water resistant but not waterproof. A sealant will help but I still wouldn’t expect them to last very long, especially in wet conditions.

Can dried items be used for food?

No. While the clay does plasticize during the curing process, it won't stand up to extended exposure to moisture.

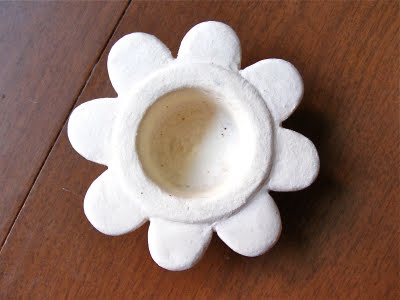
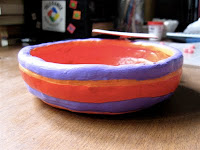
Can the clay be used to make shapes with cookie-cutters?

Absolutely! Sprinkle a bit of cornstarch on the surface and roll it out on wax paper, or even in a pasta machine. Flip your shapes over throughout the drying process to keep them flat (they tend to curl).

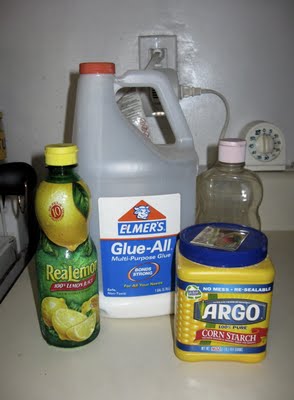
Can you use glue other than Elmer’s Glue-All?

I haven’t tried but any PVA (polyvinyl acetate) glue should work, with, I would expect, somewhat different but probably OK results.
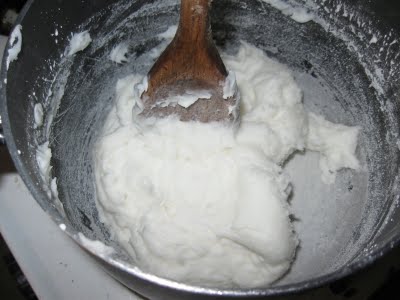
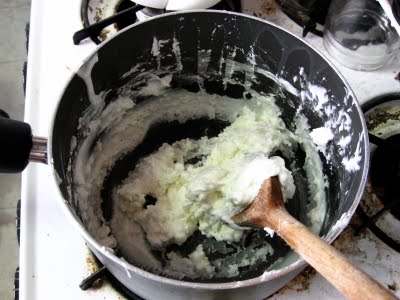
Cracking?

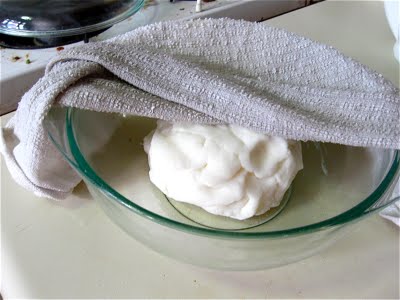
Shouldn’t be a problem. If it is, your clay might be too dry. Be sure to keep it in an airtight container between uses and only take out what you intend to use immediately.
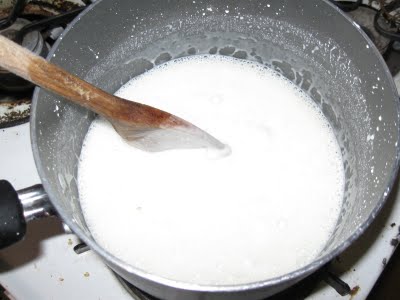
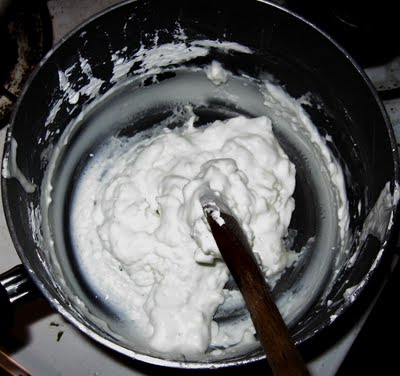
Stickiness?

Cook the mixture for longer or use a bit less glue. Once out of the pot stickiness is harder to fix but sometimes adding more cornstarch helps. Altitude and likely also humidity will affect how the recipe performs.

------------------------

* Not homemade Sculpey or Fimo. The polymer base of those products is polyvinyl chloride (PVC), while for this one it is polyvinyl acetate (PVA). Both PVC and PVA are polymers, and both this clay and commercial polymer clay “plasticize” during a curing process. This clay therefore has many of the characteristic properties of commercial polymer clay (elasticity, pliability, flexibility, durability), but it doesn’t have all of them (particularly insolubility).

Until next time --

Linda Purty Bird

Baking Soda Clay

Here's another homemade modeling compound that good for both kids and adult artisans. Compared to the homemade polymer clay I presented a few weeks ago, it's non-elastic when wet and much "softer" when dry---that is, easy to sand smooth or to reshape, to add etchings, and possibly even to carve (I haven't tried). I've used it to make a variety of small items, particularly small bowls and candle holders (shown below in order of finished-ness). It takes paint well but I would finish painted pieces with a coat of varnish.

Sanded nice and smooth!


Materials

  • 1 cup corn starch
  • 2 cups baking soda
  • 1.25 cups cold water
  • Non-stick pot
  • Wooden spoon
  • Med-large bowl (not pictured)
  • Damp cloth, lid or plate (not pictured)

Steps
Combine ingredients in pot and stir until smooth.


Cook over low-medium flame, stirring constantly, until the mixture resembles mashed potatoes.


Remove from heat and let cool in a separate container either covered with a damp towel or mostly covered with a plate or lid.


Sculpt. If necessary, use a bit of water to stick bits of dough together. Be careful, though, as the softness of this dough makes it prone to dissolve.


Allow to dry, about 2 days depending on the size and thickness of your finished piece. You can speed up drying in a 150 F oven, cracked open, or a 350 F oven turned off (heat the oven to 350 F and then turn it off).

Until next time --

Enjoy!


Homemade Polymer Clay

At different points over the last few years I've played around with different kinds of homemade "clay." My favorite is a polymer clay also known as cold porcelain. Its main ingredients are cornstarch and white PVA or Elmer's glue. I like it because it's smooth and a little bit elastic to work with and dries extremely hard. It's also relatively non-porous so it takes paint really well. And it doesn't degrade over time like baker's clay or salt clay does. I've used it to cover blown-out chicken eggs for Christmas ornaments, as well as to make various and sundry bowls, boxes and pendant blanks, among other things.


But it took awhile to get the recipe right. Most of the ones I found online resulted in a compound that was way too sticky to work with. So I experimented with different proportions of glue and cornstarch and the inclusion/exclusion of various secondary ingredients. What follows is the fruit of my experimentation. Lucky you!

Materials
  • 3/4 cup white glue
  • 1 cup cornstarch
  • 2 tablespoons mineral oil (I used baby oil but reportedly even vaseline will work)
  • 1 tablespoon lemon juice
  • Non-stick pot
  • Wooden spoon
Steps
Add cornstarch to glue in a nonstick pot. Mix together and then add mineral oil and lemon juice. Blend well.


Cook over low flame stirring pretty much constantly (you can take a quick break or two if your arm gets tired, which it will) until the mixture resembles mashed potatoes.


Remove from heat! Squirt a little additional mineral oil around the top of your mashed potato mass and with your hands, remove it from the pot. Knead until smooth. It's best to do this while it's still as hot as you can handle.


Pull off a bit to work with and put the rest in a re-sealable plastic bag with the top about half-way open until it's cooled down a bit. Then seal the bag (with as little air in it as you can) and store in the fridge.

Let dry about 2-3 days, then paint, or not.

Until next time --

Enjoy!


Linda

Sculptural Jewelry by Art Smith

Fluid. That’s one of the many words that come to mind when you look at the jewelry of Art Smith (1917-1982). He was able to create impactful, yet very simplistic modern jewelry that still looks current today.
The amazing man who created these works is no longer with us but you can find an amazing array of his jewelry at the Brooklyn Museum exhibit “From the Village to Vogue, the Modern Jewelry of Art Smith”.
Smith used various methods to create his flowing jewelery and I as a jeweler use most of the same processes, like soldering and forming.
I am inspired by Smith’s work, which is somewhat similar to mine. Simple shapes and silhouettes are what define both of our work. Strong texture and stones accompany my work, his with wire and graceful movement.
The tools that Art used in the middle of last century are still being used by jewelers today. I probably used the same forming tools to create my newer sculptural necklaces. I know for sure that we have the same processes - rough sketches on pieces of paper, followed by trail and error, which finally leads to a dynamic piece of jewelery that looks like just what we were thinking!
For most of his pieces he used wire or sheets of metal that he then drew designs on and cut out with a jewelers saw. The time consuming technique of forming the metal to the perfect shape is evident in his finished items, which hang like mobiles from the wearer's neck. He also soldered stone settings,like bezels, onto his pieces and then hand set many precious stones, including amethyst,lapis and emeralds. Other times he just formed the metal and let the forms and shapes speak for themselves.
I love that we are both lovers of the metal first, then the stones. I do not use many stones in my jewelry, but when I do it is subtle but creates a pop, much like Art's jewelry. One of my newer creations deals with form and the chest. I wanted to created a bold but simple chest piece with movement. This piece was formed from wire, which was then soldered onto brass sculptured castings and plated with 22kt gold.
Another piece that draws inspiration from Art is my Fang Necklace, which draws upon ancient tribal jewelry. Like Art, I use stones to emphasize the gold and movement of the texture of the jewelry.
Art Smith continues to inspire designers and novices alike with his playful, functional wearable art. Please don't miss out on seeing the amazing jewelry of Art Smith at the Brooklyn Museum. By popular demand, the exhibit, which was set to close in 2009 has been extended and is now housed as a long term installation. There is no excuse to miss this!!

Alicia
Lingua Nigra Jewelry