Handmade Knit Wedding Gown

When I came across this image on Pinterest I knew it was too awesome not to share it with you guys! Twenty-six year-old Lydia from the United Kingdom handknit her own wedding gown in order to save money. According to the article, she tried on a few wedding dresses in stores, but then decided that she wanted to go the handmade route. She was able to create her dress above with about 300 grams of yarn and at least 100,000 stitches- all for under 200 pounds!
I think her wedding dress is really beautiful and I love that it's completely unique- what a great treasure that will be for future generations in her family!
Tell me: What do you think of her knit wedding dress? Did you or would you make your own wedding gown?
By Nnenna of star-crossed smile
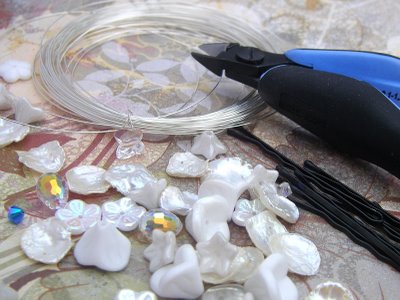 Supplies:
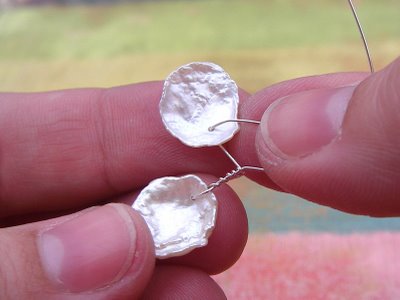
 3. Make a couple of additional twists below the little branches.
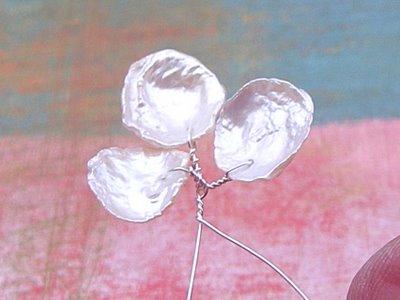
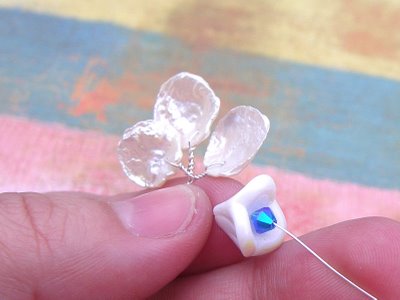 4. Add glass flower bead topped with "something blue" Swarovski crystal bead leaving about 1/2in of wire bellow the flower.
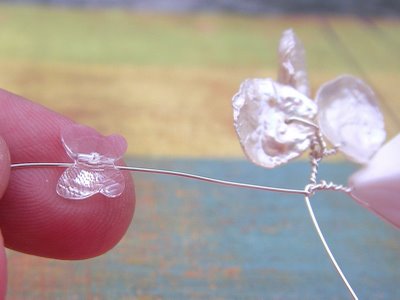 6. Thread a little Swarovski crystal butterfly on the longer end of the wire about 1.5in from twister wire, fold it tightly against the bead and wrap around.
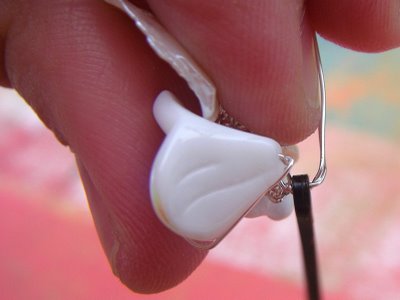

 2. Slowly peel the backing from the contact paper and smooth it onto your glass surface.
 4. Carefully remove those parts that you have just carved.
 5. Put your rubber gloves on and use your foam brush to apply a generous amount of etching cream to only those exposed parts of your surface where you wish to achieve the etching effect.
 6. Wait 5-7 minutes for the etching cream to eat away at the glossy surface of your glass.
 7. With your rubber gloves and goggles on, bring the glass item to a sink where you will carefully wash off the etching cream.
 8. Once you have completely rinsed off the etching cream, you may remove the contact paper.