The Secret to Successfully Blowing Out an Egg

A couple of weeks ago Leslie from Astor Knot posted a wonderful tutorial on the art of Pysanky. After reading through the tutorial, I was curious to try blowing out eggs as I've never done it before, and after doing it I thought I would share some tips with all of you who might want to try it. 

1. First, I found out that it is easier to blow out an egg that is room temperature rather than one right out of the refrigerator. Leave your carton of eggs out for a couple of hours first. Another thing that I discovered is that fresher eggs from healthier chickens have a stronger shell that is less likely to break, so spend the extra dollar or two to get better eggs.

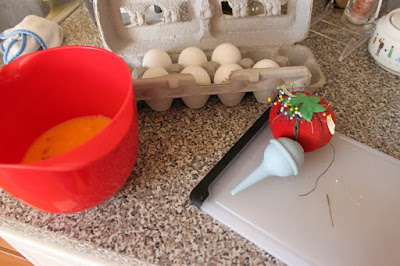
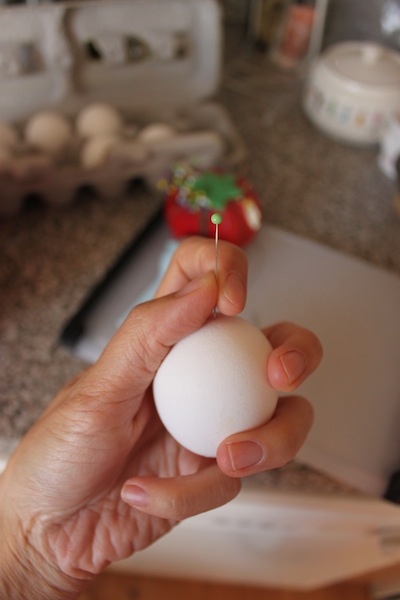
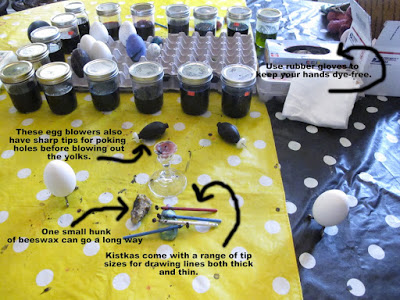
2. To poke the holes in the eggs, I used a couple of needles, one small sharp one and one slightly larger one. Using the smaller needle, I gently poked one hole in each end. Then I used the larger needle to make one of the holes slightly larger. Then, I used the larger needle to stir up the inside of the egg, piercing the egg yolk and scrambling the inside.


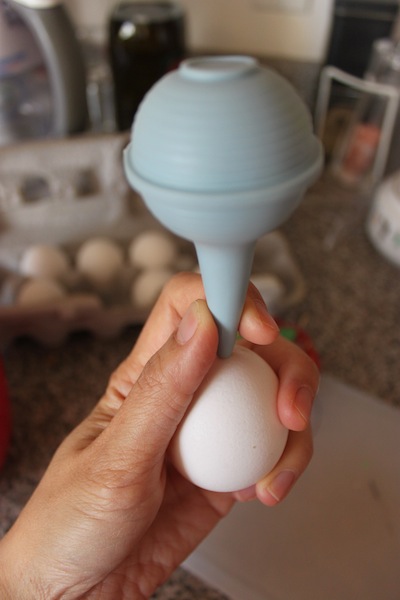
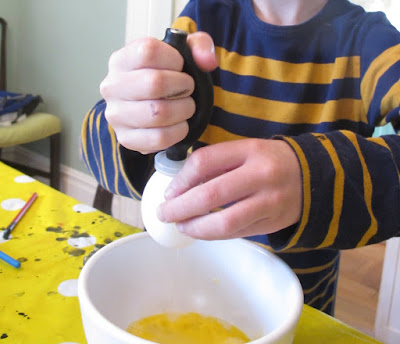
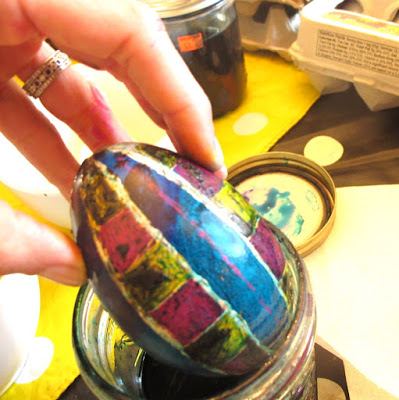
3. The next step is blowing out the inside of the egg. You can do this by just blowing using your mouth, but I used one of those runny nose sucking tools designed for babies that came in a baby medical kit. It's much more fun to use this on an egg than on an infant. In this case, the egg doesn't scream bloody murder and look at you with betrayal. I put the sucker thing on top of the smaller hole, then pressed the bulb to push out the insides of the egg through the larger hole on the bottom. Do this as gently as possible so you don't break the egg. Keep repeating the process until nothing else comes out.
*Note: In this project, I used a whole carton of eggs and ended up dividing the egg innards into separate bowls which I then used to cook and bake with. Thankfully my family enjoys eggs!


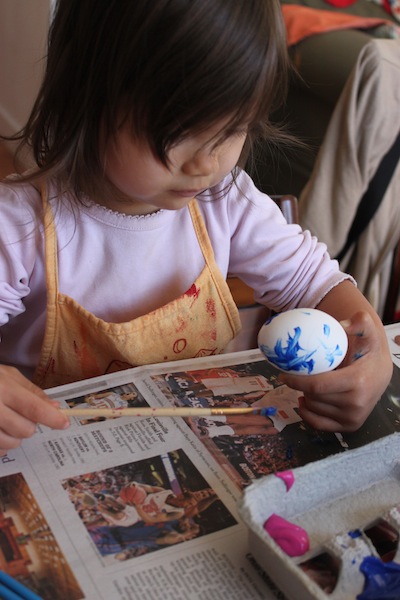
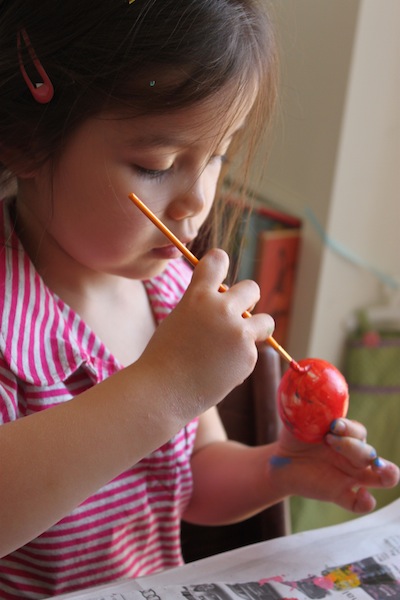
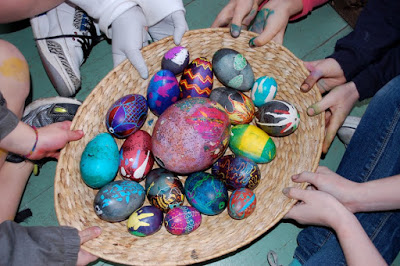
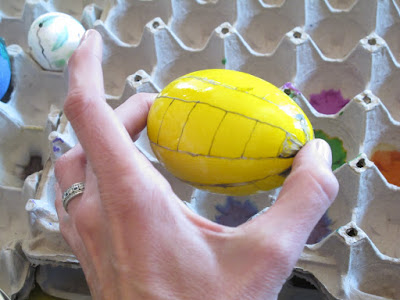
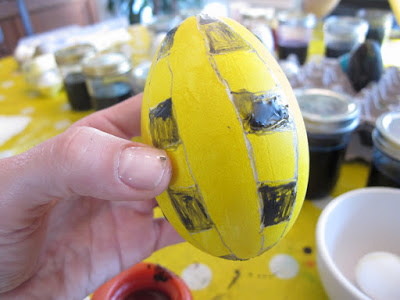
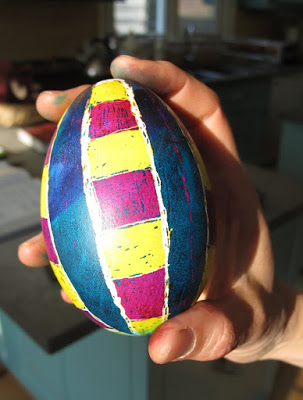
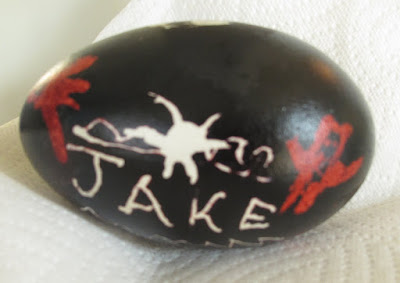
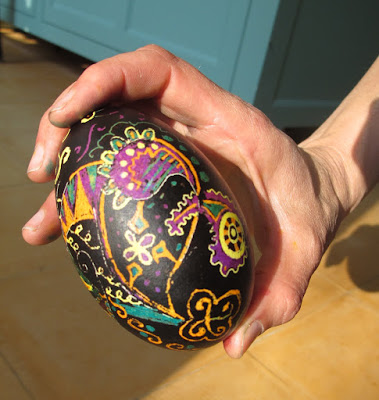
4. After the egg blowing portion of the activity, my daughters and I set off to paint and decorate our new eggs! We decided to paint versus dying so we could get brighter colors, but I think we'll also do some egg dying later this week. Don't want to deprive the girls of tradition.


5. I poked some glass head needles into the top of an egg carton for the eggs to rest on while they dried.


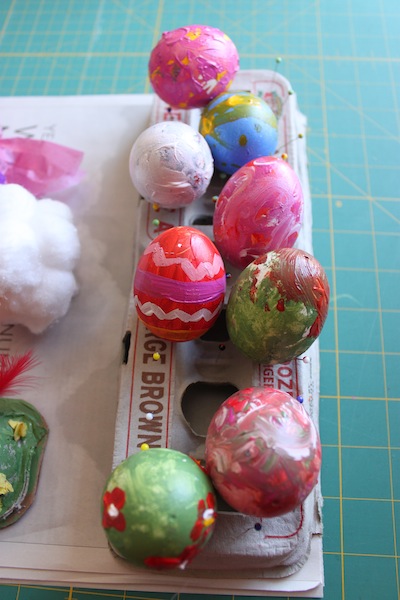
6. Finally, we ran some brown grocery bags through the paper shredder for a "nest" and settled the newly decorated eggs in the basket. The great thing about blown out eggs is that will last as long as your kids will handle them carefully. In our household, that is about three minutes, but you may have better luck in your home. Enjoy!


Until next time,
Karina

The Art of Pysanky


Every year, my friend Catalina Bertani posts photos on her Facebook page of the beautiful pysanky she makes in the weeks leading up to Easter. (One such example shown above.) Even if you’ve never heard of pysanky, chances are you’ve seen one of these glorious eggs at some point. Pysanka (pysanky is the plural form), refers to the traditional Ukrainian designed easter egg, which is achieved through a wax resist and dye method. Although Catalina grew up in Iowa and is originally from Columbia, making pysanky has become a tradition in her own Brooklyn family. This year she invited her friends to come over and learn the basics of this ancient (yes, ancient; the tradition dates back to pre-Christianity) art form. Catalina’s table was all set up for decorating when my eight-year old son Jake and I arrived. Tables were covered, dye baths were ready, and all the tools we needed were available. In addition to regular white chicken eggs, she also gave us each a much larger goose egg, which you can order online. She also had a few ostrich eggs to show us, but as first timers, we weren’t ready for those!


Here are the basic steps we took to create our very first works of pysanky art: First the eggs need to be washed with mild soap and water, and rinsed in a bath of vinegar. This is to remove any traces of resist that might be on the egg and ensure that both the wax and dyes take nicely to the egg’s surface. Next, the eggs must be relieved of their yolks, and though I’ve blown yolks from eggs with my mouth before, here we used a hand pumped egg blower, which also doubled as an awl to punch the holes in each end of the egg prior to pumping out the yolk.


Above, Jake squeezing out the yolk. Much more pleasant that blowing by hand (or, by mouth, actually). Then the holes needed to be sealed with wax, to prevent the egg from filling up with liquid while in the dye baths. We used a tool called a kistka for this, which is the “drawing” tool used for making designs on pysanky eggs. A kistka (shown below) has a tiny pot at the end of a rod that holds a small chunk of beeswax. The pot is then held above a flame until it’s melted, then comes out of a tip below the pot when applied onto the egg (sort of like a fountain pen).


Next we drew a design onto the egg in wax using the kistka; wherever there was wax the egg would remain white. The egg then went into its first dye bath. The rule for pysanky (and any multiple step dye process) is to begin with lighter colors then do darker ones. I started with yellow.


Next I added further designs in wax. Wherever I drew now is where the egg would remain yellow after the next dye. I put the egg in a bright fuchsia for the second color, and a third round of wax drawing preserved that dye.


Finally I put the egg into a lovely blue bath. Traditional pysanky eggs use five or fewer colors. I stopped after three mainly because the process thus far had taken me well over an hour! Below is my egg coming out of its blue dye bath. Though I thought I could tell what it was going to look like, the proper “reveal” didn’t occur until the final step, in which the egg goes into a toaster oven (or any oven) on a heat setting only high enough to melt the wax off of the egg.


And, ta da! I was so happy with the results of this project. My son was too-he intuitively knew to keep his design scheme simple, and wound up with a very dramatic egg using only red and black dyes, with his name marked in white.


Jake's egg looked amazing too!


Here is the egg Catalina spent the afternoon working on. She is clearly a seasoned hand. For the record, none of the eggs we made here can technically be called pysanky, since the term refers to the design motifs rather than the wax resist method of applying the design. But many of the traditional motifs are very simple geometric designs, and can be replicated fairly easily.


There are loads of online resources for supplies and information on how to make pysanky. And right now, through May 27th, the Ukrainian Museum on the lower east side (222 E. 6th Street between 2nd and 3rd Avenues in Manhattan) has nearly 300 pysanky eggs on display, boasting an incredible range of color, design and craftsmanship. They’ll also be offering workshops on how to make pysanky. (Call 212-228-0220 for information.) Be sure to check it out, and tell them that the {NewNew} sent you!

 Posted by Leslie Astor
 astorknot.etsy.com
 ispybabybunting.etsy.com