Warm Fuzzy Valentine

Here's a quick little Valentine's decoration with a twist: It holds chocolate!


Materials
  1. Felt
  2. Fabric glue
  3. Needle and thread
  4. Embroidery floss
  5. Pins
  6. Scissors
  7. Ribbon
  8. Chocolate!
Steps
Cut heart shapes out of felt. I cut two sizes, one for the front sides of the pockets that will hold the chocolate, to decorate the pockets with. Glue (or sew, if you prefer) the smaller decorative hearts to the larger (pocket) hearts (you can also do this second step later; I just happened to do it at this point).


Pin large hearts onto another piece of felt and cut around it to create the back sides of the pockets.


Set front sides of pockets aside and lay the back sides out in a line. 


Measure out a piece of ribbon and position lay it on top of your row of pocket-backs. Pin in place


Sew (or glue, if you prefer) the ribbon to the pocket-backs.


Pin the front sides of the pockets to their corresponding backs. Using embroidery floss, sew most of the way around, leaving the top open (pic below is out of sequence).

Fill the pockets with chocolate and hang (use push-pins, magnets, or sew a ring to the top of the ribbon -- I used magnets to attach my chocolate-pocket heart garland to a lamp).

Happy Valentine's Day!

Linda
Purty Bird

Gelatin Plastic


I first encountered homemade "gelatin plastic" several years ago when I was looking for relatively easy and definitively inexpensive ways of creating art/craft materials for making gifts. Cash and time were extremely tight so shopping for and buying "real" materials (e.g., air-dry clay) was pretty much out of the question. I was limited to what I could concoct from everyday grocery, hardware-store and office-supply items like Elmer's glue, cornstarch, and in this case, gelatin and food coloring. So I found various recipes and how-to's online and adapted them to suit my particular purposes---most of the projects I found were of the "fun rainy-day activities for kids" variety so it was a matter of maximizing the capabilities of the material to make something that an adult could give another adult without anyone being horribly embarrassed. The following modified how-to for gelatin plastic makes for relatively flat, smooth-edged translucent shapes that you can combine into (or use singly as) cheerful sun-catchers.


Materials
  • Three envelopes powdered gelatin
  • 9 tablespoons water
  • Several drops food coloring
  • X-acto knife
  • Flat-bottomed dish (glass is best)
  • Shape templates (optional; not pictured)

Steps
Place the water in a saucepan and sprinkle the gelatin on top. Add food coloring and heat on low flame, stirring pretty much constantly until the gelatin is dissolved. Pour the mixture into a flat-bottomed dish and let set---most recipes say for 45 minutes to an hour, but I prefer at least a few hours. The longer set-time makes for less curling as your cut pieces dry.


Once set, cut the gelatin sheet into various shapes and sizes using cardstock templates (if you like) and an X-acto or similar knife---not scissors, as some recipes suggest. Scissors make for a less even edge. Ditto cookie-cutters. The difference becomes obvious once the pieces dry.


I like to leave my cut shapes in the original dish to dry, rather than remove them as most recipes/how-to's instuct. The original adhesion between the gelatin and the surface of the dish seems to help keep the pieces from curling overly much when they're drying. I also like to lightly tape down the edges of my cut pieces to help keep them flat as they dry. I haven't had any luck with the multiple plastic container lids and paper-towel/cheesecloth contraptions that many recipes/tutorials recommend for this purpose. Gelatin is much stronger-willed than that!


Allow your cut pieces to dry for 2-3 days (or more, depending on their thickness), then drill holes for hanging. Most recipes say to make holes for hanging when the pieces are wet, but I think you get a better result if you wait until they're dry. It's hard to predict how large the hole is going to be once the gelatin dries, and the edges can also come out raggedy. Raggedy edges will not do! Embarrassment will ensue!


Hang the pieces on a suction-cup hook and stick on a window. Use fishing line for a "floating-in-air" effect. Wait for the sun to shine through them; be surprised and intensely gratified at how pretty they are!


Until next time --


Linda

Decorating for the Holiday Handmade Cavalcade!

Everyone has been busy as bees preparing for the upcoming Holiday Handmade Cavalcade (this Sunday!), and we thought we would give you a little sneak peek at our decorations that we have been making.  
Make sure you stop by on Sunday, December 5th, 2010 from 11am-8pm, to check out our fabulously decorated window display and to do your holiday shopping from over 40 amazing vendors!

Bring the Fun of the Fall Cavalcade Home

It’s Sunday and you’ve enjoyed a beautiful day in Beacon, New York snatching up handmade wares from the {NewNew}. The feeling was so good, you want it to last forever. What to do? Make yourself some decorative 
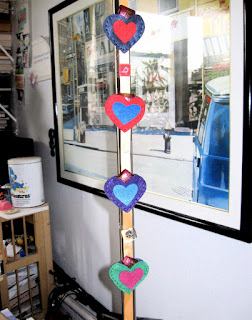
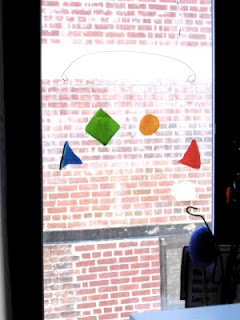
{NewNew} Fall Handmade Cavalcade trees to enjoy all year long. These would make great wall decorations and can easily be hung anywhere. The steps in this project can also be applied to lots of other shapes - such as pumpkins for Halloween or turkeys for Thanksgiving. Maybe even tiny ones to hang on the Christmas tree?

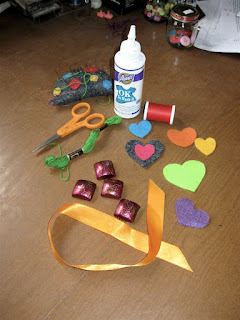
For this project you need:
Card Stock
Newsprint paper or even an old copy of the NY Times Double-sided tape
Fabric Glue
Scissors/ Rotary blade
Cutting Mat
Colorful Quilting Fabric
Felt to compliment the fabric
Ribbon (we used 1/4" grosgrain)
Awl
Pins
Pencil
Ruler
Cookies and Milk (optional)

Create Your Pattern We made three sizes trees that were 28 inches, 22 inches and 16 inches tall. You can make whatever size suits your needs just keep in mind the final project will be hanging off a ribbon and will add a few inches in length. To make a pattern for the base tree start with the card stock. Take your ruler and measure out the length of your tree and mark the line with a pencil. This is the center axis of your tree. On either the left or right side of this line, draw a 1/2 tree. Cut this shape out. Now trace this shape on another piece of card stock. Flip the 1/2 tree pattern over, align the center axis with the shape you have traced, and trace the other half of the tree. This makes sure that your shape is symmetrical left and right. Once your symmetrical whole tree shape has been cut out, set it aside as this is the base.
Now roll out a section of newsprint paper. Trace your 1/2 tree shape onto the newsprint. Then inside that shape, draw a 1/2 arc that starts and ends along the center axis. It is helpful to do this within a tracing of your base tree so that you don't have to guess size and proportion. Now fold the newsprint along the center axis and cut out your center shape along the line you drew.
One pattern left, the felt trunk pattern. On newsprint again, take your 1/2 tree cardstock and trace just the bottom truck. Flip it over along the center axis to trace the other 1/2 of the trunk. Using a ruler, extend these lines up so that the length is about half of the total height of your tree. Extend branches from this trunk. Cut out your trunk shape and now all the patterns are complete! Take a moment for a pattern happy dance.
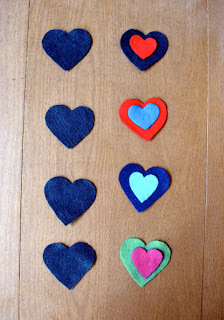
Fabric Time! Take the whole tree cardstock base that you cut out and apply double sided tape all along the edges. Stick this to the backside of one of your printed quilting fabrics. Using the edge of the cardstock as a guide, cut out the fabric so that it is the same size as your base.

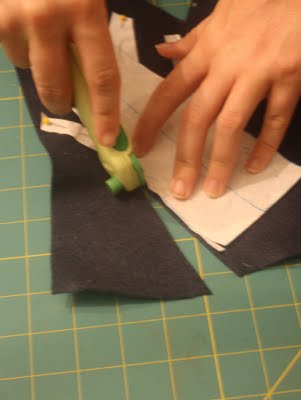
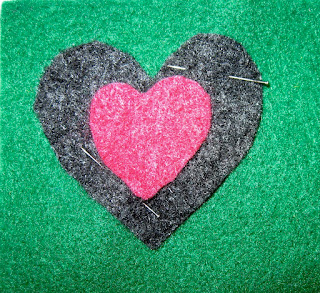
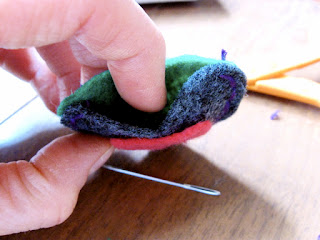
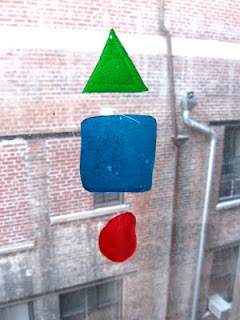
Select a second printed quilting fabric, pin the paper pattern to it, and cut the shape out. Repeat this step to create your felty awesome tree trunk. Make sure your fabric is ironed and wrinkle free before you cut. Wrinkles ruin trees (or maybe you would call it character.) With your fabric glue (we prefer Beacon Magna-Tac 809 permanent adhesive), glue down the printed center of the tree to your printed base. Try to make sure you get the top points aligned and centered. Then glue your felt tree trunk on top.
Let it all dry for about 30 minutes while you admire your work and enjoy yummy cookies and milk. (Optional but recommended)

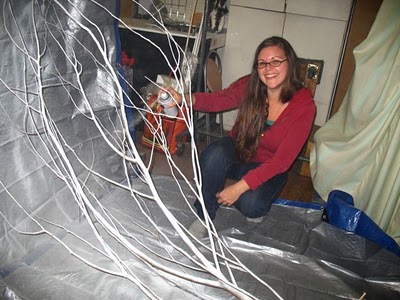
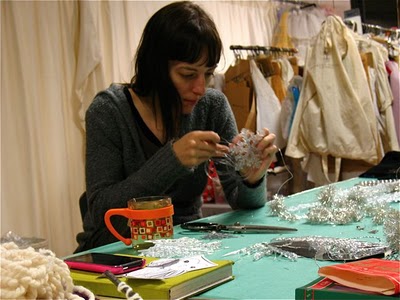
Alexandra and Virginia enjoy a not to vintage 2% and amazing chocolate chip cookie.
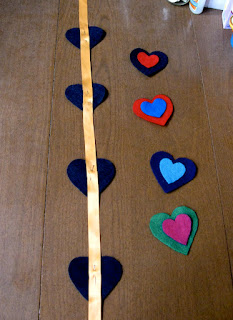
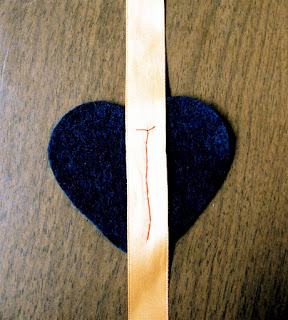
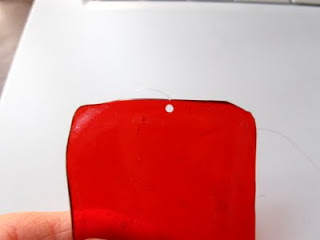
Finishing Touches Once your magical Fall Cavalcade tree is dry, carefully use your awl to poke a hole through and through about 3 inches from the top of your tree. From the good side of the tree, center your length ribbon on the whole and push it through. We used dull tweezers to push through as much as possible, and then pulled from the underside with a needle. You now have a loop coming out the back and two loose ends coming through the front. Tie these loose ends into a pretty bow.

Conceived by Jody and Alexandra Ferguson

With lots of help from Lauren, Virginia and Kelly

Reported by Kelly

Craft Ideas For Your Valentine's Roses

Wondering what to do with those roses you got for Valentine's? First dry your roses by hanging them upside down. Spray them with hair spray or to really make them last, you can use this. Let them hang for about 1-2 weeks. Here are a few ideas to get you crafting with your pretty dried roses:

*Take an plain picture frame, trim the rose buds from the stems, adhere just a few buds to a corner of the frame. Place a picture of you and your sweetie from your Valentine's Day together, or any memorable photo.

*Use the rose buds to decorate a plain hair clip or hair comb. Wrap the rose ends with floral tape or ribbon then glue to the hair accessory. Decorate a messy bun or pull back one side of your hair back right above your ear.

*Fill a clear glass vase with the dried rose buds and use as a table center piece. You can also place the rose buds in a pretty bowl and add some eucalyptus for a simple potpourri.

-Misty
www.lapistolera.net