
Upcycled Book Tote
There is one New Year's resolution that I'm really looking forward to, and that is to read more books. Motherhood and my home business keeps me so busy, that I rarely reach for a book now. There is nothing more satisfying to do on a frosty January evening than cozying-up on my couch wrapped in warm blanket with a cup of tea and reading a great book.
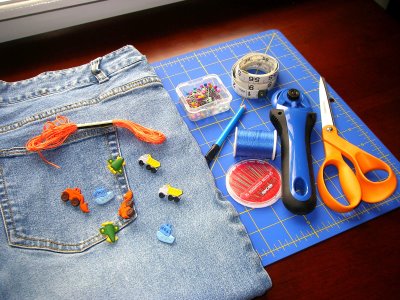 For this project you will need:
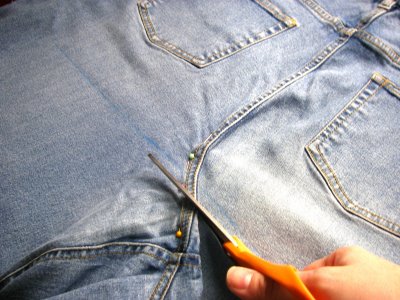
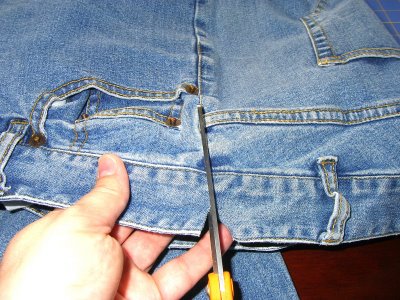 1. Using side seams of the pants as a guide, make a cut all the way to the bottom.
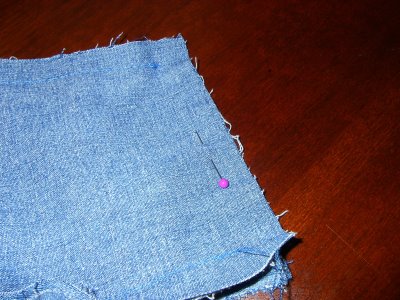
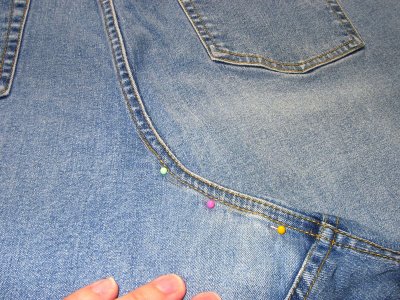 2. Lay out back of the pants flat and tuck any excess fabric under the back seam until flat and pin it in place.
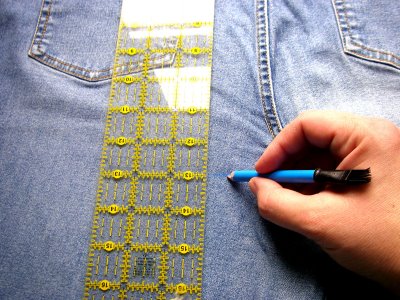 3. Measure 13 inches from the top of the pants and mark it with a fabric pencil or chalk in two places, then connect them drawing a line all the way to the edge of the fabric.
 4. Cut with scissors adding 1/2in for seam allowance.
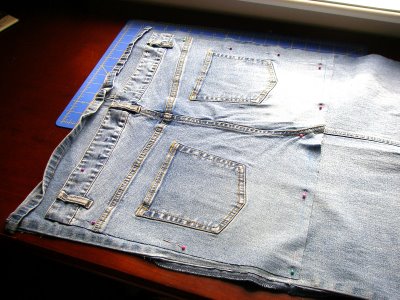
 5. Using upper corner of each pocket as a guide, mark vertical seam lines and cut adding 1/2in of allowance. Make sure, that the distance between the pockets and edge of the fabric is the same on both sides.
 6. Lay out leg part of the pants flat on your work table, pin down piece of the tote with packets on top and cut out with scissors using edge of the ready piece as a guide adding 1inch of seam allowance on top.
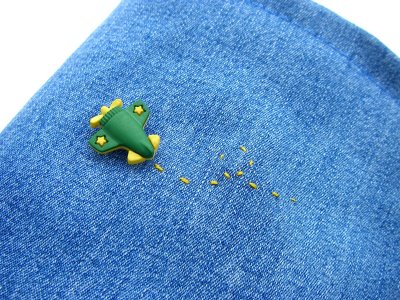
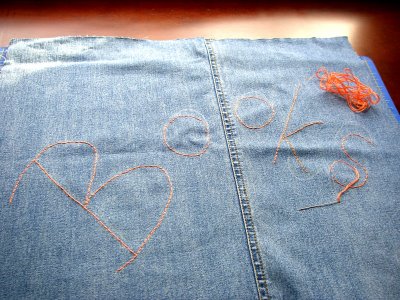 9. Using fabric pencil or chalk, write the word "BOOKS" on the larger piece without the pockets, and hand stitch the outline using any type of stitch you'd like.
 11. Pin down two side strips of fabric to front and back of the tote, and sew all the pieces together. Your extra seam allowance will be sticking out on top of the tote. Make sure also, that the inside of fabric is facing out.
 14. To finish the top edge of the tote, use zigzag stitch or double fold bias tape ( I had some leftover from another project). Fold the edge to the inside and stitch 1/2 in from the top edge.
 Have fun reading!!
My kids really enjoy trips to the library, and check out tons of books to take home. To keep them safe and prevent loosing this precious cargo, I decided to make a tote from an old pair of jeans.
For this project you will need:~ pair of old jean pants
~ machine thread
~ scissors or rotary cutter
~ measuring tape
~ needle
~ embroidery floss
~ buttons
~ fabric pencil or chalk
~ sewing machine
~ cutting mat
~ omnigrid ruler
1. Using side seams of the pants as a guide, make a cut all the way to the bottom. 2. Lay out back of the pants flat and tuck any excess fabric under the back seam until flat and pin it in place.3. Measure 13 inches from the top of the pants and mark it with a fabric pencil or chalk in two places, then connect them drawing a line all the way to the edge of the fabric.4. Cut with scissors adding 1/2in for seam allowance. 5. Using upper corner of each pocket as a guide, mark vertical seam lines and cut adding 1/2in of allowance. Make sure, that the distance between the pockets and edge of the fabric is the same on both sides. Please note, if you are using pants in smaller size and would like to make your tote larger, add strips of fabric on each side.
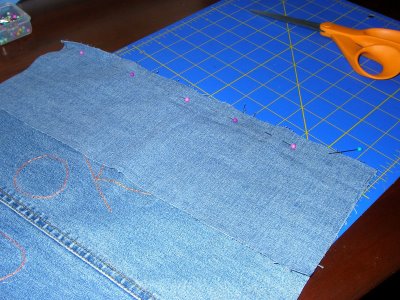
6. Lay out leg part of the pants flat on your work table, pin down piece of the tote with packets on top and cut out with scissors using edge of the ready piece as a guide adding 1inch of seam allowance on top.7. Measure bottom and the side of the tote piece without the pockets, and cut out one 5inch wide strip of fabric for the bottom of the tote, and 2 strips for the sides.
8. Cut out also two, 4in wide strips of fabric for the handles, I would like them to measure 30in and will add another 3in to the length to secure them in place.
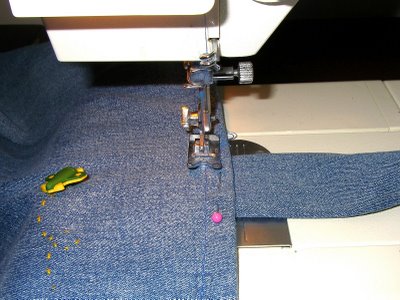
9. Using fabric pencil or chalk, write the word "BOOKS" on the larger piece without the pockets, and hand stitch the outline using any type of stitch you'd like. 10. Time for sewing! Remember that axcess fabric we tucked under the "butt" seam? Using your machine, make a stitch on the edge of factory seam securing excess fabric.
11. Pin down two side strips of fabric to front and back of the tote, and sew all the pieces together. Your extra seam allowance will be sticking out on top of the tote. Make sure also, that the inside of fabric is facing out.12. Using zigzag stitch finish edges of the seams.
13. Pin together and sew front and back pieces to the bottom strip of fabric between side seams. The bottom piece should have a seam allowance on both ends. Sew the short ends of the bottom piece and side pieces together and finish seams with zigzag stitch.
14. To finish the top edge of the tote, use zigzag stitch or double fold bias tape ( I had some leftover from another project). Fold the edge to the inside and stitch 1/2 in from the top edge. 15. To make straps, sew edges of previously cut fabric, iron the seams, turn them inside out and iron again.
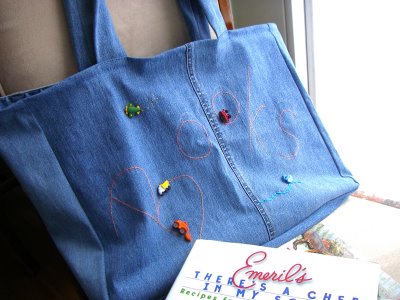
16. Secure the straps to the bag and finish embellishing it with buttons.
Embellishing part is so much fun, so go wild! Let your kids make drawings of their favourite book characters with permanent fabric markers, use buttons to spell out "BOOKS" or "READ". Use ribbons, patches, beads or scraps of colorful fabric.
Have fun reading!!