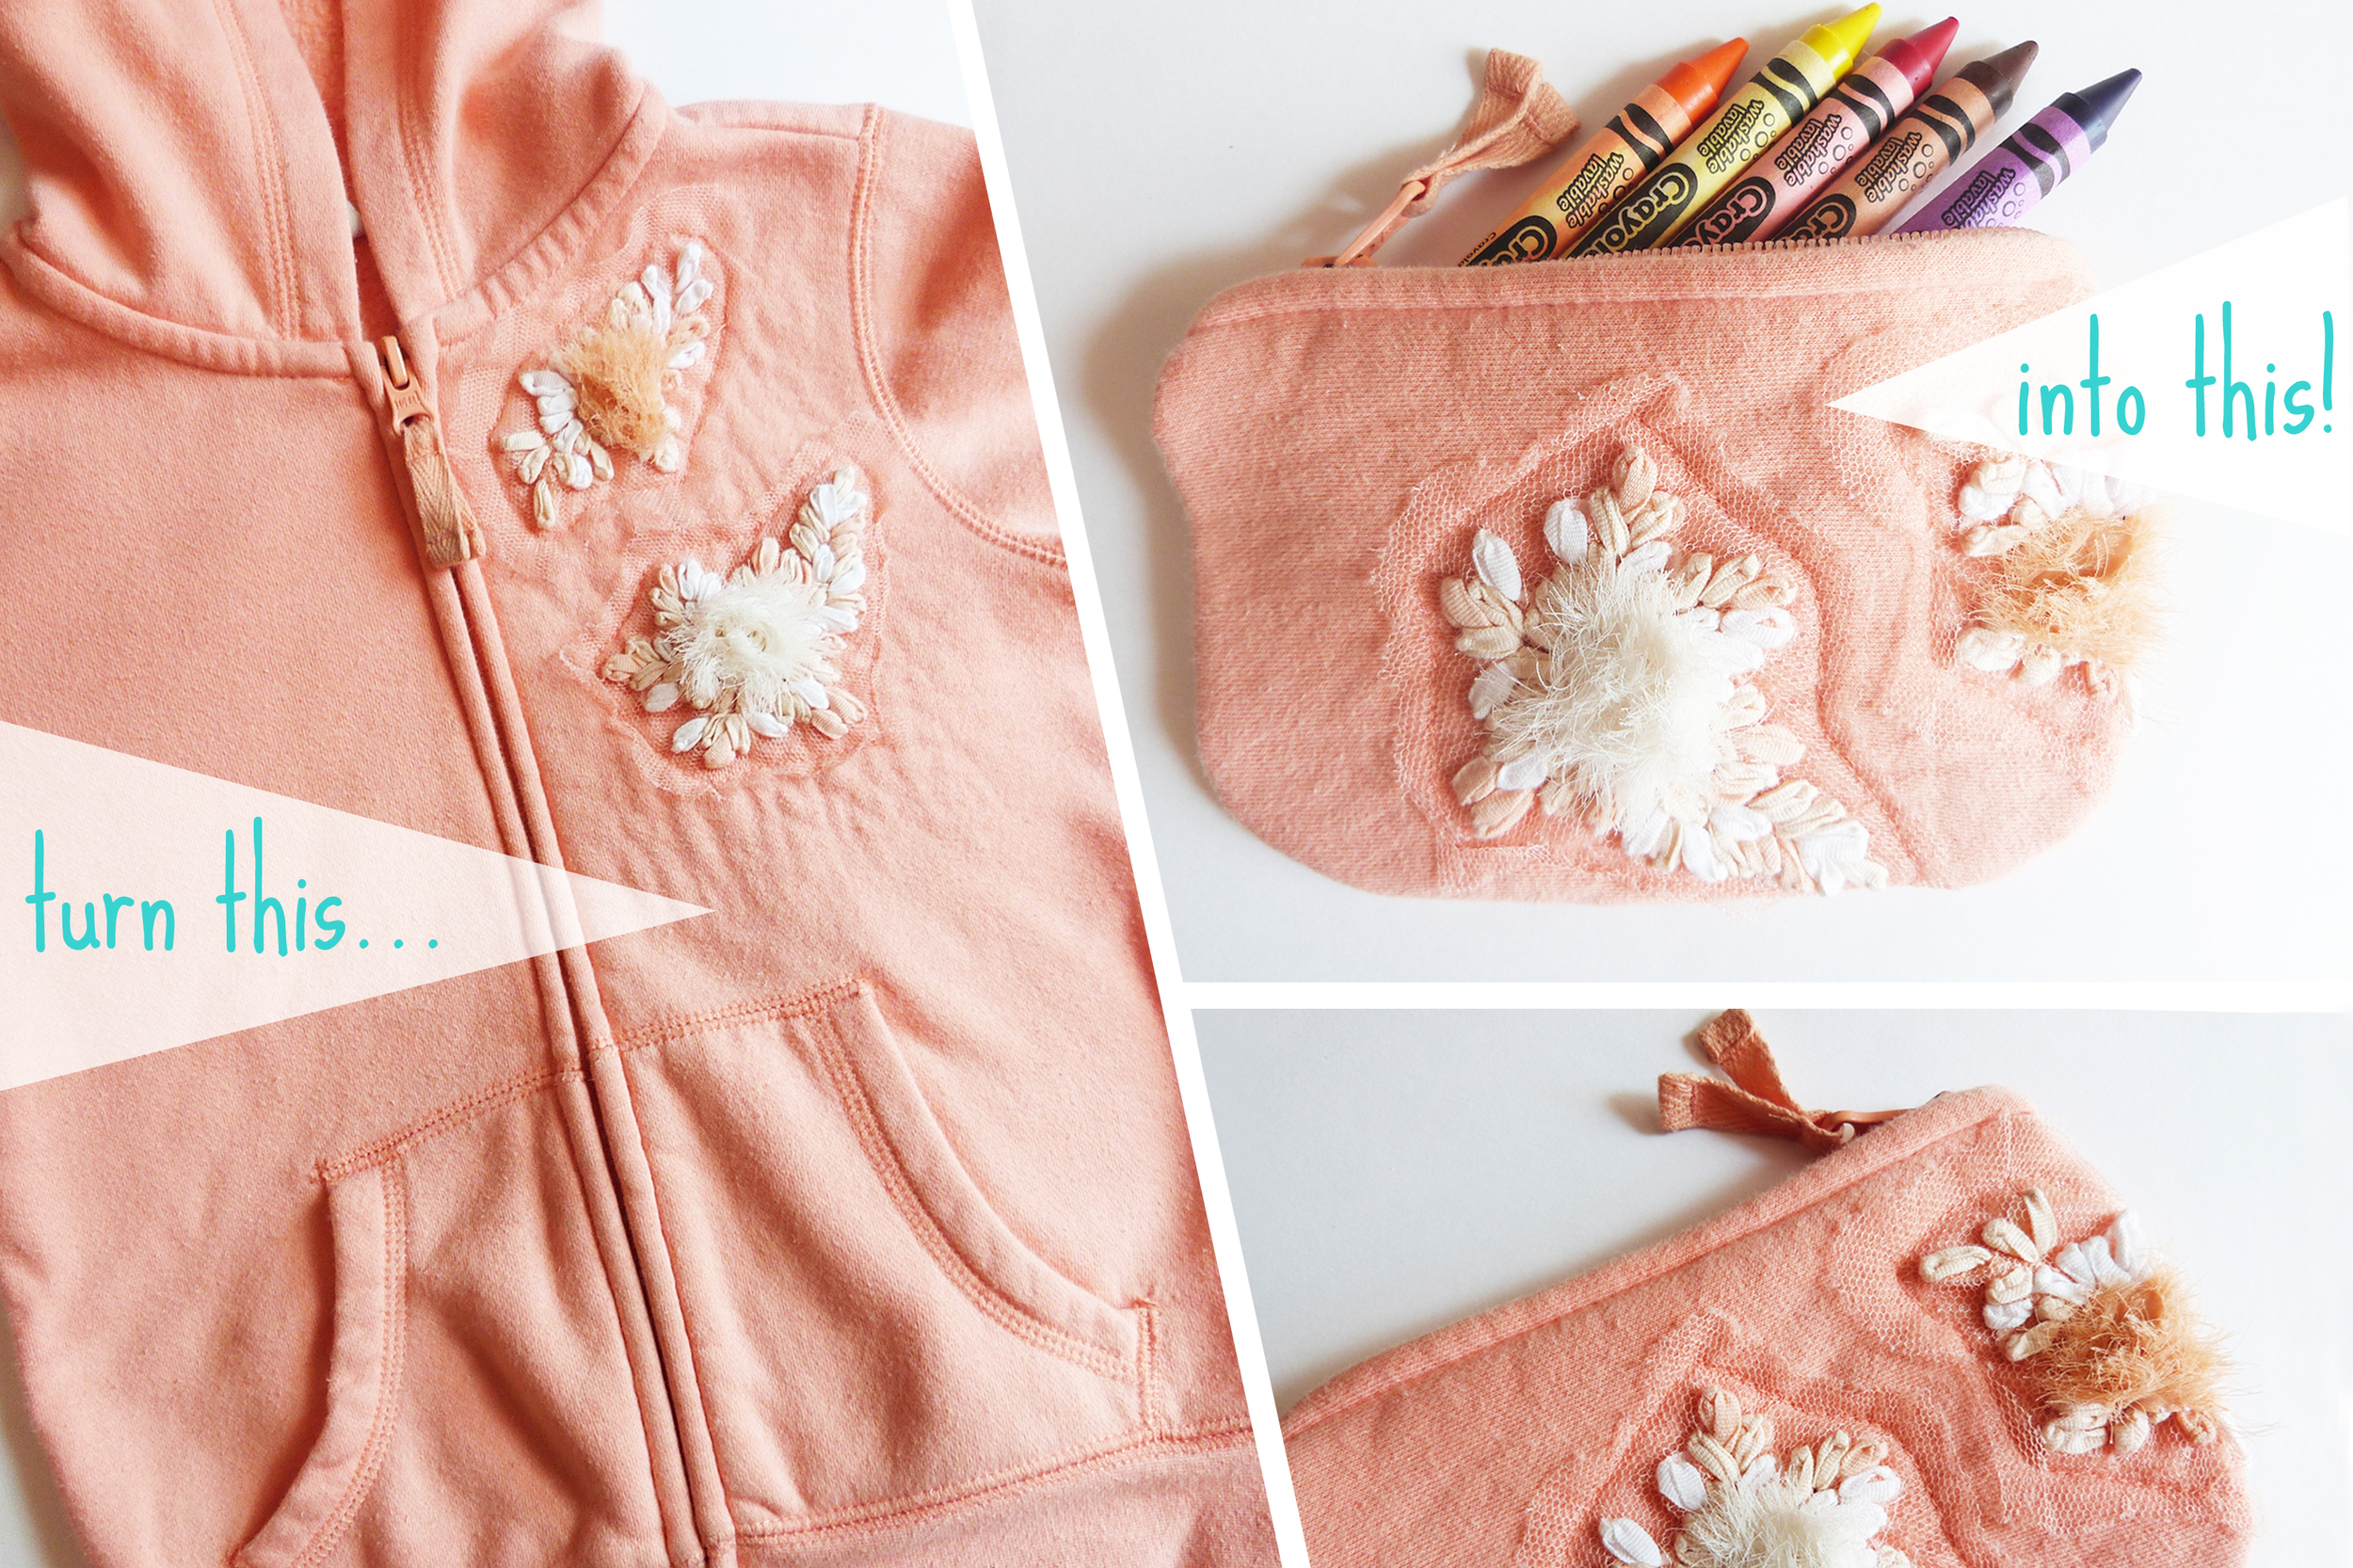
Sewing Studio Hunting

In December, I came to New York. I design women’s clothing and happily manage the entireprocess from fabric picking to pattern making and sewing. I was new in the city, had none of my machines, and needed a nice studio to work on a few samples for my new collection.  

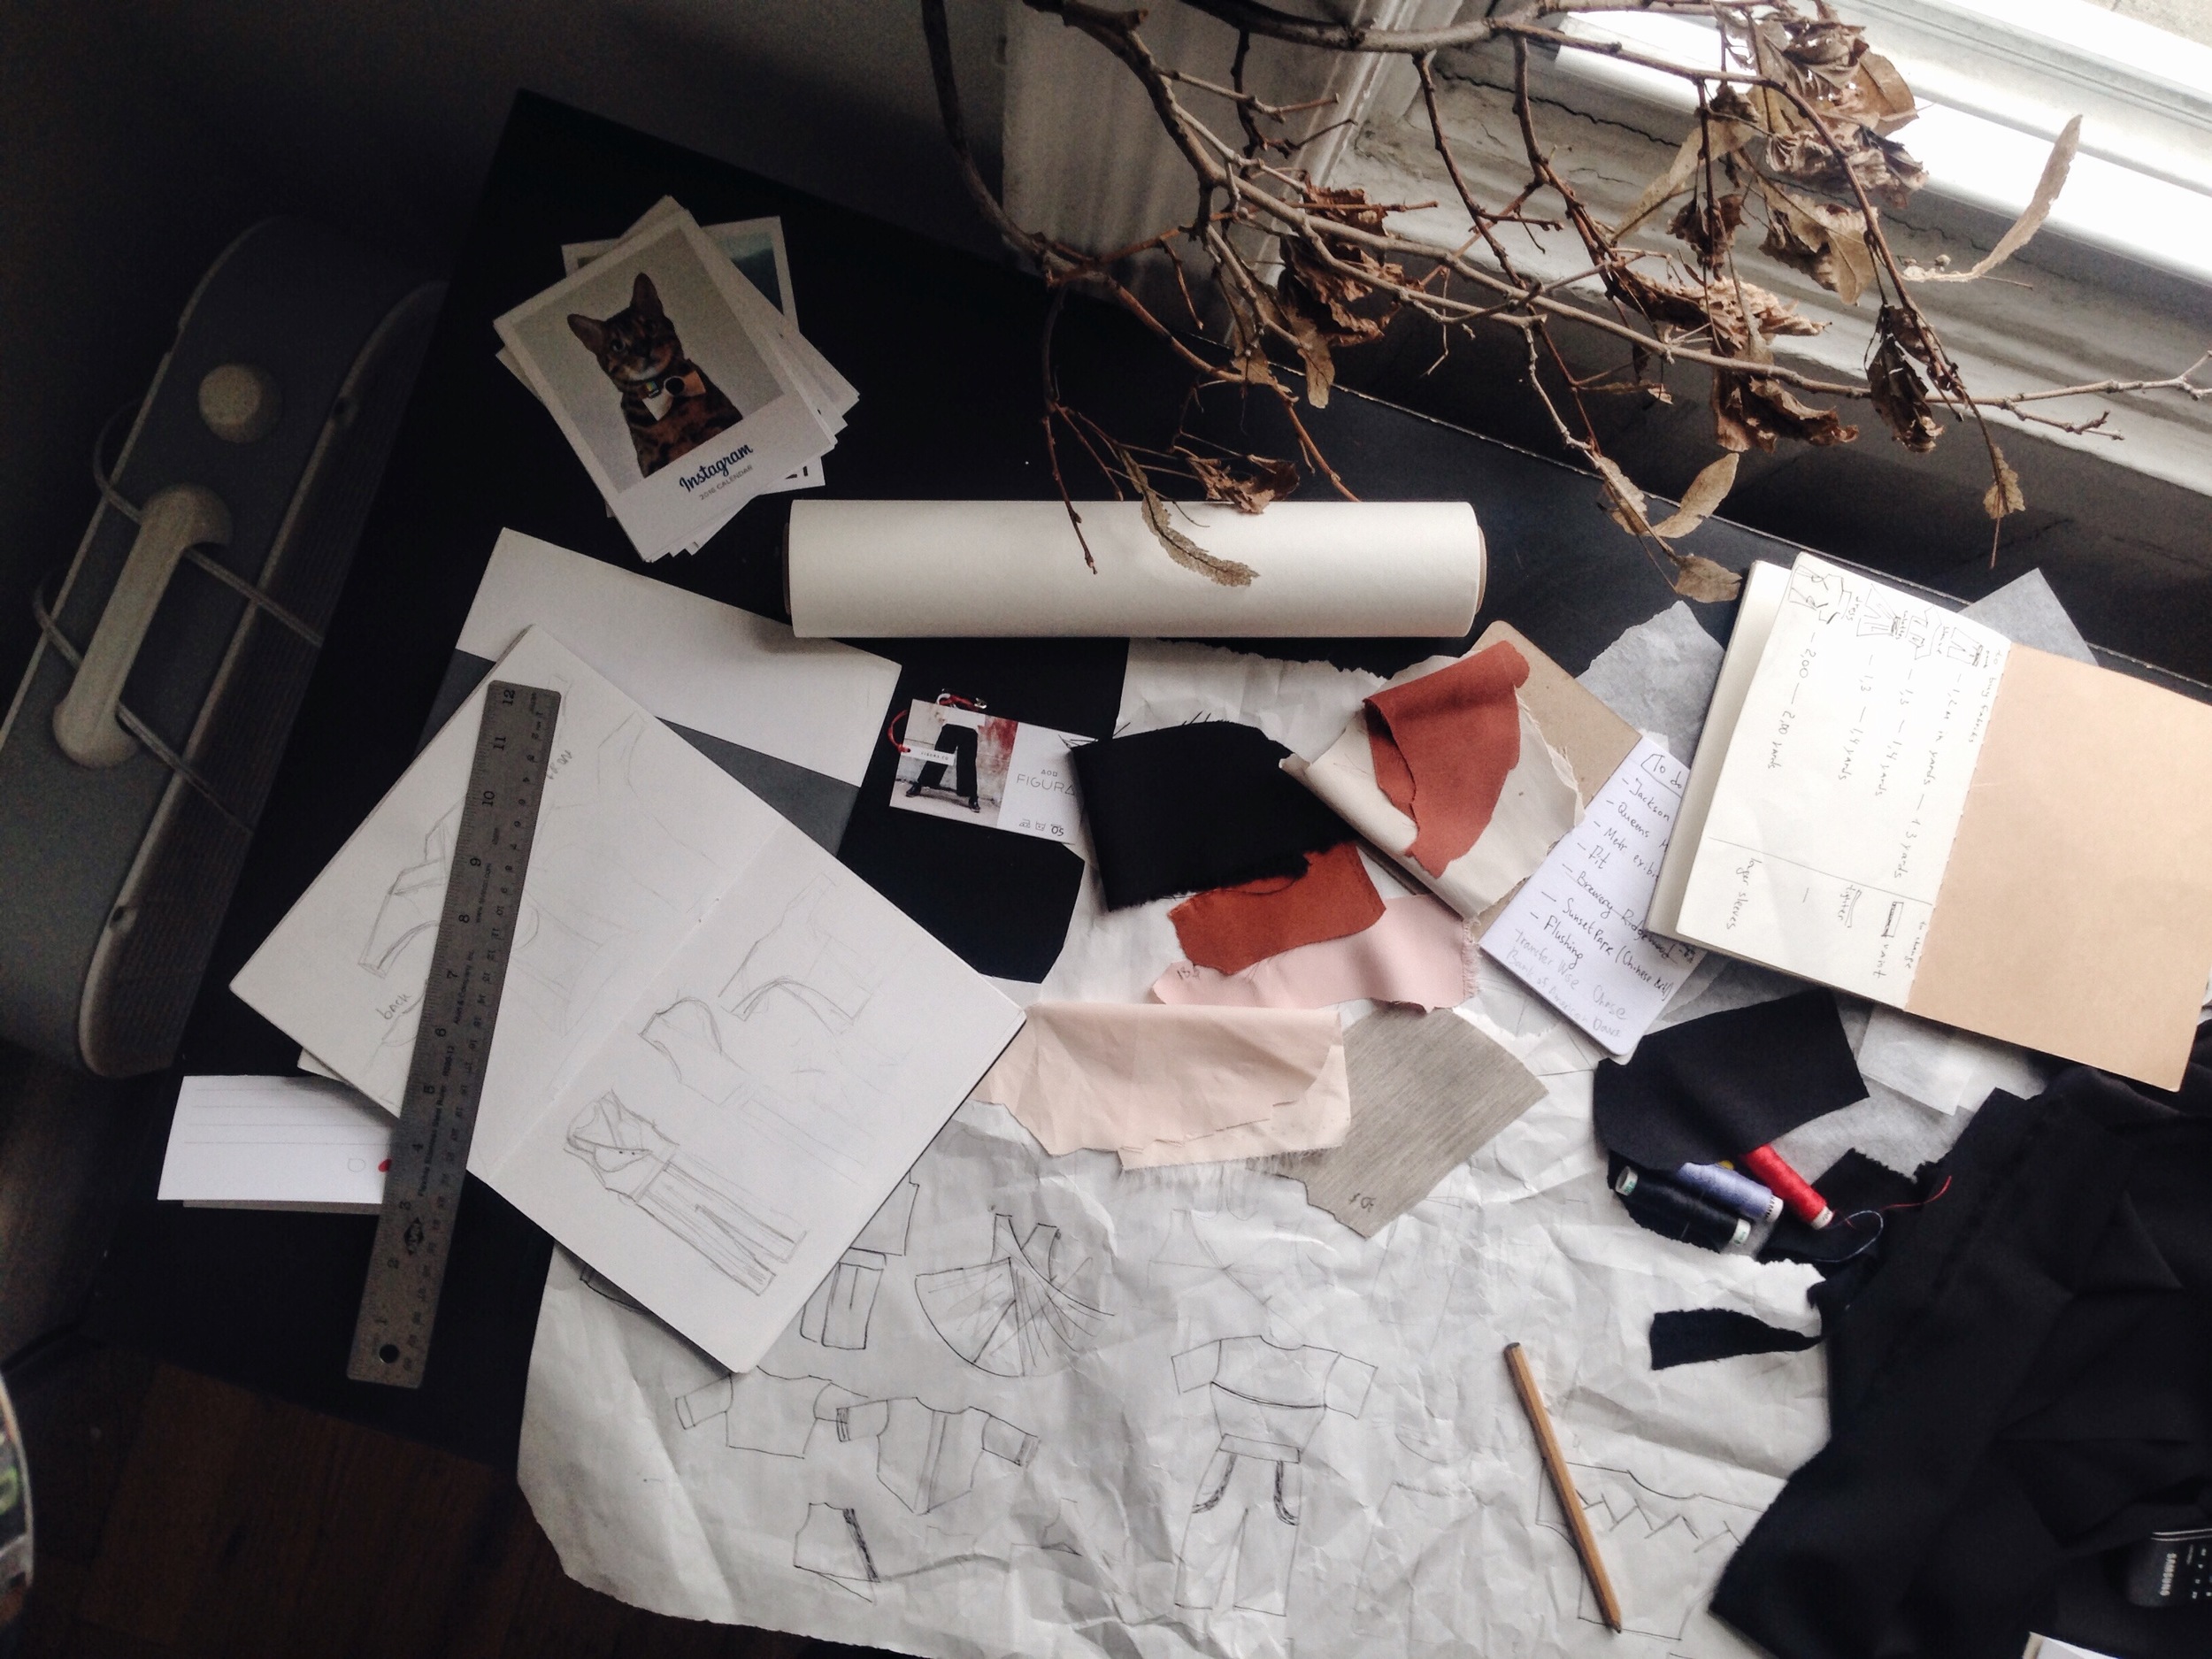
What I'm looking for is a shared space with sewing machines, a serger, cutting tables and irons. Windows as a must — sewing requires a lot of light. My top budget is $300 a month. Fortunately, New York isn’t short on options, I’ve done a lot of research and am going to share it for those of you on the same mission. 

I started by making a list of all co-working spaces with sewing equipment that came up in a google search and called/emailed them for more details. The drawing below is a sum of what I got.

An envelope sign means no visit, just email chatting. 

An envelope sign means no visit, just email chatting. 

#1 Soul Collection

It costs $1300 per month and looks nice and cozy in the pictures, but too pricey for me. 

#2 Better Than Jam

I was invited to visit the place. Awesome name and a great location made me excited. My daily commute could be a nice 20 minute walk through great coffee shops in Bushwick. The studio is really beautiful, there are big windows and a lot of natural light. The setup isn’t fancy, but decent: brother home machines, but no industrial serger. $650 monthly.

#3 Maker Space

It costs $150 if you pay month-to-month and even less if you make a commitment for 6 months. They’re located in a former factory in Staten Island. There are metal/wooden workshops, a 3D-printing lab, a tiny sewing room (without a window) and 24/7 access with your own copy of keys. I met a wonderful guy Scott who showed me around, promising to fix the ancient Overlock machine and made me feel truly welcomed.

There are plenty of crazy people working around, too! Like a guy whose job is to repair old typing machines. People still need them for decorations or movie props! 

But it has a huge BUT, it’s too far from my apartment. I took a subway (with one change), walked to the Port Terminal and took a free boat, then I rode Staten Island Subway and walked to the place. I came home exhausted and was asleep in ten minutes. Nope, this won’t work for me!

#4 Esaie Couture Studio

The price is $1500 or $500 if you’re ready for 6-month lease. I wasn’t. 

#5 Workroom Social

They don’t list their studio for rent but I emailed them anyway. And I was invited to join the lease until October.

#6 Make Workshop

It’s what tiny & cozy means in real life

It’s what tiny & cozy means in real life

The owner of the place is a charming lady who runs weekly sewing classes. I vistied during the middle of a Sunday workshop where a few girls were making small pouches.

It was the sweetest place, tiny but cozy and I liked Diana. The price wasn’t affordable for me, unfortunately.

#7 Mom’s Selling

A funny coincidence happened! I met a girl at the party whose mum was selling a bunch of sewing equipment including two machines, a stamper, a table,  two compressors and die inks. So some really serious stuff are just for $2000. Not an option for me, but definitely a great deal!

#8 Dry Cleaning

While I was doing my email research I got a response from a studio whose name I forget. They were out of space but a few minutes ago I got a letter from a Dry Cleaning Service who is renting out their place. 

I was curious enough to learn details. $600 per month and a crazy timing. Probably not the most comfortable place to work but a good option!

#9 Art Textile Center

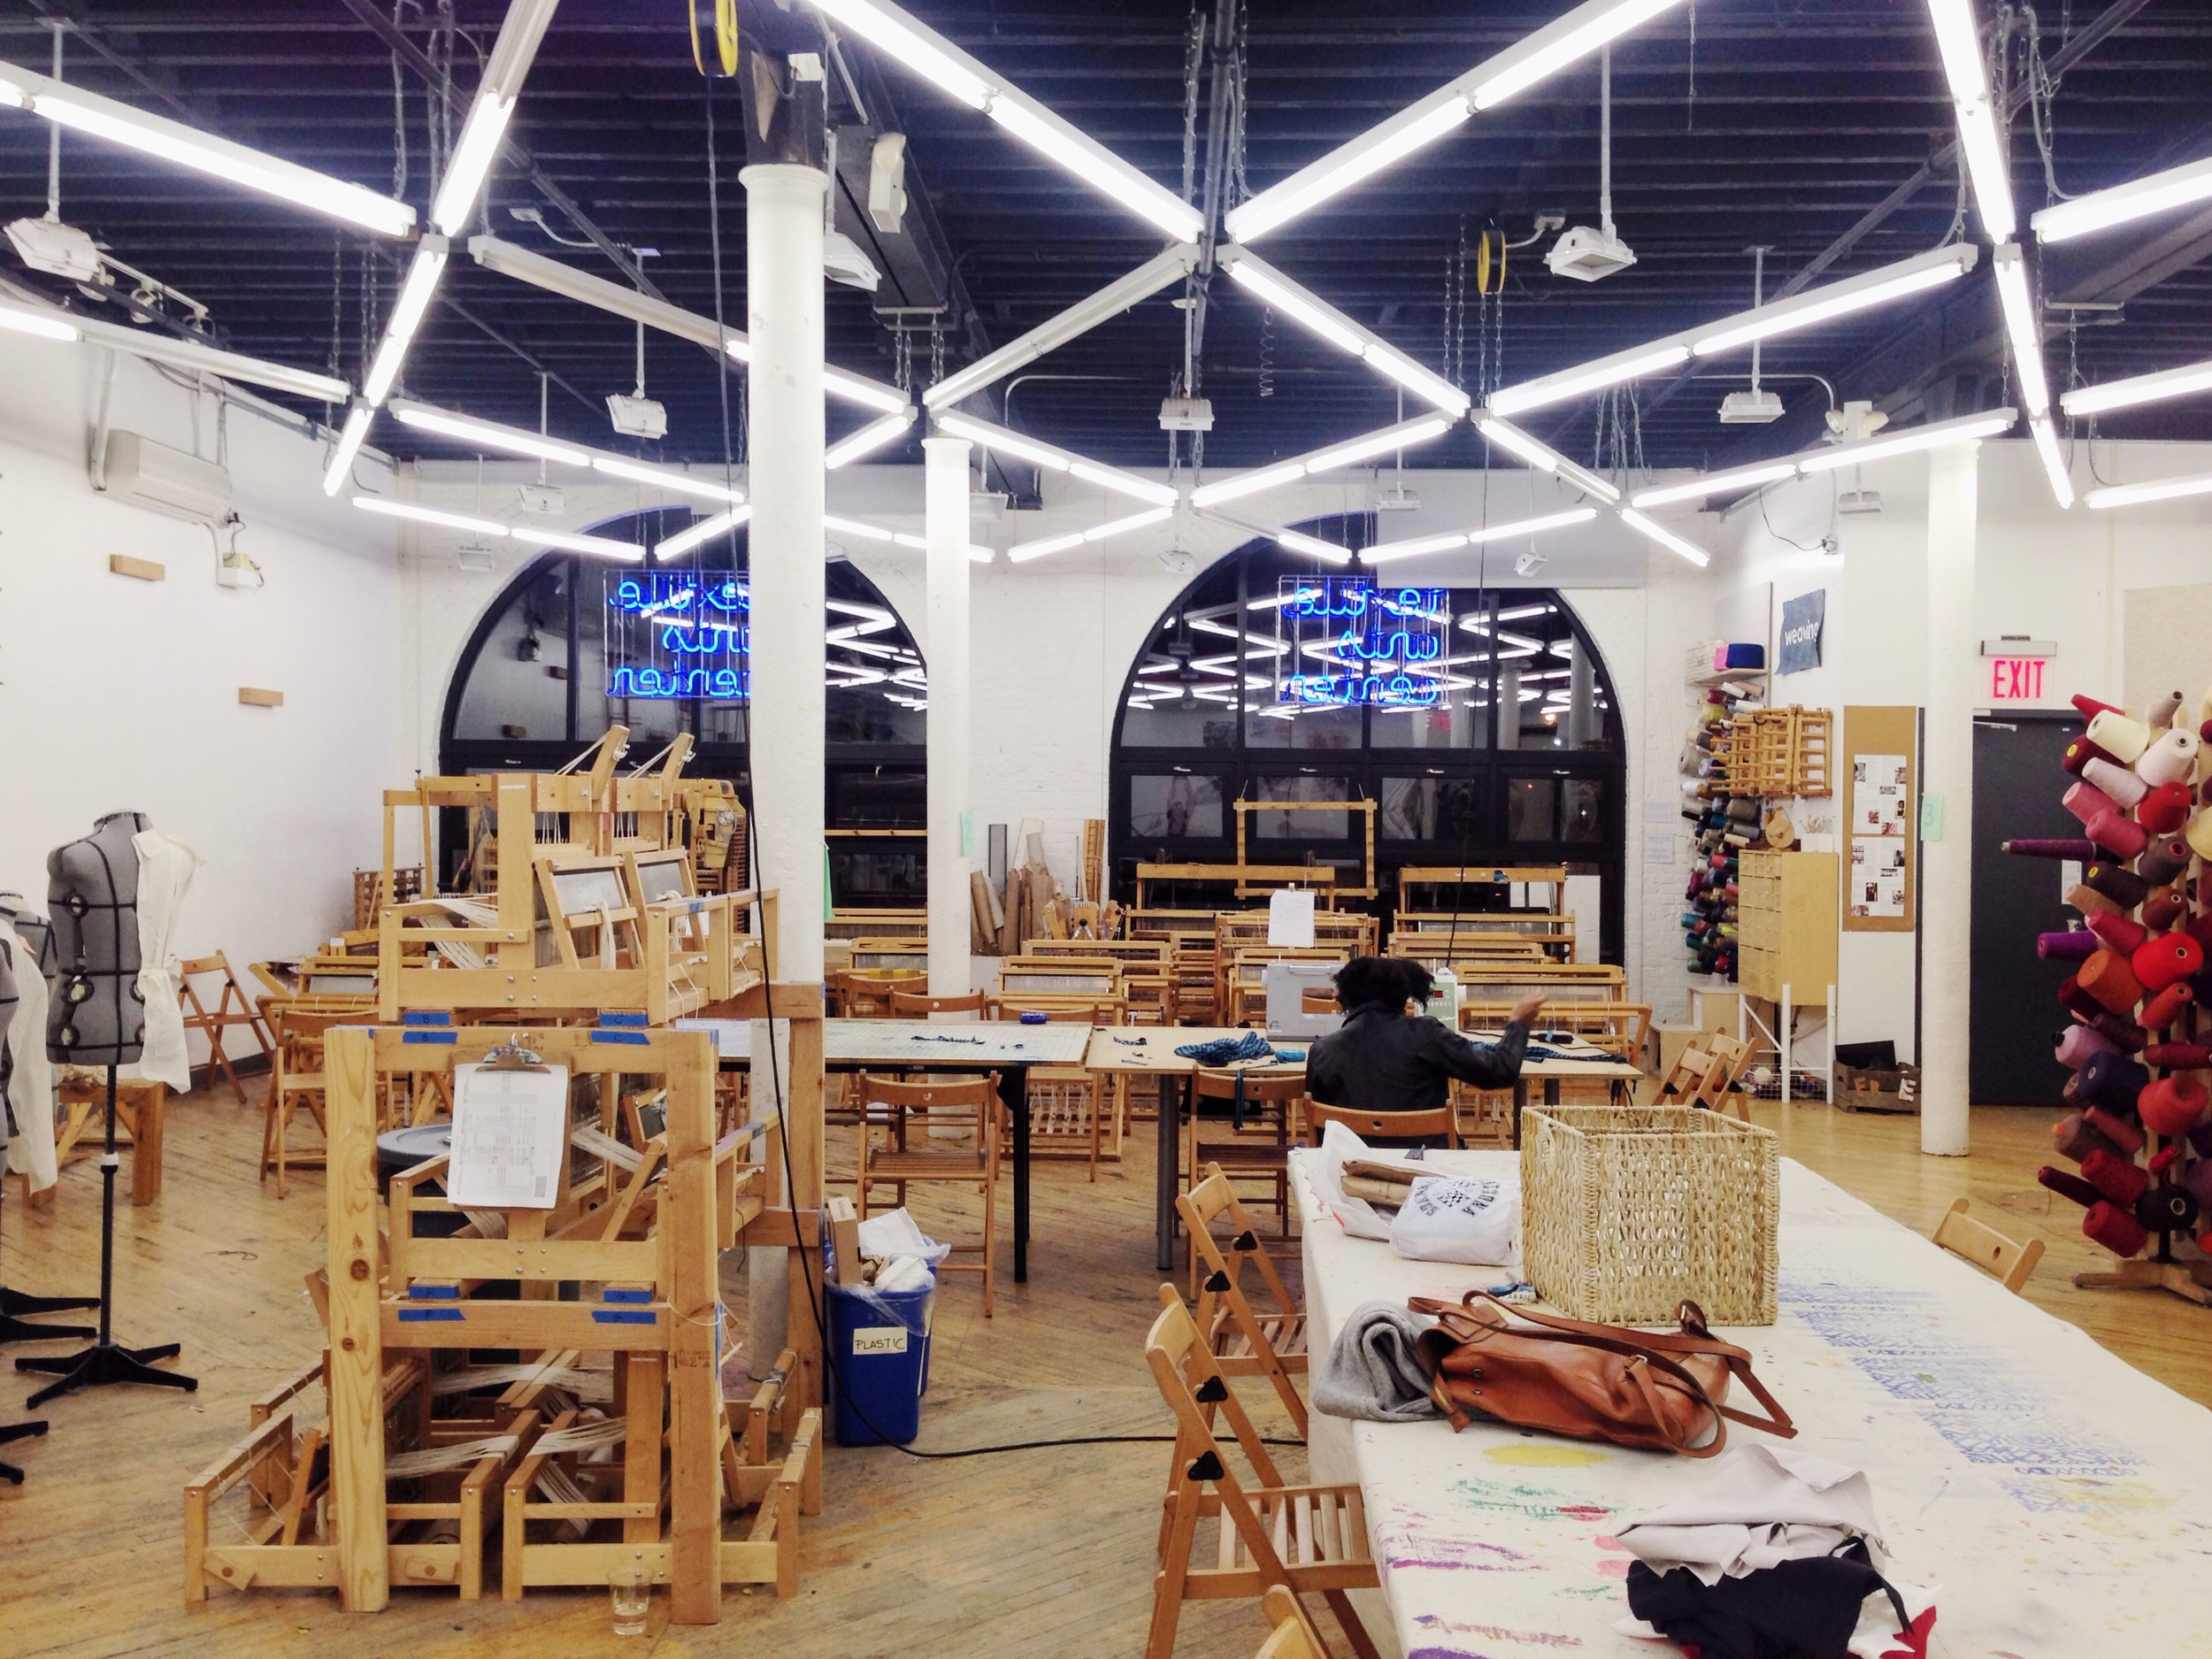
They cost $200 per month and have a studio in Gowanus, one of my favorite neighborhoods and home to one of the best New York Ice Cream and yummy American pie shops. I was happy to find this place!

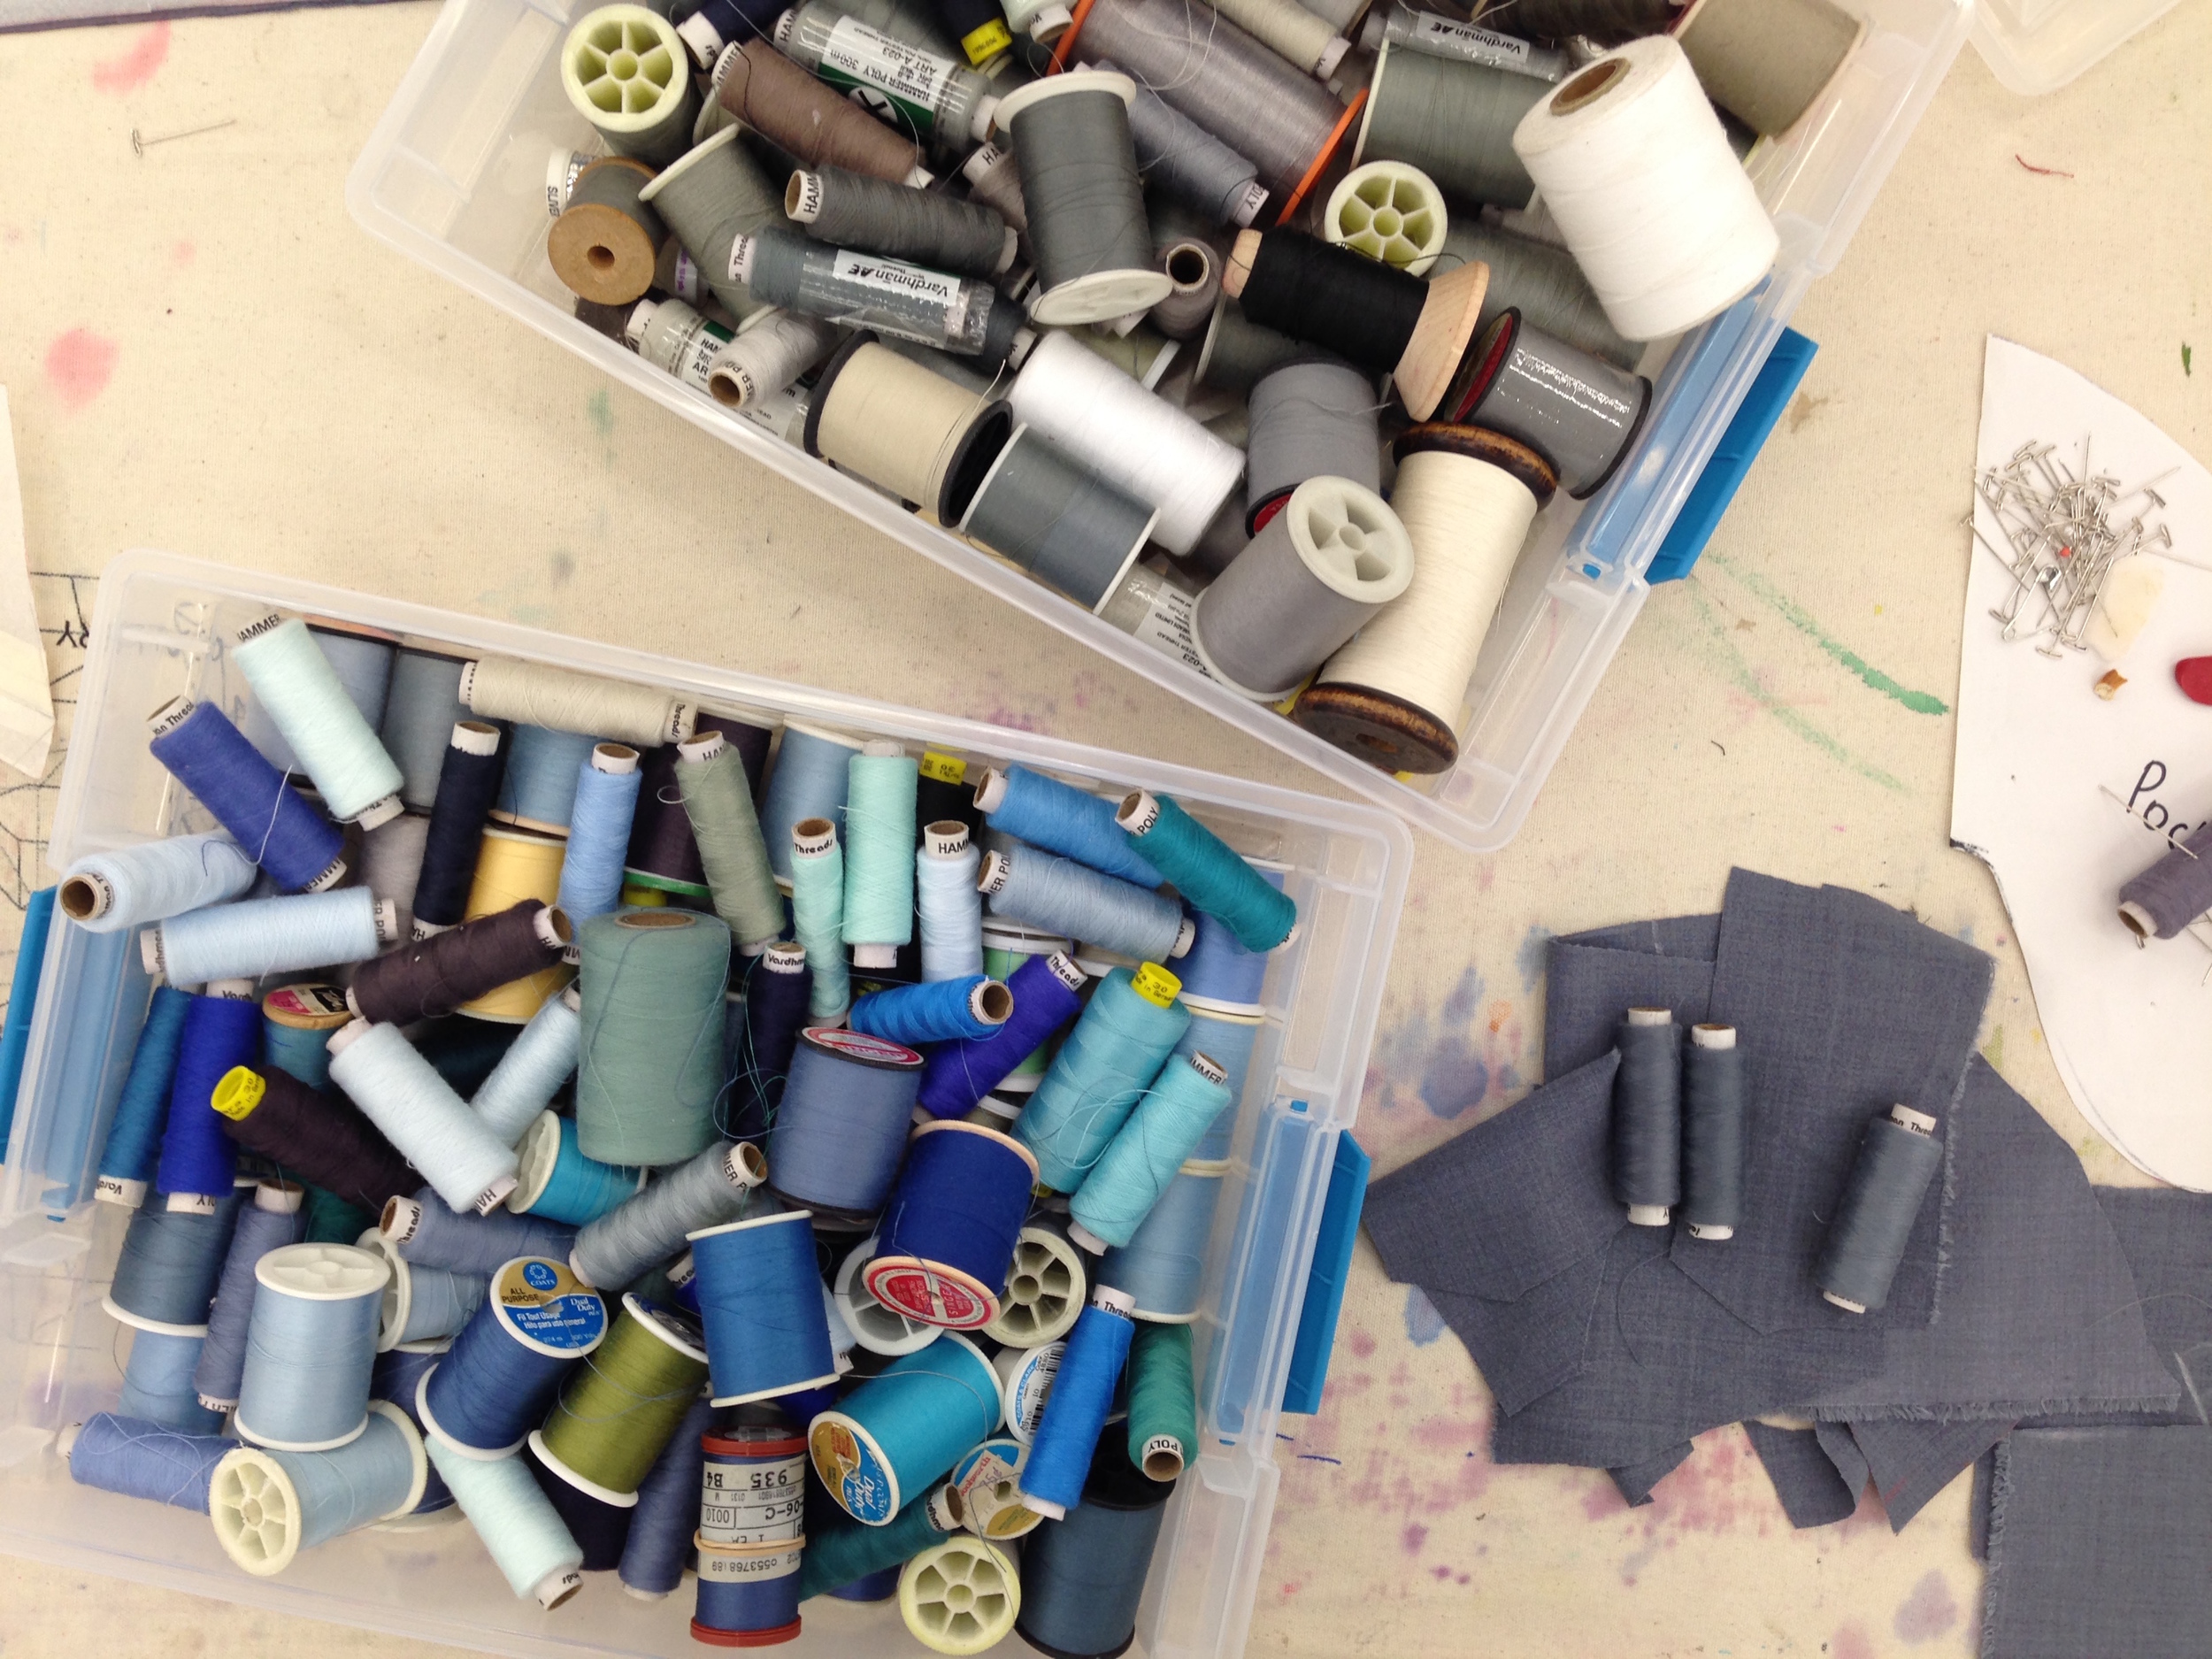
First of all, it’s just beautiful! There’re several heavy duty Singer machines (really good ones!), big cutting tables, huge windows and plenty of small but important sewing/pattern making tools. They have one serger and it’s a Pro Finish model which is famous for threads tension problems. It took me a while to get used to it. 

Besides sewing equipment there are looms, as well as everything for dye and machine knitting.


It would be too perfect if not the schedule. Open hours for this studio are better for small personal projects than a full time working. But besides that the studio is awesome!

I'm happy to report that I’ve been working here for a while, with no regrets! 

Happy sewing! 

Post by Elena Zaharova

     Etsy Instagram Facebook  

     Etsy Instagram Facebook 


DIY: Upcycled Skirt

It is that time of the year again and we find ourselves transitioning into Fall. We go into our closets,  take out the sweaters and start wearing layers. As I went into my daughter’s closet and found a few things to donate, I found a couple of pants that still fit her at the waist but are short at the ankles. So I thought to turn them into a skirt, which became the idea for this post! Note that you can do this project with your own, adult size pants. You will need:

A pair of old pants

Your sewing machine

Fabric scissors

Seam ripper

Coordinating thread

Basic sewing skills

1.a. Decide where you would like your hem height to be (above or below the knee, etc) and mark it. Lay the pants completely flat on a flat surface. Cut the legs off where you marked the leg. Be careful to cut in a “curve” and not straight across (image above)

1.b. Use your seam ripper to take apart the seam on the inside leg.  When you get to crotch area, carefully rip the seams as close to the zipper as possible. It may take a little time to do this but it will be worth it.  Keep the bottom part of the legs that you just cut off for the next step.

2.a. Use your scissors to cut open the legs (the pieces you just cut off) along one of the seams (side or inseam, it doesn’t matter). No need to rip the seams, just cut as close to the seam as possible. The top part of the pants (which will become your skirt) will have two sort of flaps, at the front and back, in what used to be the inseam of the leg and crotch. Lay the pants flat, overlap the crotch flaps one on top of the other and put one of the pieces of fabric from the cutout legs (legs you cut off) under the opening. Make sure the flaps are on top of that piece of fabric, laying flat, fold in the edges and carefully pin the layers together.

3.a. Time to sew! Top stitch along the pinned folded flaps.  You can use a thicker, contrasting thread color for fun - you gotta show off your work, right? I used a couple strands from a DMC embroidery floss. Cut the excess fabric on the wrong side of the garment (middle image above). 

3.b. Repeat steps 2.a through 3.a to finish the back of the skirt. Once front and back are finished, your skirt is ready! You can wash and dry it to fray the hem.

OPTIONAL:

Step 2.a. optional: Instead of using the cut out leg to insert under the opening at the front and back of the skirt, you could use a different fabric to add contrast. Maybe use a patterned fabric or different color fabric but you should find something that is the same fabric weight as the rest of the skirt.

Step 3.b. optional: You may decide to finish the hem differently. You can fold in the hem and top stitch it but you must remember to add an extra 1.5” to 2” hem height when cutting the pants on step 1.a. You can also top stitch lace or ribbon at the edge of the hem. However, it must be a narrow width as your hem is curved and the lace or ribbon will lay flat,  possibly producing a puckered effect.

Now that your skirt is ready, wear it, layer it with tights this Fall and strut it around next Summer. You will be so happy with the result and best of it all, you did it all yourself and reused a piece from your closet.  This is a great project to reuse your favorite pair of pants and to create a unique piece of clothing you can wear all year around.  Enjoy it, have fun and happy sewing!

Natasha K.

ETSY // FACEBOOK // INSTAGRAM


DIY: upcycled pencil case

Fall is at our doorstep and we’re getting ready to welcome it around our house. The kids are back in school so I have more time to clean up their closets. As I’m putting their outgrown clothes aside for donation, I decided to keep a couple of zippered sweatshirts to experiment with for this project. I ended up making this little pouch, perfect for my daughter’s crayons, here’s how I did it:

1. Use an old zippered sweater to upcycle. Turn the sweater inside out and place it on a flat surface. Decide the final length of your pencil case by marking the zipper at two points (blue dots on picture). If the sweater has a front pocket, try to avoid it to facilitate sewing.  Machine stitch on the marked points to close the zipper, making sure the zipper pull is between the points.

2. Hold the sweater (still inside out) from the center front zipper, fold it and lay it flat as pictured. Use a water-soluble pen or chalk to mark the shape of the pencil case (blue dotted line on picture). The shape can be anything you want, rectangular, square, rounded corners, etc, depending on the size of the sweater. Mark a seam allowance of about ¼” (red  line on picture).

3. Pin down the two layers of fabric and cut along the marked seam allowance (red line) Make sure the zipper pull is pulled to the middle of your work so you can turn it later. Stitch along marked stitch line (blue line). At zipper points, make several stitches to reinforce.

4. Turn your pencil case right side out and tidy up the edges with a pointed tool (pencil, chopstick, etc). Voilà! You’re done… start using to store school supplies, even cosmetics or electronics!

TIP: When stitching along marked stitch line (step 3) you may want to add a second stitch line just next to the first, using your machine’s zig-zag stitch. This is helpful reinforcement, specially because you’re working with a knit and your straight stitch may brake after a while.

Have fun and please share pictures of your upcycled pencil cases!

Natasha K.

*on Etsy*    

*on Facebook*    

*on Instagram*

Are You Ready to Craft? Are You Ready to Party? Lets Meet at the Etsy Craft Party!

The time is here fellow makers, crafters, and Etsy lovers to meet across the globe (and in DUMBO) to celebrate Etsy's annual Craft Party! This year's theme is "Recapture: bringing new life to your photographs" and focuses on transforming photographs into display-worthy works of art using a variety of craft supplies and creative techniques.  Visit the Etsy Craft Party Page for more details including details on how to host your own party!

Samples of some photos retouched.

Samples of some photos retouched.

Etsy New York Team Members will be on hand to help Etsy staff put on this large craft event on Friday, June 6th between 5:00 pm and 8:30pm at the Manhattan Bridge Archway Plaza.  The event in DUMBO is free and open to the public. To reserve your space, please visit Eventbrite.

This year's Craft Party highlights include:  a video made by the Etsy Design Team projected on the bridge. Each guest will get their own embroidery DIY kit to embroider photographs that includes one unique vintage photograph, as well as a kit friendly coloring kit for the first 50 kids.  On each table will be a tablecloth with photobooth frames drawn on for easy photographing and instagraming!  And of course, food trucks will be on the premises for those hungry crafters.

Etsy has been encouraging other hosts to share examples of the DIY ahead of time.  You can see some lovely examples of embroidered photographs if you search the hashtag #craftparty.

To view images from past Etsy Craft Parties around the world, visit Flickr.  If you're hosting a Craft Party, you may find some inspiration sorting through the photos.

We hope to see you next Friday as we celebrate crafting, community, and the spirit of making new friends and sharing in the power of craft.