Egghead Learns to Sew, Part VI
Today I start applying machine-sewing to the material I intend to work with, namely, felt! This involves learning about types of thread, needle sizes, and a few key machine settings.
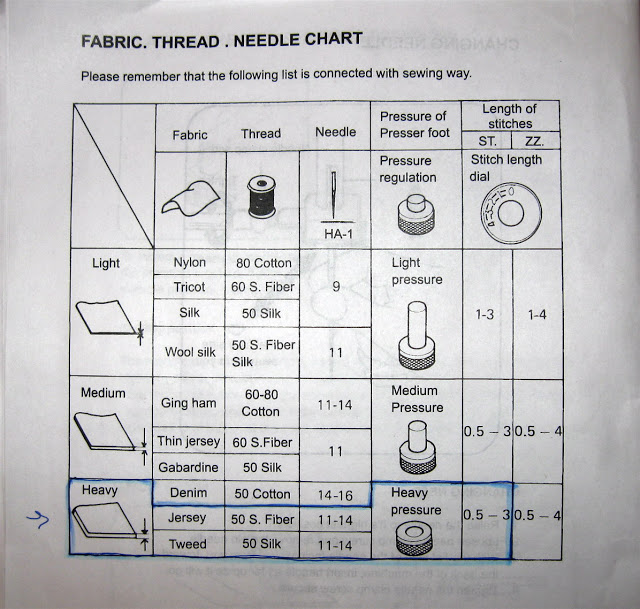
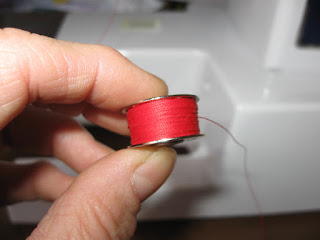
My Chart describes thread in terms of cotton, fiber and silk. None of the thread I own states these as its components; it's all just polyester, if it even says what it is (a lot of it is inherited). Hmmm. This is the point at which I had to go beyond the Instruction Manual for information. I learned that the important thing is to match the type of thread to the type of fabric, not just in terms of color but also strength and stretchiness. Although the best source I found (Tying it All Together: All You Need to Know About Thread) didn't specifically mention felt, I gleaned from the wide range of fabrics it included in its more extensive fabric-thread-needle chart that polyester would work just fine with felt.
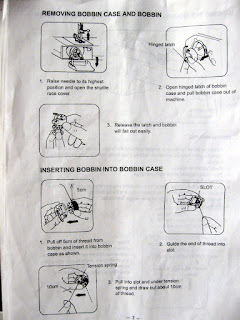
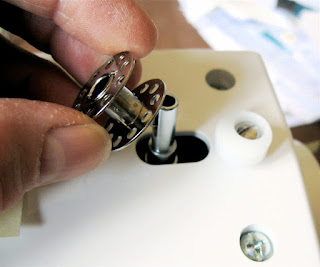
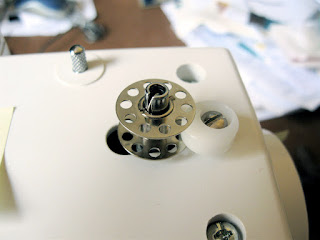
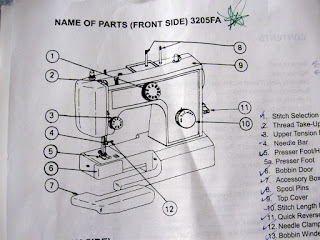
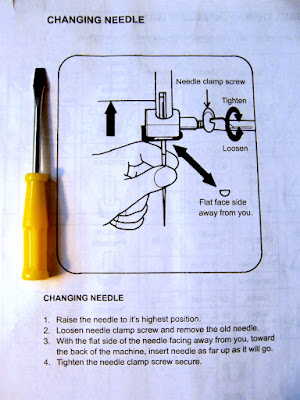
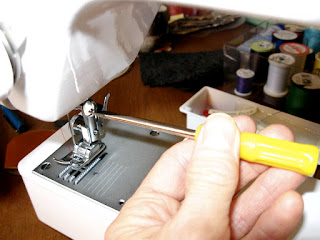
On to needle size. My Chart said to use a needle sized between 11 and 14. I wasn't sure what size needle was already in the machine, though I deduced from the sizes of the needles included in my little box of sewing machine accessories that it was probably an 11. But what a problem it could be if I was wrong, so I decided to take the needle out and with a magnifying glass and a lot of light, read the teeny-tiny number engraved on the rounded side of the base of the needle. To get the needle out, I followed the directions for "Changing Needle" in the Instruction Manual. Using the little screwdriver that came with the machine, I loosened the needle clamp screw. Then I gently pulled down on the needle until it was free.
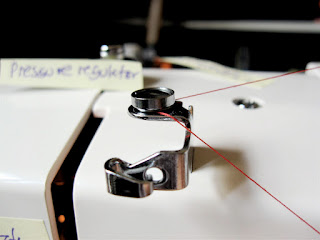
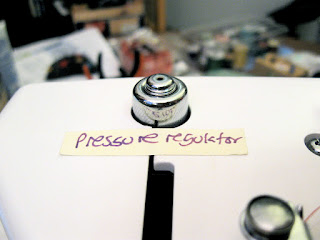
For heavy fabric such as I determined felt to be, my Chart said to use heavy pressure, so I pushed the pressure regulator all the way down.
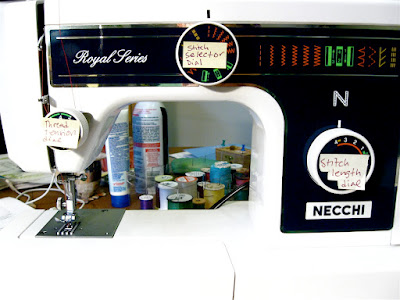
As for the stitch settings, I set the selector dial to straight stitch (versus a zigzag stitch). For this type of stitch my Chart recommended a stitch length of between 0.5 and 3. I set this dial to 3.
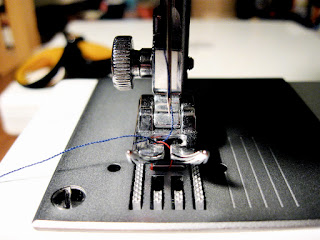
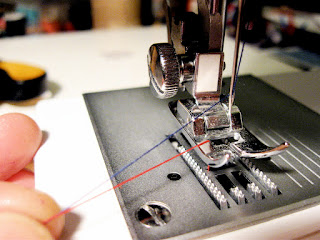
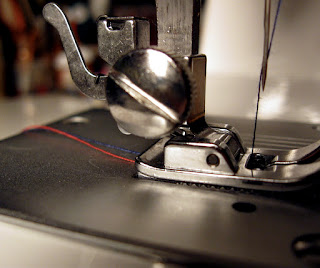
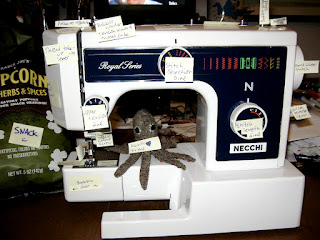
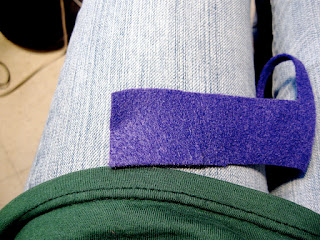
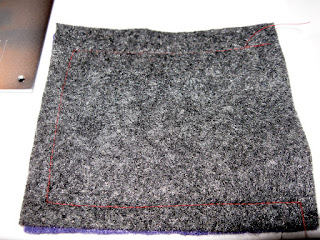
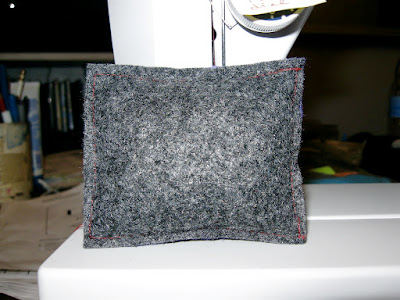
I turned the machine on, depressed the foot control, and clickety-clack, off I went a-sewing on felt! I planned to make a little pillow, in part to test how much stuffing I could stuff into something and still be able to sew it up on the machine. Stuff it too full and there's not enough fabric to get under the presser foot.
Considering that in any given project I'll probably be combining machine-sewing with hand-sewing, I'll probably opt for a longer stitch so that they match, setting the dial to 4 instead of 3. I did try this, not on the pillow but on a scrap of felt, and it worked fine. For decorative purposes I may also want to use a thicker thread than the multi-purpose polyester I used today, requiring further machine settings to be investigated and duly adjusted. More on that to follow.
Until then --

Linda
Purty Bird
Fabric, Thread and Needle -- Combining Heaviness, Strength and Size
Felt doesn't appear in the Fabric, Thread, Needle Chart in my Instruction Manual but I'm approximating to be somewhere in the neighborhood of jersey and tweed in terms of heaviness. I used my outfit of denim and jersey (jeans and a t-shirt) to make this determination. Felt is thicker than jersey but not as dense as denim, so... best guess.My Chart describes thread in terms of cotton, fiber and silk. None of the thread I own states these as its components; it's all just polyester, if it even says what it is (a lot of it is inherited). Hmmm. This is the point at which I had to go beyond the Instruction Manual for information. I learned that the important thing is to match the type of thread to the type of fabric, not just in terms of color but also strength and stretchiness. Although the best source I found (Tying it All Together: All You Need to Know About Thread) didn't specifically mention felt, I gleaned from the wide range of fabrics it included in its more extensive fabric-thread-needle chart that polyester would work just fine with felt.
On to needle size. My Chart said to use a needle sized between 11 and 14. I wasn't sure what size needle was already in the machine, though I deduced from the sizes of the needles included in my little box of sewing machine accessories that it was probably an 11. But what a problem it could be if I was wrong, so I decided to take the needle out and with a magnifying glass and a lot of light, read the teeny-tiny number engraved on the rounded side of the base of the needle. To get the needle out, I followed the directions for "Changing Needle" in the Instruction Manual. Using the little screwdriver that came with the machine, I loosened the needle clamp screw. Then I gently pulled down on the needle until it was free.
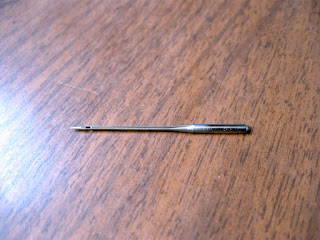
I couldn't make any sense of what the teeny-tiny engraved text said for the longest time, until I realized I was looking at it upside-down. That's how tiny it was! Probably the glare from the additional light I had shining on it didn't help.
In any case, the needle turned out to be a size 11, as I suspected. According to my Chart, it would likely work fine with felt (it recommended size 11-14).
Pressure of Presser Foot and Length of Stitches -- Setting the Settings
For heavy fabric such as I determined felt to be, my Chart said to use heavy pressure, so I pushed the pressure regulator all the way down.
As for the stitch settings, I set the selector dial to straight stitch (versus a zigzag stitch). For this type of stitch my Chart recommended a stitch length of between 0.5 and 3. I set this dial to 3.
I turned the machine on, depressed the foot control, and clickety-clack, off I went a-sewing on felt! I planned to make a little pillow, in part to test how much stuffing I could stuff into something and still be able to sew it up on the machine. Stuff it too full and there's not enough fabric to get under the presser foot.
Until then --
Linda
Purty Bird