
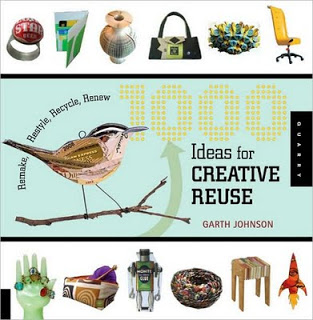
Book Review: 1000 Ideas for Creative Reuse by Garth Johnson
Book Review:
by Lorina Pellach-Ladrillono
of The Original Beadscarf
1000 Ideas for Creative Reuse by Garth Johnson
pub. date: Nov 2009 / 320 pages
'Inspirations' might be a better word than 'Ideas' for the title of this book. I would imagine that most crafters, myself included, have experienced what would be akin to writer's block. One flip through Garth Johnson's '1000 Ideas for Creative Reuse' could inspire at least several weekends of creative energy.
Inside this beautifully curated and photographed book are images of items whose parts would have likely found their way to a landfill. Instead, they have been fished out of a junk drawer of extra castaways and recycled/ repurposed into jewelry, objects d' art, bags, couture dresses, clocks and even furniture.
Amazingly, no parts or refuse are rejected!
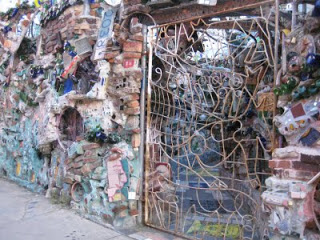
The impressive collection includes playing cards transformed into butterflies and attached to pearl necklaces; single bud flower vases created from empty toothpaste tubes and Full scale art installations. Fabric, glass, even ice is recycled! Postcards in place of wallpaper; Tea carton wallpaper and furniture; Bottlecap mosaics to mimic famous paintings; a sugar packet table cloth in a pretty flower motif; money chandelier made of US $1; and most striking, if not downright gruesome-, jewelry made entirely of dismembered Barbie doll parts- again, no part spared!
As I thumb through 1000 Ideas, I couldn't help but notice the works of many crafty colleagues I know featured from TheNewNew and beyond.
Although the works included in this book are mostly from USA, there are also adaptations from Canada, New Zealand Germany, Finland, UK, Spain, Australia, Israel and Sweden to name a few.
So next time you are feeling crafty but can’t seem to get going, pick up this book, grab that remnant you’ve been saving for ‘making something someday’, and get inspired.
Be warned though: I have a feeling this book may just spawn a new generation of crafters!


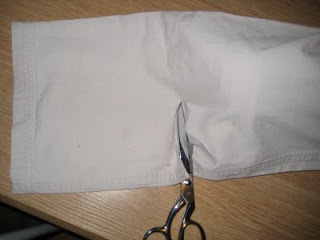
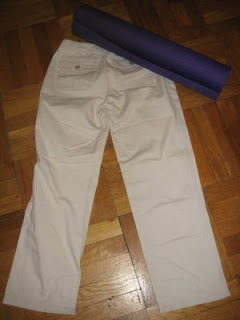 2. Cut the pants/jeans in half so that the two legs are separated. Turn the half you will use inside out.
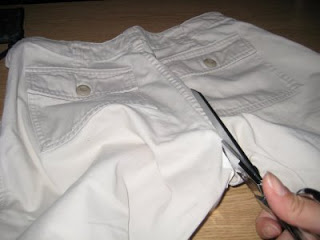 3. This is how to cut up the pants if you want to use the button fly as the opening for the yoga mat sling bag.
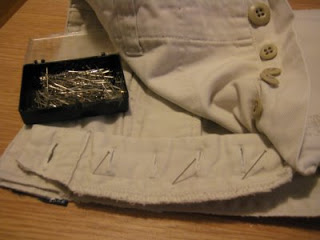 4. Sew the button fly back onto the pant leg.
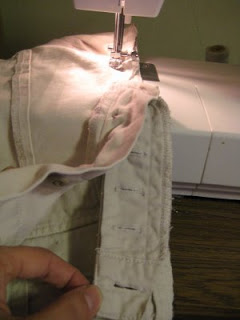
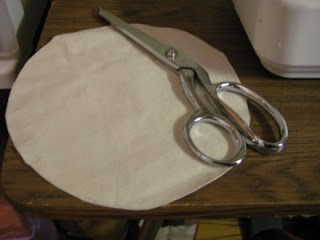
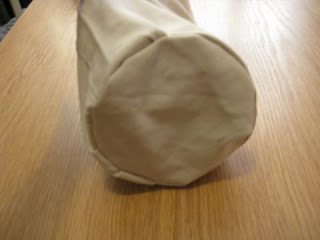
 6. Measure the diameter of the pant leg bottom. Using the leftover pant leg fabric from Step 5, cut out a circle with the same diameter
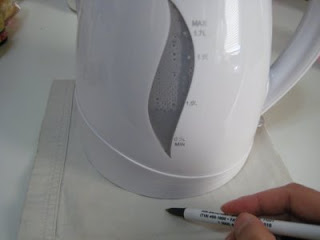
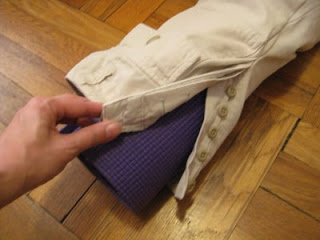
 7. With left sides facing out, pin the circle to the bottom of the pant leg. Decide where you want the strap to run across the bag and position one end of the webbing between the base and the pant leg.
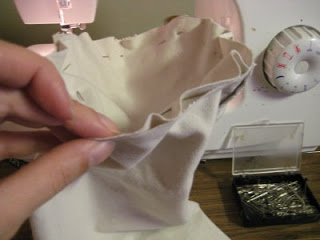
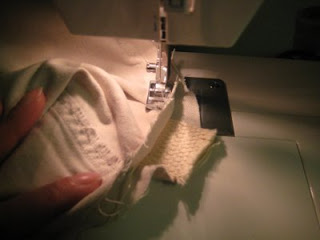
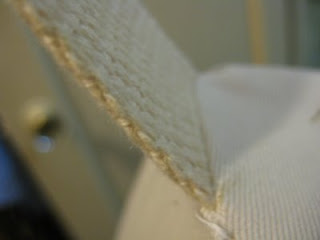
 8. Turn the bag right-side out. Secure the loose end of the webbing by sewing it to the opposite end of the bag with an “X-shaped” seam.
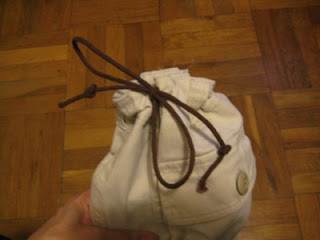
 9. To create a drawstring closure at the top of the bag, carefully cut two slits in the exterior part of the pants' waistband. Do not cut all the way through the waistband! Pull a shoelace or other heavy string through the waistband "tunnel." Pull the ends of the drawstring tight to tie the bag closed.
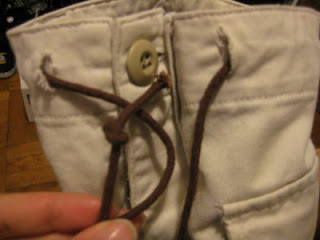
 10. If you are so inclined, go ahead and embellish the pocket with an “ohm” for extra credit :)
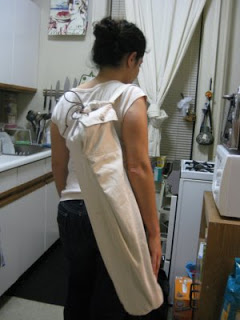 By Lorina Pellach-Ladrillono of